Woodworker's Journal fall-2010, страница 22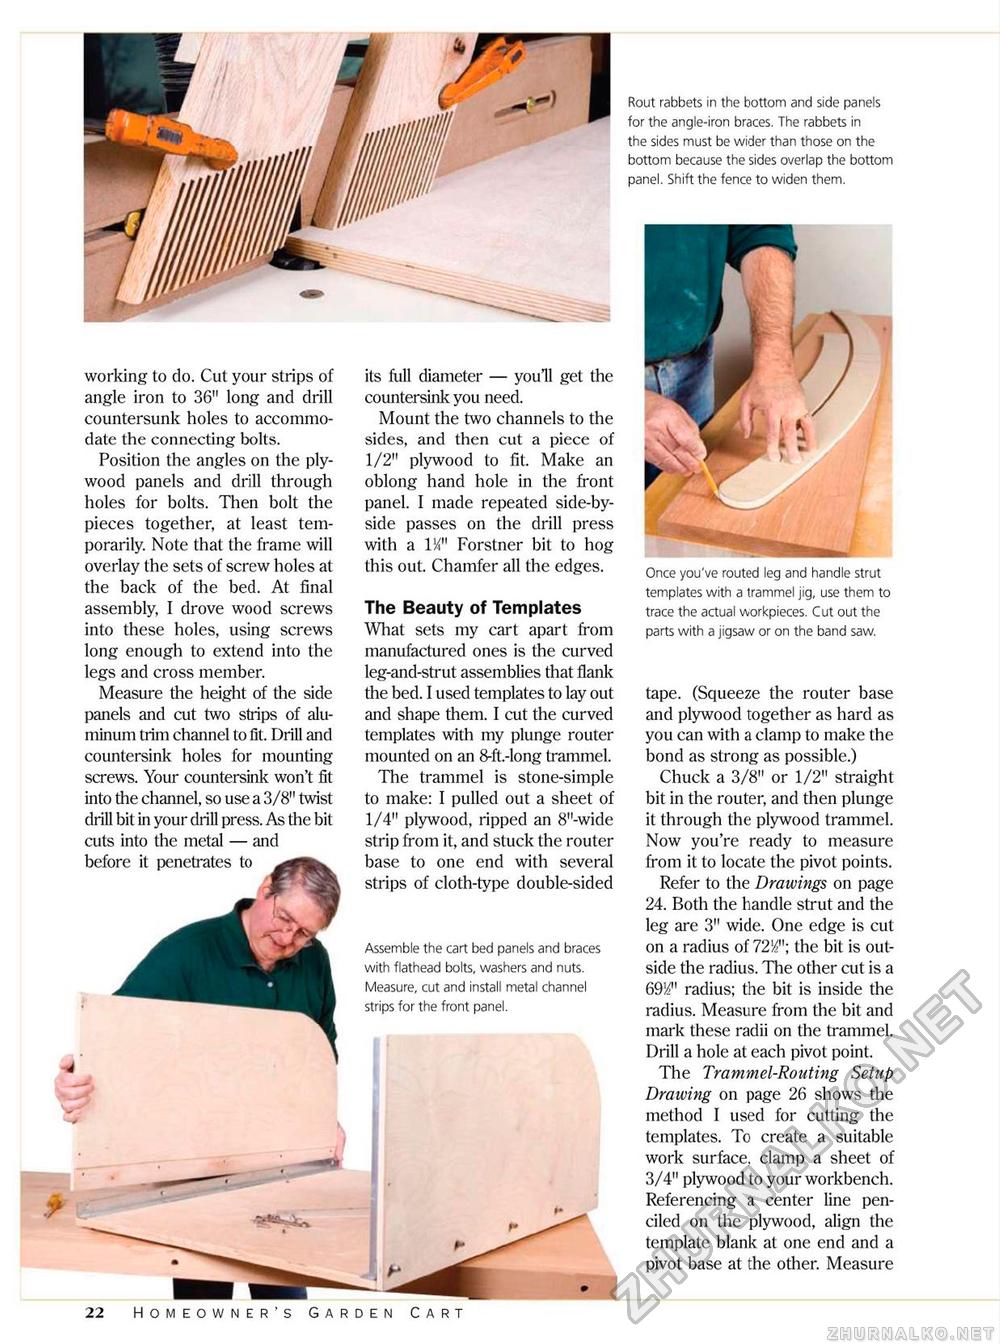
working to do. Cut your strips of angle iron to 36" long and drill countersunk holes to accommodate the connecting bolts. Position the angles on the plywood panels and drill through holes for bolts. Then bolt the pieces together, at least temporarily. Note that the frame will overlay the sets of screw holes at the back of the bed. At final assembly, I drove wood screws into these holes, using screws long enough to extend into the legs and cross member. Measure the height of the side panels and ait two strips of aluminum trim channel to fit. Drill and countersink holes for mounting screws. Your countersink won't fit into the channel, so use a 3/8" twist drill bit in your drill press. As the bit cuts into the metal — and before it penetrates to its full diameter — youH get the countersink you need. Mount the two channels to the sides, and then cut a piece of 1/2" plywood to fit. Make an oblong hand hole in the front panel. I made repeated side-by-side passes on the drill press with a IK" Forstner bit to hog this out. Chamfer all the edges. The Beauty of Templates What sets my cart apart from manufactured ones is the curved leg-and-strut assemblies that flank the bed. I used templates to lay out and shape them. I cut the curved templates with my plunge router mounted on an 8-ft.-long trammel. The trammel is stone-simple to make: I pulled out a sheet of 1/4" plywood, ripped an 8"-wide strip from it, and stuck the router base to one end with several strips of cloth-type double-sided Assemble the cart bed panels and braces with flathead bolts, washers and nuts. Measure, cut and install metal channel strips for the front panel. Rout rabbets in the bottom and side panels for the angle-iron braces. The rabbets in the sides must be wider than those on the bottom because the sides overlap the bottom panel. Shift the fence to widen them. "V Once you've routed leg and handle strut templates with a trammel jig, use them to trace the actual workpieces. Cut out the parts with a jigsaw or on the band saw. tape. (Squeeze the router base and plywood together as hard as you can with a clamp to make the bond as strong as possible.) Chuck a 3/8" or 1/2" straight bit in the router, and then plunge it through the plywood trammel. Now you're ready to measure from it to locate the pivot points. Refer to the Drawings on page 24. Both the handle strut and the leg are 3" wide. One edge is cut on a radius of 72S4"; the bit is outside the radius. The other cut is a 691/" radius; the bit is inside the radius. Measure from the bit and mark these radii on the trammel. Drill a hole at each pivot point. The Trammel-Routing Setup Drawing on page 26 shows the method I used for cutting the templates. To create a suitable work surface, clamp a sheet of 3/4" plywood to your workbench. Referencing a center line penciled on the plywood, align the template blank at one end and a pivot base at the other. Measure 22 Homeowner's Garden Cart |


