Woodworker's Journal Summer-2008, страница 57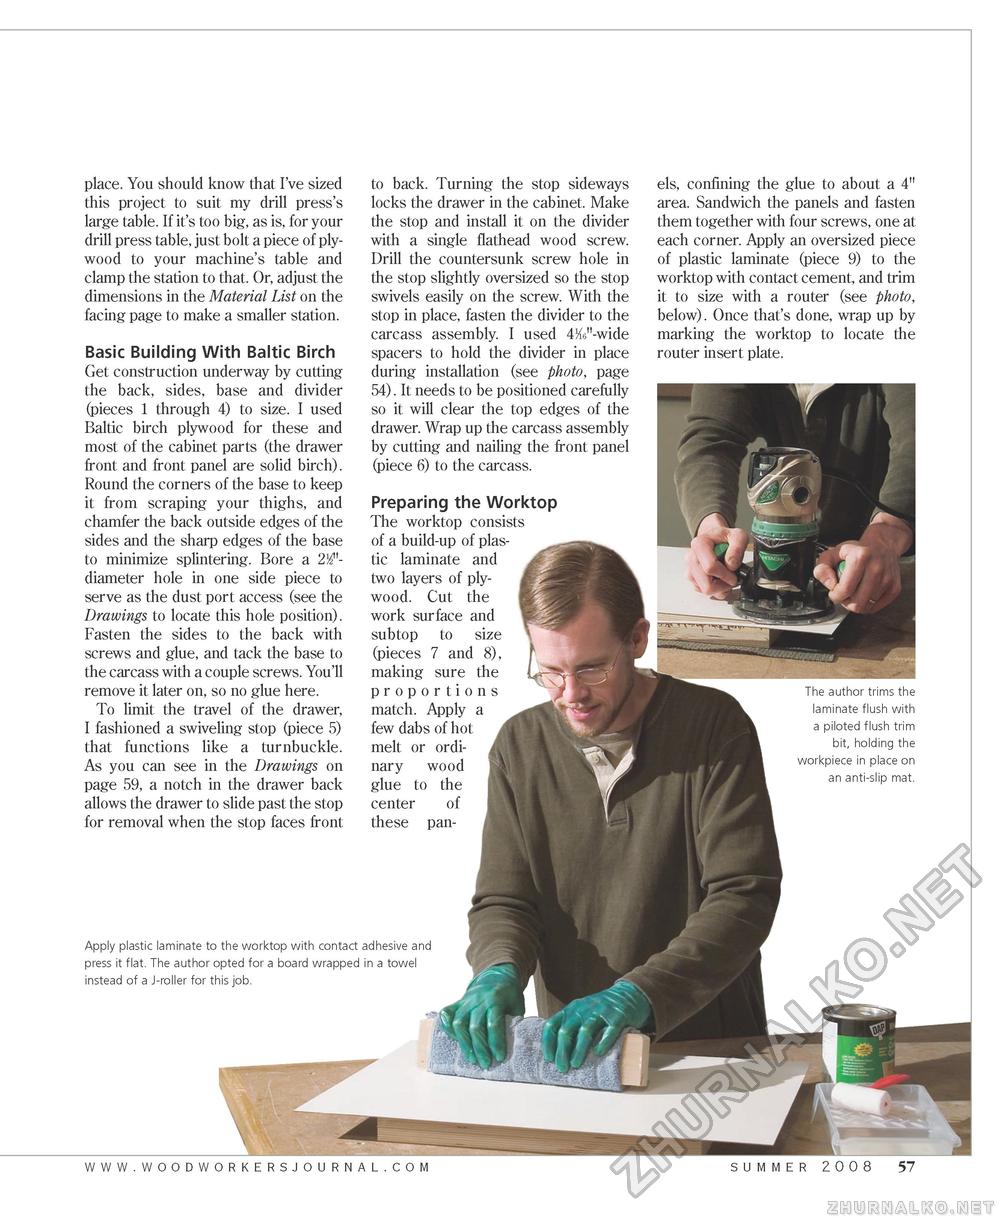
place. You should know that I've sized this project to suit my drill press's large table. If it's too big, as is, for your drill press table, just bolt a piece of plywood to your machine's table and clamp the station to that. Or, adjust the dimensions in the Material List on the facing page to make a smaller station. Basic Building With Baltic Birch Get construction underway by cutting the back, sides, base and divider (pieces 1 through 4) to size. I used Baltic birch plywood for these and most of the cabinet parts (the drawer front and front panel are solid birch). Round the corners of the base to keep it from scraping your thighs, and chamfer the back outside edges of the sides and the sharp edges of the base to minimize splintering. Bore a 2J2"-diameter hole in one side piece to serve as the dust port access (see the Drawings to locate this hole position). Fasten the sides to the back with screws and glue, and tack the base to the carcass with a couple screws. You'll remove it later on, so no glue here. To limit the travel of the drawer, I fashioned a swiveling stop (piece 5) that functions like a turnbuckle. As you can see in the Drawings on page 59, a notch in the drawer back allows the drawer to slide past the stop for removal when the stop faces front to back. Turning the stop sideways locks the drawer in the cabinet. Make the stop and install it on the divider with a single flathead wood screw. Drill the countersunk screw hole in the stop slightly oversized so the stop swivels easily on the screw. With the stop in place, fasten the divider to the carcass assembly. I used 4Ke"-wide spacers to hold the divider in place during installation (see photo, page 54). It needs to be positioned carefully so it will clear the top edges of the drawer. Wrap up the carcass assembly by cutting and nailing the front panel (piece 6) to the carcass. Preparing the Worktop The worktop consists of a build-up of plas tic laminate and two layers of plywood. Cut the work surface and subtop to size (pieces 7 and 8), making sure the proportions match. Apply a few dabs of hot melt or ordinary wood glue to the center of these pan els, confining the glue to about a 4" area. Sandwich the panels and fasten them together with four screws, one at each corner. Apply an oversized piece of plastic laminate (piece 9) to the worktop with contact cement, and trim it to size with a router (see photo, below). Once that's done, wrap up by marking the worktop to locate the router insert plate. The author trims the laminate flush with a piloted flush trim bit, holding the workpiece in place on an anti-slip mat. Apply plastic laminate to the worktop with contact adhesive and press it flat. The author opted for a board wrapped in a towel instead of a J-roller for this job. www.woodworkersjourna l . c o m summer 2008 57 |


