Woodworker's Journal Summer-2008, страница 60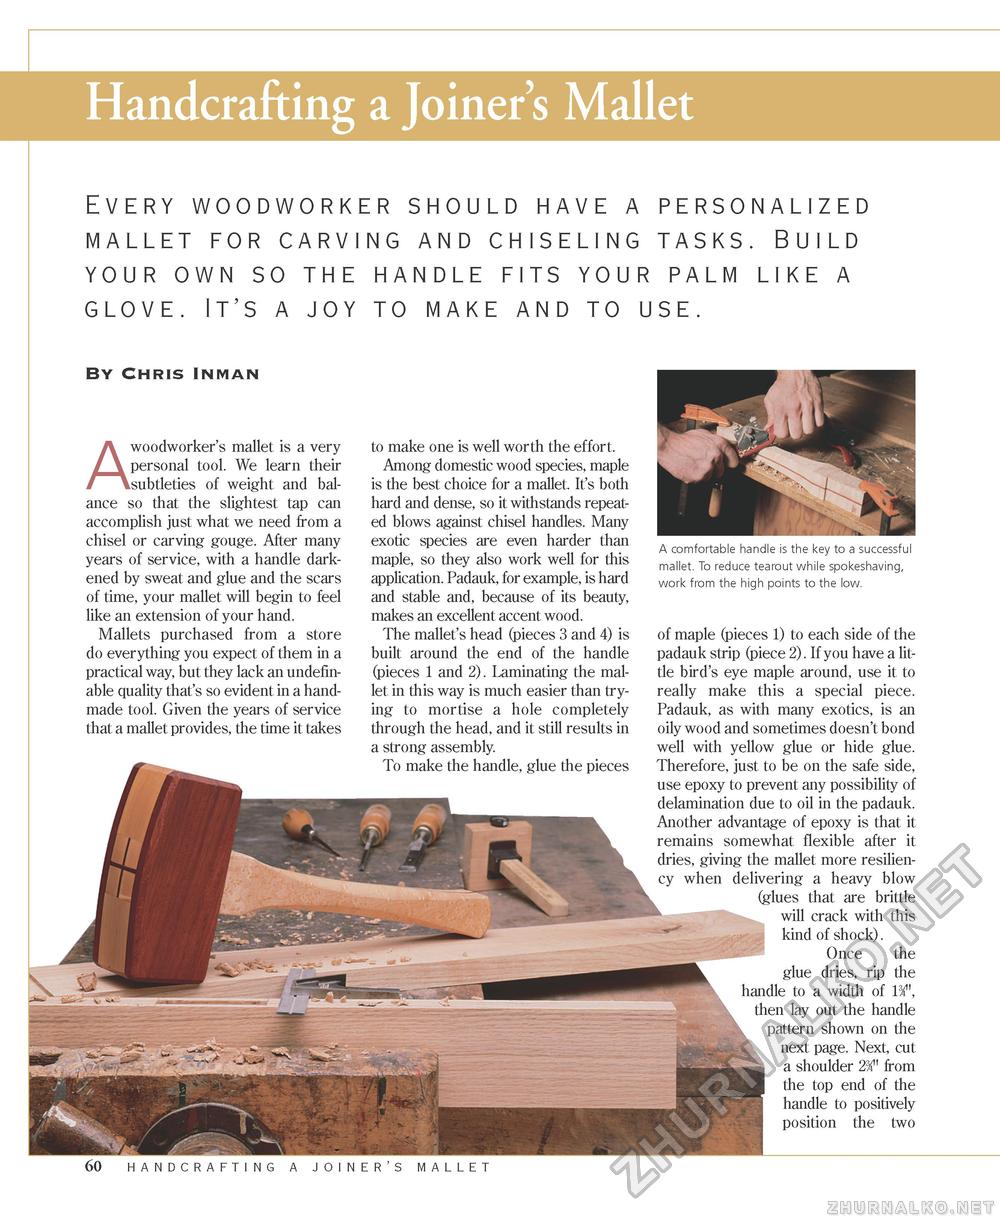
Handcrafting a Joiner's Mallet Every woodworker should have a personalized mallet for carving and chiseling tasks. Build your own so the handle fits your palm like a glove. It's a joy to make and to use. By Chris Inman A woodworker's mallet is a very personal tool. We learn their subtleties of weight and balance so that the slightest tap can accomplish just what we need from a chisel or carving gouge. After many years of service, with a handle darkened by sweat and glue and the scars of time, your mallet will begin to feel like an extension of your hand. Mallets purchased from a store do everything you expect of them in a practical way, but they lack an undefin-able quality that's so evident in a handmade tool. Given the years of service that a mallet provides, the time it takes to make one is well worth the effort. Among domestic wood species, maple is the best choice for a mallet. It's both hard and dense, so it withstands repeated blows against chisel handles. Many exotic species are even harder than maple, so they also work well for this application. Padauk, for example, is hard and stable and, because of its beauty, makes an excellent accent wood. The mallet's head (pieces 3 and 4) is built around the end of the handle (pieces 1 and 2). Laminating the mallet in this way is much easier than trying to mortise a hole completely through the head, and it still results in a strong assembly. To make the handle, glue the pieces A comfortable handle is the key to a successful mallet. To reduce tearout while spokeshaving, work from the high points to the low. of maple (pieces 1) to each side of the padauk strip (piece 2). If you have a little bird's eye maple around, use it to really make this a special piece. Padauk, as with many exotics, is an oily wood and sometimes doesn't bond well with yellow glue or hide glue. Therefore, just to be on the safe side, use epoxy to prevent any possibility of delamination due to oil in the padauk. Another advantage of epoxy is that it remains somewhat flexible after it dries, giving the mallet more resiliency when delivering a heavy blow (glues that are brittle will crack with this kind of shock). Once the glue dries, rip the handle to a width of B4", then lay out the handle pattern shown on the next page. Next, cut a shoulder 234" from the top end of the handle to positively position the two 60 handcrafting a joiner's mallet |


