Creative Woodworks & crafts 2002-01, страница 34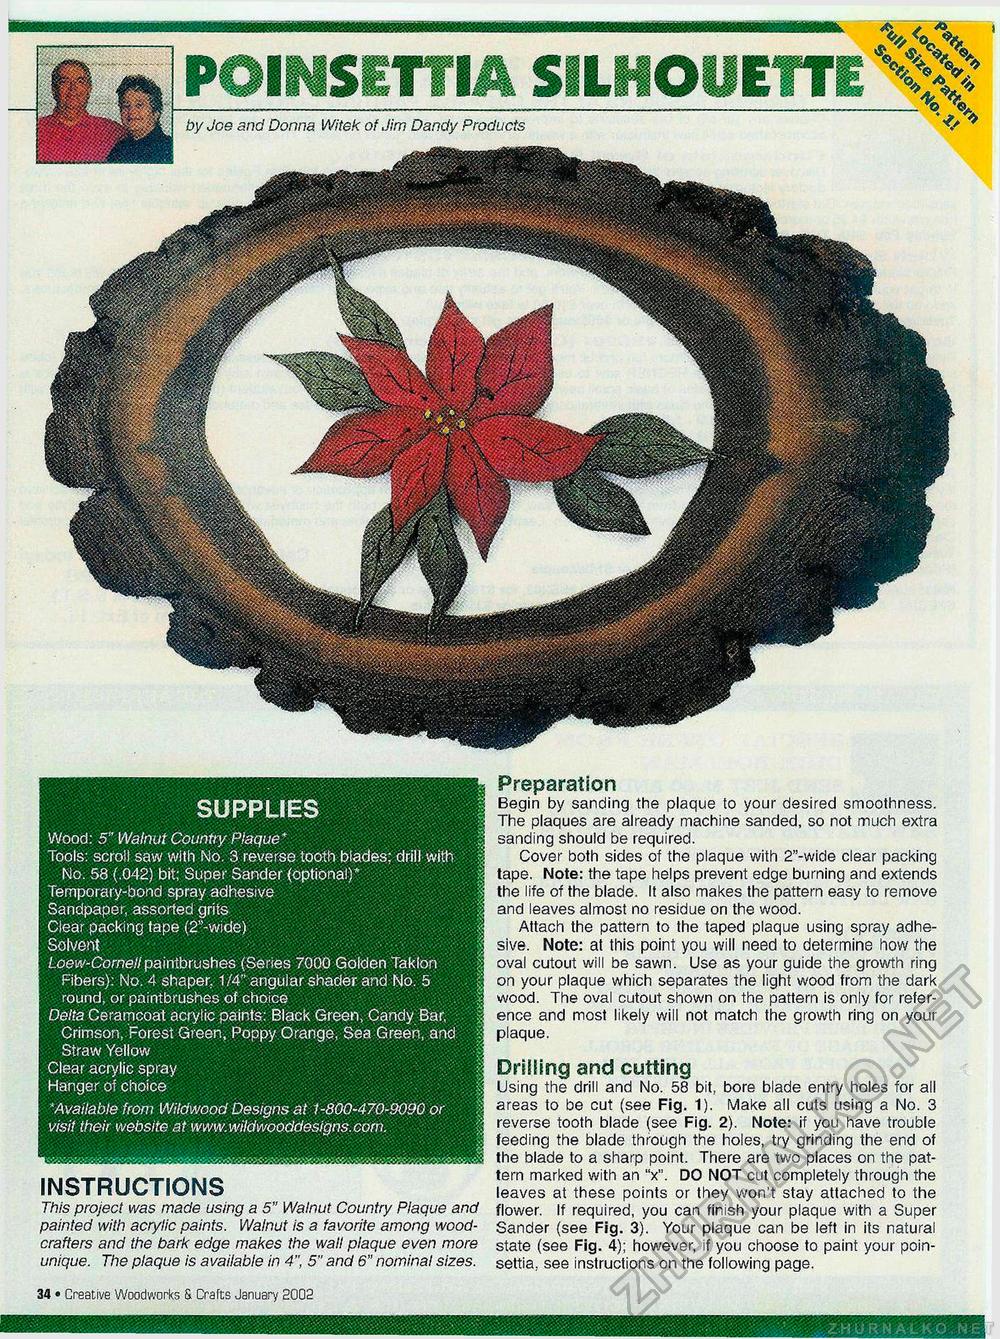
m X%>& by Joe and Donna Witek of Jim Dandy Products SUPPLIES Wood: 5" Walnut Country Plaque* Tools: scroll saw with No. 3 reverse tooth blades; drill with No. 58 (.042) bit; Super Sander (optional)* Temporary-bond spray adhesive Sandpaper, assorted grits Clear packing tape (2"-wide) Solvent Loew-Cornell paintbrushes (Series 7000 Golden Taklon Fibers): No. 4 shaper. 1/4" angular shader and No. 5 round, or paintbrushes of choice Delta Ceramcoat acrylic paints: Black Green, Candy Bar, Crimson, Forest Green, Poppy Orange, Sea Green, and Straw Yellow Clear acrylic spray Hanger of choice *Available from Wildwood Designs at 1-800-470-9090 or visit their website at www.wildwooddesigns.com. INSTRUCTIONS This project was made using a 5" Walnut Country Plaque and painted with acrylic paints. Walnut is a favorite among woodcutters and the bark edge makes the wall plaque even more unique. The plaque is available in 4", 5" and 6" nominal sizes. Preparation Begin by sanding the plaque to your desired smoothness. The plaques are already machine sanded, so not much extra sanding should be required. Cover both sides of the plaque with 2"-wide clear packing tape. Note: the tape helps prevent edge burning and extends the life of the blade. It also makes the pattern easy to remove and leaves almost no residue on the wood. Attach the pattern to the taped plaque using spray adhesive. Note: at this point you will need to determine how the oval cutout will be sawn. Use as your guide the growth ring on your plaque which separates the light wood from the dark wood. The oval cutout shown on the pattern is only for reference and most likely will not match the growth ring on your plaque. Drilling and cutting Using the drill and No. 58 bit, bore blade entry holes for all areas to be cut (see Fig. 1). Make all cuts using a No. 3 reverse tooth blade (see Fig. 2). Note: if you have trouble feeding the blade through the holes, try grinding the end of the blade to a sharp point. There are two places on the pattern marked with an "x". DO NOT cut completely through the leaves at these points or they won't stay attached to the flower. If required, you can finish your plaque with a Super Sander (see Fig. 3). Your plaque can be left in its natural state (see Fig. 4); however, if you choose to paint your poinsettia, see instructions on the following page. 34 • Creative Woodworks is Uratts January 2002 |


