Creative Woodworks & crafts 2003-03, страница 24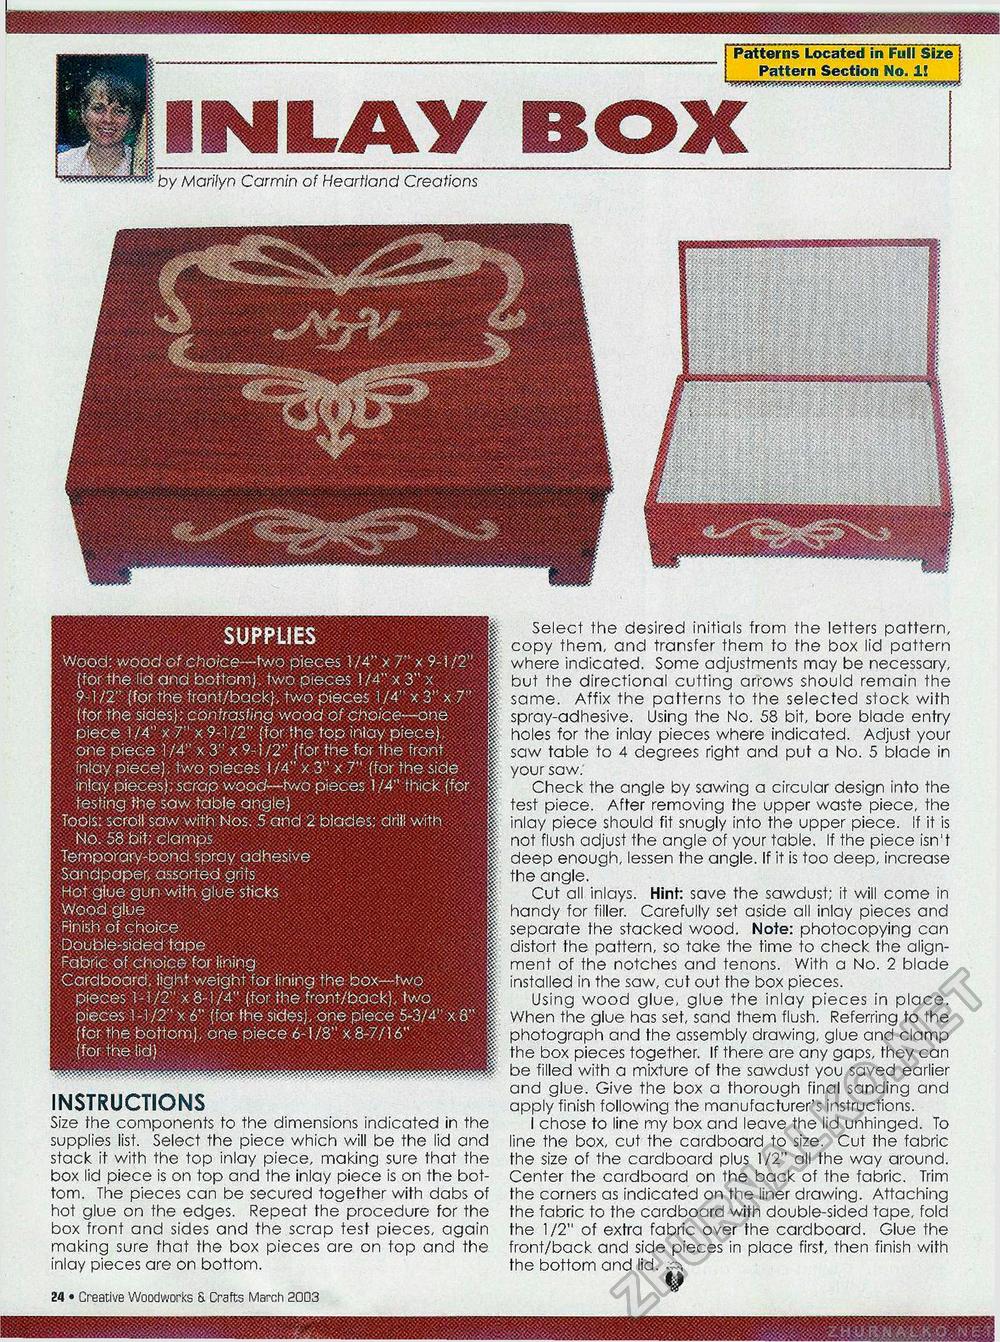
INLAYby Marilyn Carmin of Heartland Creations SUPPLIES Wood: wood of choice—two pieces 174" x 7" x 9-1/2' (for the lid and bottom), two pieces 1/4" x 3" x 9-1 IT (for the front/back}, two-pieces 1 /A" x 3" x 7" (for the sides}; contrasting wood of choice—one piece 1 /4" x 7" x 9-1/2" {for the top inlay piece), one piece 1/4" x 3" x 9-1/2" (for the for the front inlay piece), two pieces 1/4" x3" x 7" (for the side inlay pieces); scrap wood—two pieces 1/4" thick (for testing the sow table angle) Tools: scroll saw with Nos: 5 and 2 blades; drill wif§J||| No. 58 bit; clamps Temporary-bond spray adhesive Sandpaper, assorted grits Hot glue gun with glue sticks Wood glue Finish of choice Double-sided tape Fabric of choice for lining Cardboard, light weight for lining the box—two pieces 1-3/2" x 8-1/4" (for the front/back), two pieces 1-1/2" x 6" (for the sides), one piece 5-3/4" x 8' (for the bottom), one oiece 6-1/8" x 8-7/16" (for the lid) : Patterns Located in Full Size Pattern Section No. 1! Select the desired initials from the letters pattern, copy them, and transfer them to the box lid pattern where indicated. Some adjustments may be necessary, but the directional cutting arrows should remain the same. Affix the patterns to the selected stock with spray-adhesive. Using the No. 58 bit, bore blade entry holes for the inlay pieces where indicated. Adjust your saw table to 4 degrees right and put a No. 5 blade in your saw. Check the angle by sawing a circular design into the test piece. After removing the upper waste piece, the inlay piece should fit snugly into the upper piece. If it is not flush adjust the angle of your table. If the piece isn't deep enough, lessen the angle. If it is too deep, increase the angle. Cut all inlays. Hint: save the sawdust; it will come in handy for filler. Carefully set aside all inlay pieces and separate the stacked wood. Note: photocopying can distort the pattern, so take the time to check the alignment of the notches and tenons. With a No. 2 blade installed in the saw, cut out the box pieces. Using wood glue, glue the inlay pieces in place. When the glue has set, sand them flush. Referring to the photograph and the assembly drawing, glue and clamp the box pieces together. If there are any gaps, they can be filled with a mixture of the sawdust you saved earlier and glue. Give the box a thorough final sanding and apply finish following the manufacturer's instructions. I chose to line my box and leave the lid unhinged. To line the box, cut the cardboard to size. Cut the fabric the size of the cardboard plus 1/2" all the way around. Center the cardboard on the back of the fabric. Trim the corners as indicated on the liner drawing. Attaching the fabric to the cardboard with double-sided tape, fold the 1/2" of extra fabric over the cardboard. Glue the front/back and side pieces in place first, then finish with the bottom and lid. za INSTRUCTIONS Size the components to the dimensions indicated in the supplies list. Select the piece which will be the lid and stack if with the top inlay piece, making sure that the box lid piece is on top and the inlay piece is on the bottom. The pieces can be secured together with dabs of hot glue on the edges. Repeat the procedure for the box front and sides and the scrap test pieces, again making sure that the box pieces are on top and the inlay pieces are on bottom. 12 • Creative Woodworks & Crafts March 2003 Base |


