Creative Woodworks & crafts 2003-04, страница 57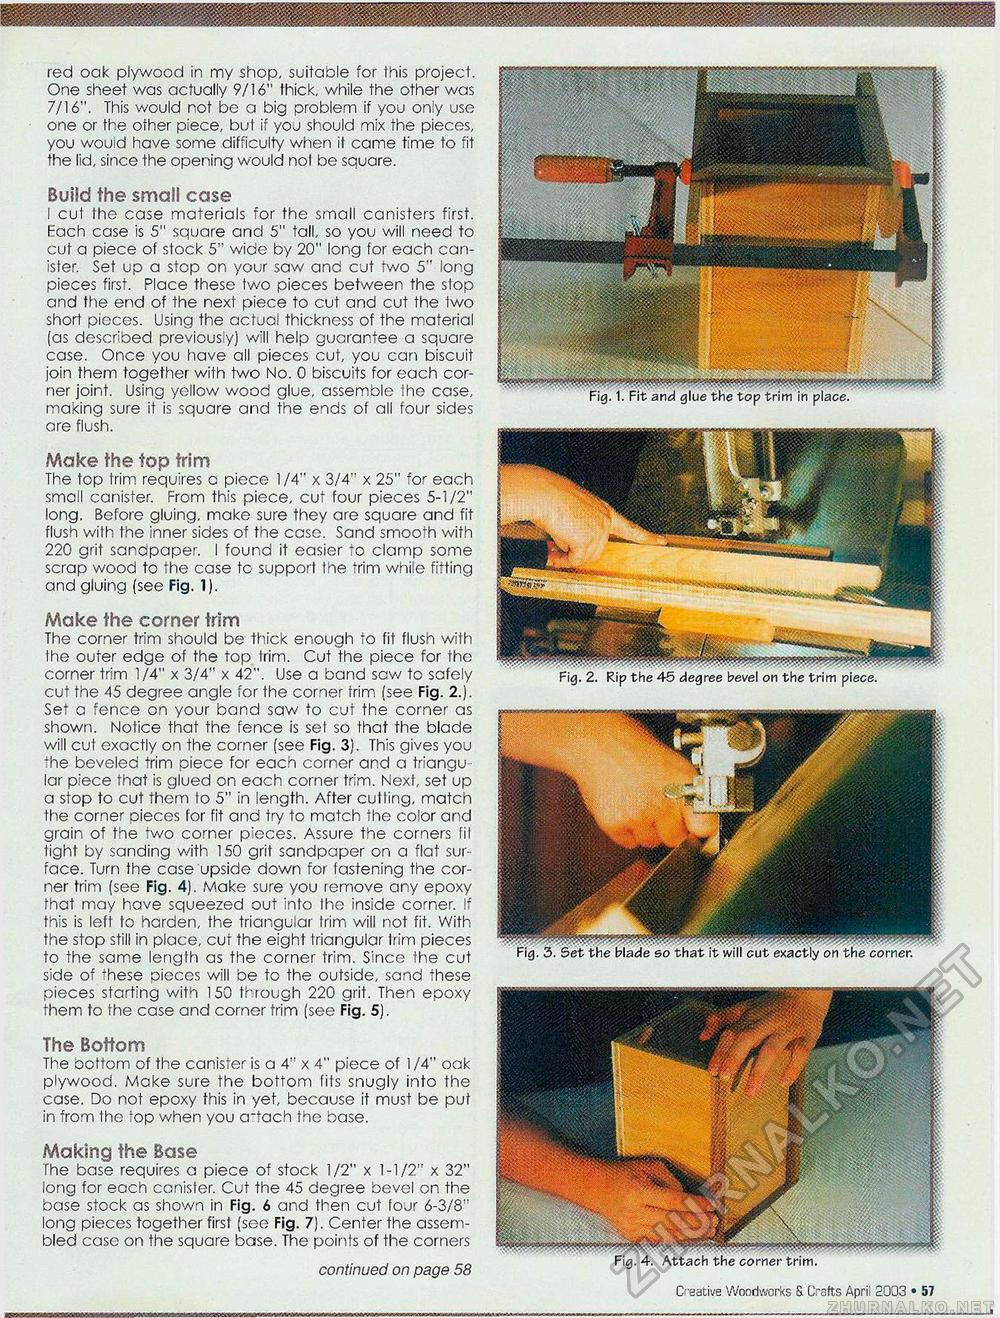
red oak plywood in my shop, suitable for this project. One sheet was actually 9/16" thick, while the other was 7/16". This would not be a big problem if you only use one or the other piece, bul if yoj should mix the pieces, you would have some difficulty when it came time to fit the lid, since the opening would not be square. Build the small case I cut the case materials for the small canisters first. Each case is 5" square and 5" tall, so you will need to cut a piece of stock 5" wide by 20" long for each canister. Set up a stop on your saw and cut two 5" long pieces first. Place these two pieces between the stop and the end of the next piece to cut and cut the two short picces. Using the actual thickness of the material (as described previously) will help guarantee a square case. Once you have all pieces cut, you can biscuit join them together with two No. 0 biscuits for each corner joint. Using yollow wood glue, assemble the case, making sure it is square and the ends of all four sides are flush. Make the top trim The top trim requires c piece 1/4" x 3/4" x 25" for each small canister. From this piece, cut four pieces 5-1/2" long. Before gluing, make sure they are sauare and fit flush with the inner sides of the case. Sand smooth with 220 grit sandpaper. I found it easier to clamp some scrap wood to the case to support the trim while fitting and gluing (see Fig. 1). Make the corner trim The corner trim should be thick enough to fit flush with the outer edge of the top trim. Cut the piece for the corner trim 1/4" x 3/4" x 42". Use a band saw to safely cut the 45 degree angle for the corner trim (see Fig. 2.). Set a fence on your band saw to cut the corner as shown. Notice that the fence is set so that the blade will cut exactly on the corner (see Fig. 3). This gives you the beveled trim piece for each corner and a triangu lar piece that is glued on each corner trim. Next, set up a stop to cut them to 5" in length. After culling, match the corner pieces for fit and try to match the color and grain of the two corner pieces. Assure the corners fit tight by sanding with 150 grit sandpaper on a flat surface. Turn the case upside down for fastening the corner trim (see Fig. 4). Make sure you remove any epoxy that may have squeezed out into Ihe inside corner. If this is left to harden, the triangular I rim will not fit. With the stop still in place, cut the eight triangular lrim pieces to the same length as the corner trim. Since the cut side of these pieces will be to the outside, sand these pieces starting with 150 through 220 grit. Then epoxy them to the case and corner trim (see Fig. 5). The Bottom The bottom of the canister is a 4" x 4" piece of 1 /4" oak plywood. Make sure the bottom fits snugly into the case. Do not epoxy this in yet, because it must be put in from the top when you a'tach the base. Making the Base The base requires a piece of stock 1/2" x 1-1/2" x 32" long for each canister. Cut the 45 degree bevel on the base stock as shown in Fig. 6 and then cut tour 6-3/8" long pieces together first (see Fig. 7). Center the assembled ease on the square base. The points of the corners continued on page 58 Fig. 4. Attach the corner trim. Creative Woodworks S. Crafts April 2003 • 19 Fig. 1. Fit and glue the top trim in place. •ym'fvr Fig. 2. Rip the 45 degree bevel on the trim piece. Fig. 3. Set the blade so that it will cut exactly on the corner. j |


