Creative Woodworks & crafts 2003-09, страница 26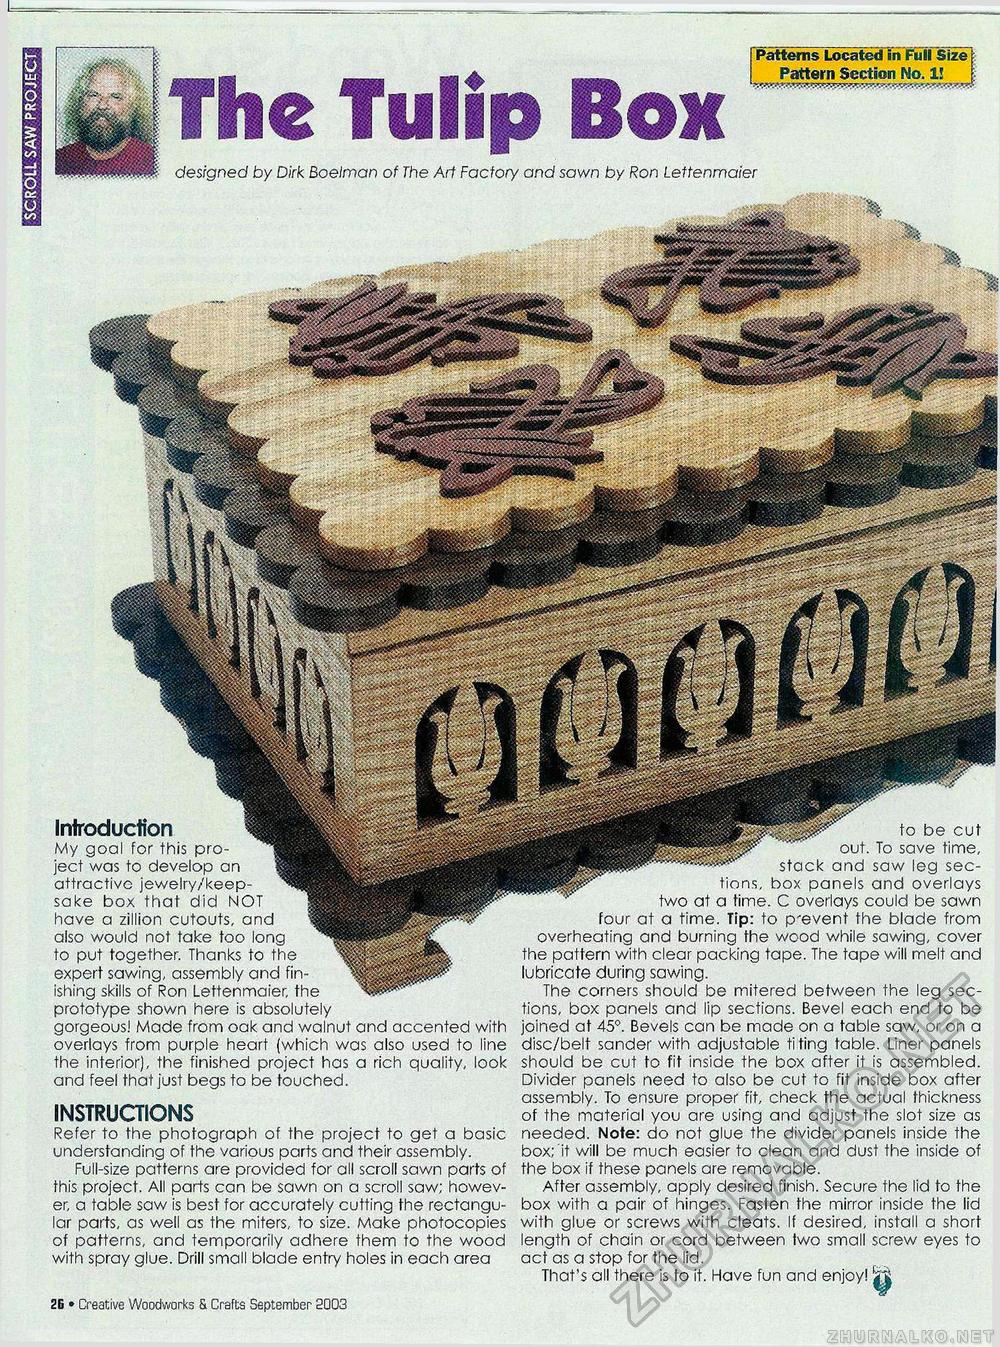
L | Patterns Located in Full Size ®gS8S! M I Pattern Section No. 1! The Tulip BoxIntroduction My goal for this project was to develop an attractive jewelry/keepsake box that did NOT have a zillion cutouts, and also would not take too long to put together. Thanks to the expert sawing, assembly and finishing skills of Ron Lettenmaier, the prototype shown here is absolutely gorgeous! Made from oak and walnut and accented with overlays from purple heart (which was also used to line the interior), the finished project has a rich quality, look and feel that just begs to be touched. INSTRUCTIONS Refer to the photograph of the project to get a basic understanding of the various parts and their assembly. Full-size patterns are provided for all scroll sawn parts of this project. All parts can be sawn on a scroll saw; however, a table saw is best for accurately cutting the rectangular parts, as well as the miters, to size. Make photocopies of patterns, and temporarily adhere them to the wood with spray glue. Drill small blade entry holes in each area 26 • Creative Woodworks & Crafts September 2003 the bottom supports. shelf supports. to be cut out. To save time, stack and saw leg sections, box panels and overlays two at a time. C overlays could be sawn four at a time. Tip: to prevent the blade from overheating and burning the wood while sawing, cover the pattern with clear packing tape. The tape will melt and lubricate during sawing. The corners should be mitered between the leg sections, box panels and lip sections. Bevel each end to be joined at 45°. Bevels can be made on a table saw, or on a disc/belt sander with adjustable titing table. Liner panels should be cut to fit inside the box after it is assembled. Divider panels need to also be cut to fit inside box after assembly. To ensure proper fit, check the actual thickness of the material you are using and adjust the slot size as needed. Note: do not glue the divider panels inside the box; it will be much easier to clean and dust the inside of the box if these panels are removable. After assembly, apply desired finish. Secure the lid to the box with a pair of hinges. Fasten the mirror inside the lid with glue or screws with cleats. If desired, install a short length of chain or cord between two small screw eyes to act as a stop for the lid. That's all there is to it. Have fun and enjoy! Jjj designed by Dirk Boeiman of The Art Factory and sawn by Ron Lettenmaier |


