Creative Woodworks & crafts 2003-09, страница 29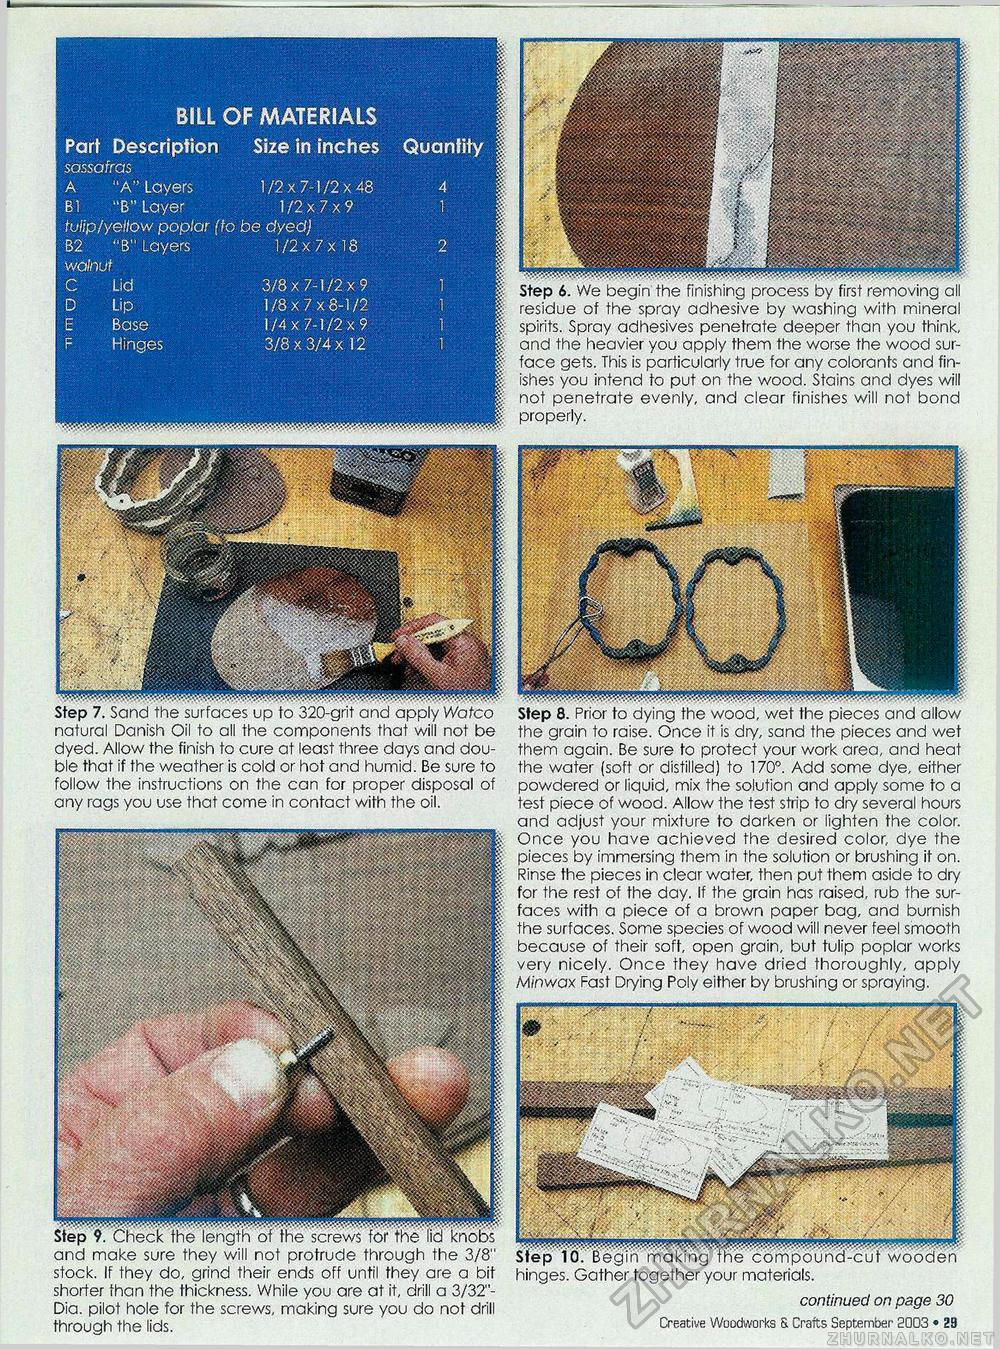
Step 6. We begin the finishing process by first removing all residue of the spray adhesive by washing with mineral spirits. Spray adhesives penetrate deeper than you think, and the heavier you apply them the worse the wood surface gets. This is particularly true for any colorants and finishes you intend to put on the wood. Stains and dyes will not penetrate evenly, and clear finishes will not bond properly. Step 7. Sand the surfaces up to 320-grit and apply Watco natural Danish Oil to all the components that will not be dyed. Allow the finish to cure at least three days and double that if the weather is cold or hot and humid. Be sure to follow the instructions on the can for proper disposal of any rags you use that come in contact with the oil. Step 8. Prior to dying the wood, wet the pieces and allow the grain to raise. Once it is dry, sand the pieces and wet them again. Be sure to protect your work area, and heat the water (soft or distilled) to 170°. Add some dye, either powdered or liquid, mix the solution and apply some to a test piece of wood. Allow the test strip to dry several hours and adjust your mixture to darken or lighten the color. Once you have achieved the desired color, dye the pieces by immersing them in the solution or brushing it on. Rinse the pieces in clear water, then put them aside to dry for the rest of the day. If the grain has raised, rub the surfaces with a piece of a brown paper bag, and burnish the surfaces. Some species of wood will never feel smooth because of their soft, open grain, but tulip poplar works very nicely. Once they have dried thoroughly, apply Mfiwax Fast Drying Poly either by brushing or spraying. and make sure they will not protrude through the 3/8" stock. If they do, grind their ends off until they are a bit shorter than the thickness. While you are at it, drill a 3/32"-Dia. pilot hole for the screws, making sure you do not drill through the lids. Step ICL Begin making the compound-cut wooden hinges. Gather together your materials. continued on page 30 Creative Woodworks & Crafts September 2003 • 29 |
||||||||||||||||||||||||||||||||||||


