Creative Woodworks & crafts 2004-08, страница 49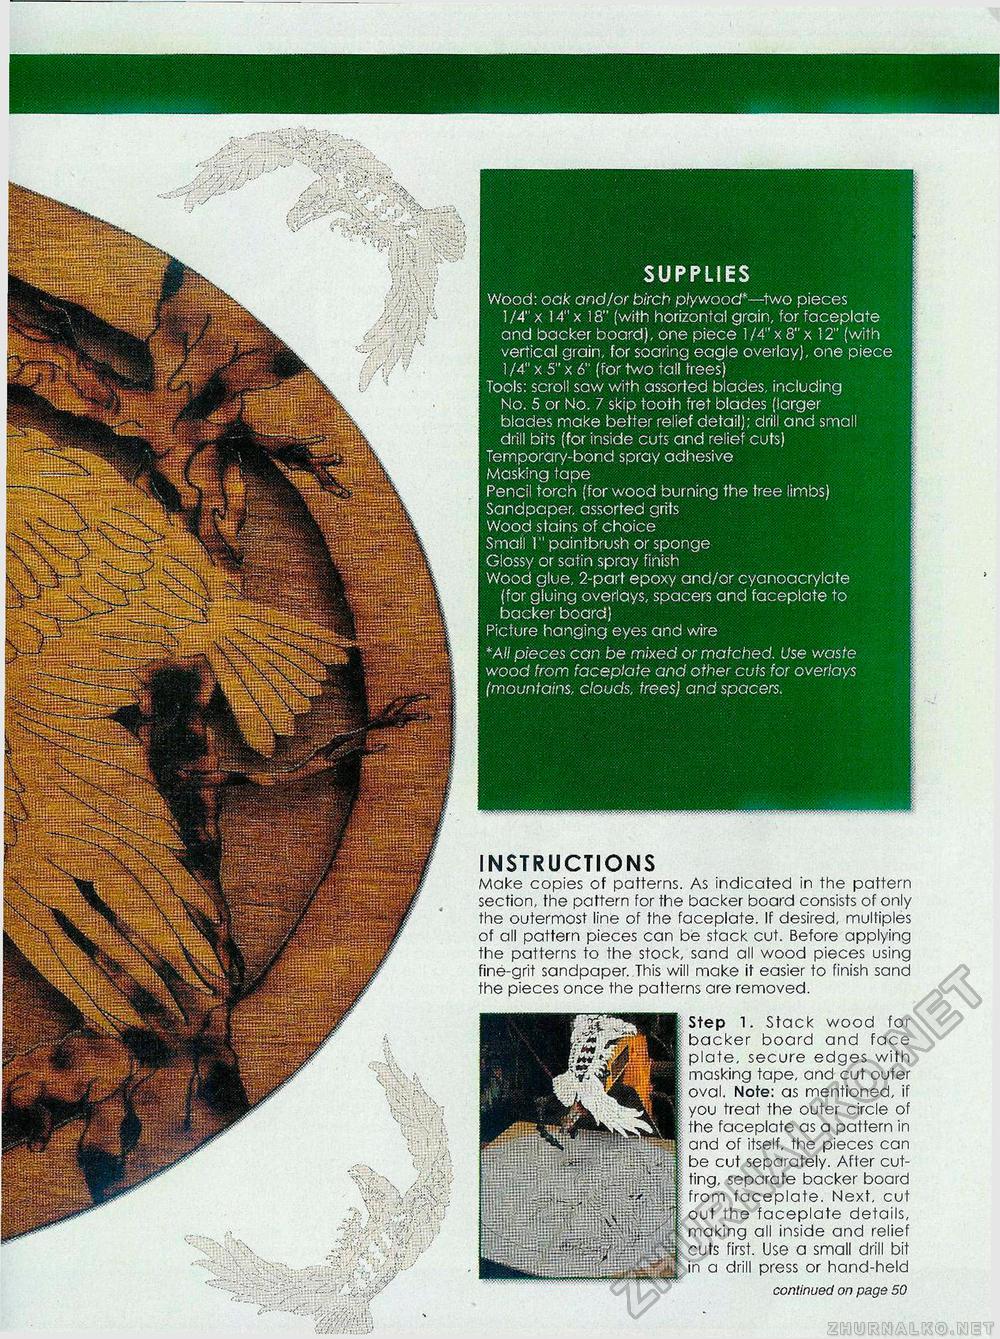
SUPPLIES Wood: oak and/or birch plywood*—two pieces 1 /A" x 14" x 18" (with horizontal grain, for faceplate and backer board), one piece 1 /4" x 8" x 12" (with vertical grain, for soaring eagle overlay), one piece 1 /4" x 5" x 6" (for two tall trees) Tools: scroll saw with assorted blades, including No. 5 or No. 7 skip tooth fret blades (larger blades make better relief detail); drill and small drill bits (for inside cuts and relief cuts) Temporary-bond spray adhesive Masking tape Pencil torch (for wood burning the tree limbs) Sandpaper, assorted grits Wood stains of choice Small 1" paintbrush or sponge Glossy or satin spray finish Wood glue, 2-part epoxy and/or cyanoacrylate (for gluing overlays, spacers and faceplate to backer board) Picture hanging eyes and wire "All pieces can be mixed or matched. Use waste wood from faceplate and other cuts for overlays (mountains, clouds, trees) and spacers. INSTRUCTIONS Make copies of patterns. As indicated in the pattern section, the pattern for the backer board consists of only the outermost line of the faceplate. If desired, multiples of all pattern pieces can be stack cut. Before applying the patterns to the stock, sand all wood pieces using fine-grit sandpaper. This will make it easier to finish sand the pieces once the patterns are removed. Step 1. Stack wood for backer board and face plate, secure edges with masking tape, and cut outer oval. Note: as mentioned, if you treat the outer circle of the faceplate as a pattern in and of itself, the pieces can be cut separately. Afler cutting, separate backer board from faceplate. Next, cut out the faceplate details, making all inside and relief cuts first. Use a small drill bit in a drill press or hand-held continued on page 50 |


