Creative Woodworks & crafts 2004-11, страница 74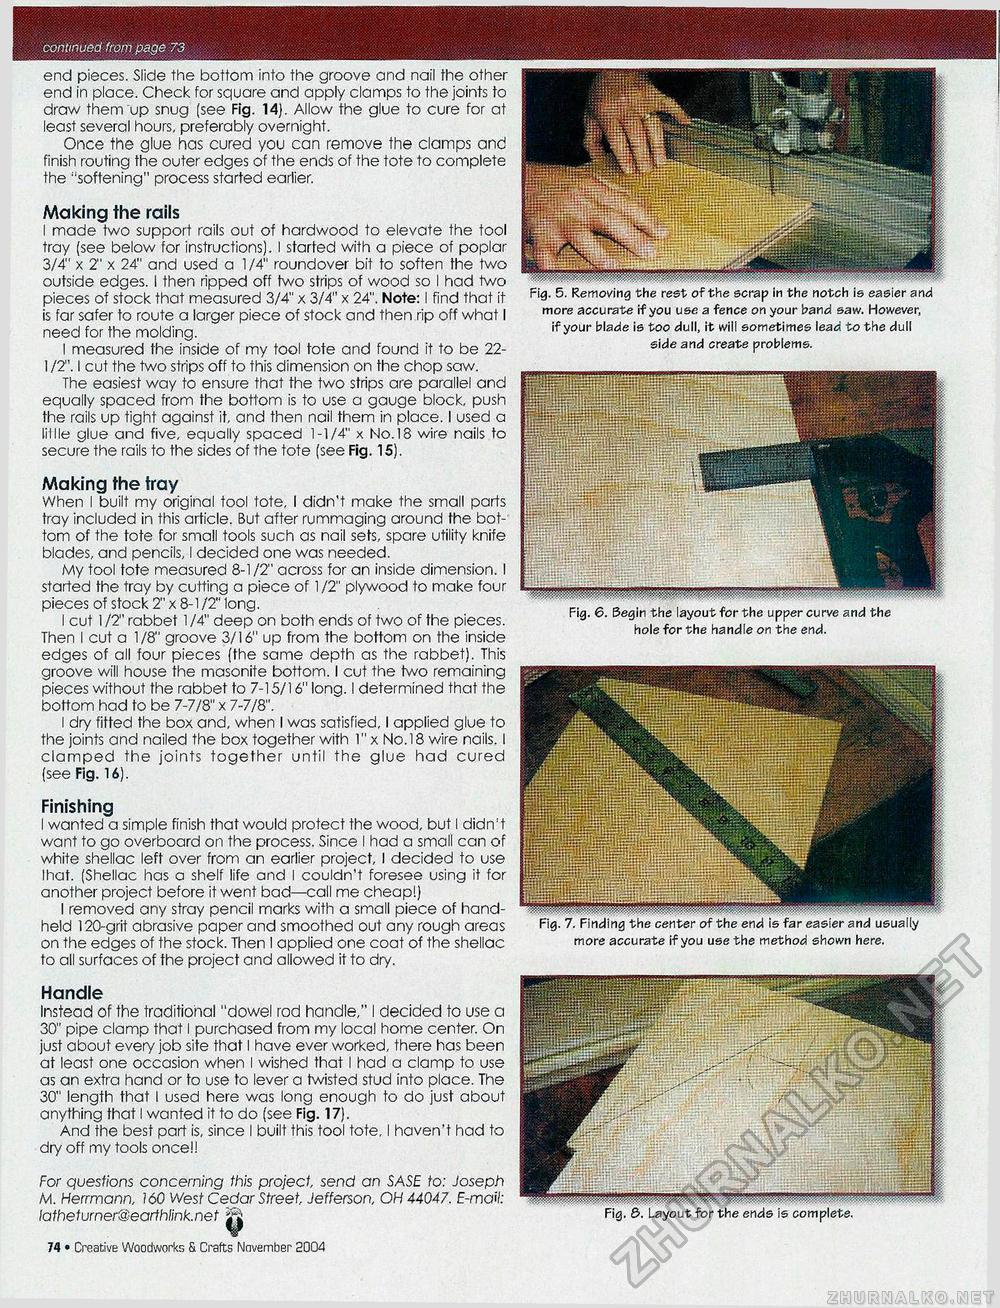
Handle Instead of the traditional "dowel rod handle," I decided to use a 30" pipe clamp that I purchased from my local home center. On just about every job site that I have ever worked, there has been at least one occasion when I wished that I had a clamp to use as an extra hand or to use to lever a twisted stud into place. The 30" length that I used here was long enough to do just about anything that I wanted it to do (see Fig. 17). And the best part is, since I built this tool tote, I haven't had to dry off my tools once!! For questions concerning this project, send an SASE to: Joseph M. Herrmann, 160 West Cedar Street, Jefferson, OH 44047. E-mail: latheturner@earthlink.net ^ 74 • Creative Woodworks S. Crafts November 2004 end pieces. Slide the bottom into the groove and nail the other end in place. Check for square and apply clamps to the joints to draw them up snug [see Fig. 14). Allow the glue to cure for at least several hours, preferably overnight. Once the glue has cured you can remove the clamps and finish routing the outer edges of the ends of the tote to complete the "softening" process started earlier. Making the rails I made two support rails out of hardwood to elevate the tool tray (see below for instructions). I started with a piece of poplar 3/4" x 2" x 24" and used a 1/4" roundover bit to soften the two outside edges. I then ripped off two strips of wood so I had two pieces of stock that measured 3/4" x 3/4" x 24". Note: I find that it is far safer to route a larger piece of stock and then rip off what I need for the molding. I measured the inside of my tool tote and found it to be 22-1 /2". I cut the two strips off to this dimension on the chop saw. The easiest way to ensure that the two strips are parallel and equally spaced from the bottom is to use a gauge block, push the rails up tight against it, and then nail them in place. I used a lillle glue and five, equally spaced 1-1/4" x No.18 wire nails to secure the rails to the sides of the tote (see Fig. 15). Fig. 5. Removing the rest of the scrap in the notch is easier and more accurate if you use a fence on your band saw. However, if your blade is too dull, it will sometimes lead to the dull side and create problems. Making the tray When I built my original tool tote, I didn't make the small parts tray included in this article. But after rummaging around the bottom of the tote for small tools such as nail sets, spare utility knife blades, and pencils, I decided one was needed. My tool tote measured 8-1/2" across for an inside dimension. I started the tray by cutting a piece of 1/2" plywood to make four pieces of stock 2" x 8-1/2" long. I cut 1 /2" rabbet 1 /4" deep on both ends of two of the pieces. Then I cut a 1/8" groove 3/16" up from the bottom on the inside edges of all four pieces (the same depth as the rabbet). This groove will house the masonite bottom. I cut the two remaining pieces without the rabbet to 7-15/16" long. I determined that the bottom had to be 7-7/8" x 7-7/8". I dry fitted the box and, when I was satisfied, I applied glue to the joints and nailed the box together with 1" x No. 18 wire nails. I clamped the joints together until the glue had cured (see Fig. 16). Finishing I wanted a simple finish that would protect the wood, but I didn't want to go overboard on the process. Since I had a small can of white shellac left over from an earlier project, I decided to use lhat. [Shellac has a shelf life and I couldn't foresee using it for another project before it went bad—call me cheap!) I removed any stray pencil marks with a small piece of handheld 120-grit abrasive paper and smoothed out any rough areas on the edges of the stock. Then I applied one coat of the shellac to all surfaces of the project and allowed it to dry. Fig. 6. layout for the upper curve and the hole for the handle on the end. |


