Creative Woodworks & crafts 2005-09, страница 60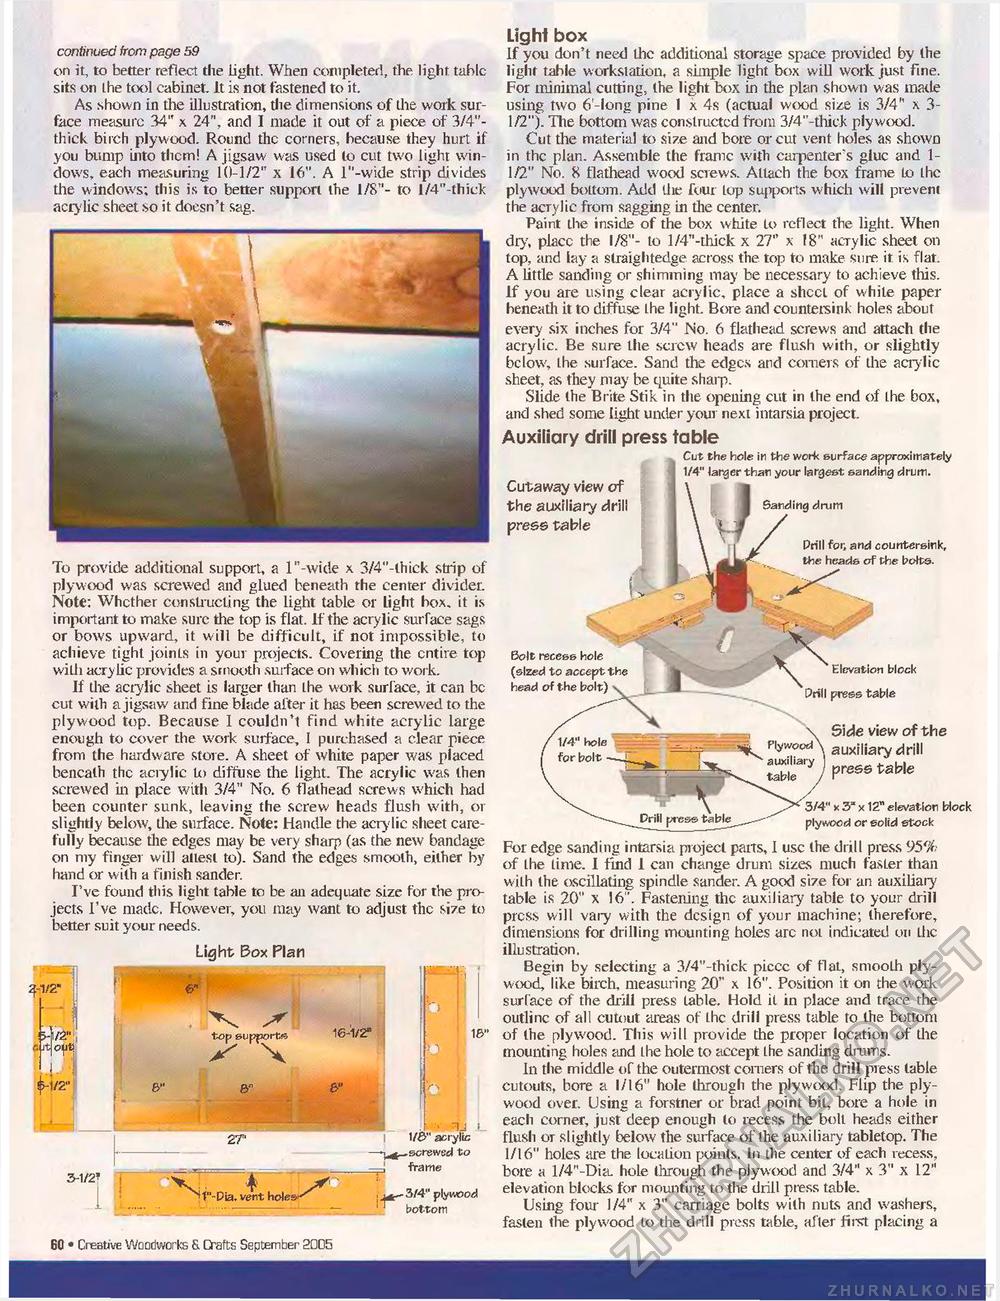
continued from page 59 on it, to better- reflect the light. When completed, the, light tabic sits on ihe tcx>l cabinet. It is not fastened to it. As shown in the illustration, the dimensions of the work surface measure 34" x 24", and I made it out of a piece of 3/4"-thick birch plywood. Round the corners, because they hurt if you bump Into them! A jigsaw was used to cut two light windows, each measuring 10-1/2" x 16". A l"-wide strip divides the windows; this is to better support the 1/8"- to l/4"-thick acrylic sheet so it doesn't sag. 5J-1/2" >4/2" e jt|o|ifj A- 6" Light &ox Plan top supports e>n 27" 16-1/2" S" 16" 3-1/2* x. 4 s ^f'-Dia. vent holes"^ 1J i_ I U&" acrylic screwed to -j frame , u^ 3/4" plywood bottom Light box If you don't need the additional storage space provided by the light table workstation, a simple light box will work just Fine. For minimal cutting, the light box in the plan shown was made using two 6'-long pine 1 x 4s (actual wood size is 3/4" x 3-1/2"). The bottom was constructed from 3/4 "-thick plywood. Cut the materia! to size and bore or cut vent holes as shown in the plan. Assemble the frame with carpenter's glue and 1-1/2" No. 8 flathead wood screws. Attach the box frame bo the plywood bottom. Add liie four top supports which will prevent the acrylic from sagging in the center. Paint the inside of the box white to reflect the light. When dry, place the 1/8"- to l/4"-thick x 27" x 18" acrylic sheet on top, and lay a straightedge across the top to make sure if. is flat. A little sanding or shimming may be necessary to achieve this. If you are using clear acrylic, place a sheet of white paper beneath it to diffuse Lhe light. Bore and countersink holes about every six inches for 3/4" Mo. 6 flathead screws and attach the acrylic. Be sure the screw heads are flush with, or slightly below, Lhe surface. Sand the edges and comers of Lhe acrylic sheet, as they may be quite sharp. Slide the Brite Stik in the opening cut in (he end of the box, and shed some light under your next intarsia project. Auxiliary drill press table Cut the hole in the work surface approximately 1/4" larger than your largest sanding drum. Cutaway view of the auxiliary drill press table Banding drum To provide additional support, a l"-wide x 3/4"-lhick strip of plywood was screwed and glued beneath the center divider. Note: Whether constructing the light table or light box. it is important to make sure the top is flat. If the acrylic surface sags or bows upward, it will be difficult, if not impossible, to achieve tight joints in your projects. Covering the entire top with acrylic provides a smooth surface on which to work. If the acrylic sheet is larger than Lhe work surface, it can be cut with a jigsaw and fine blade alter it has been screwed to the plywood top. Because 1 couldn't find white acrylic large enough to cover the work surface, I purchased a clear piece from the hardware store. A sheet of white paper was placed beneath the acrylic to diffuse the light. The acrylic was then screwed in place with 3/4" No. 6 flathead screws which had been counter sunk, leaving the screw heads flush with, or slightly below, (lie surface. Note: Handle the acrylic sheet carefully because the edges may be very sharp (as the new bandage on my finger will allesi to). Sand the edges smooth, eilher by hand or with a finish sander. I've found this light table to be an adequate size for the projects I've made, However, you may want to adjust the size to better suit your needs. L Bolt recess hole (sized to accept the head of the bolt) Prill for, and countersink, the heads of the botts. vX Elevation block Drill press table \ Side view of the s FlywoodX auxiliary drill press table 3/4" x 3" x 12" elevation block plywood or solid stock For edge sanding intarsia project parts, I use the drill press 95% of Lhe Lime. I find 1 can change drum sizes much faster than with (he oscillating spindle sander. A good size for an auxiliary table is 20" x 16". Fastening the auxiliary table to your drill press will vary with the design of your machine; therefore, dimensions for drilling mounting holes arc not indicated on Lhe illustration. Begin by selecting a 3/4"-thick piece of flat, smooth plywood, like birch, measuring 20" x 16". Position it on the work surface of the drill press table. Hold it in place and trace the outline of all cutout areas of Lhe drill press table to (he bottom of (he plywood. This will provide the proper location of the mounting holes and Lhe hole to accept Lhe sanding drams. In the middle of the outermost comers of the drill press (able cutouts, bore a 1/16" hole through the plywood. Flip the plywood over. Using a forstner or brad point bi(, bore a hole in each corner, just deep enough to recess the boll heads either flush or slightly below the surface of the auxiliary tabletop. The 1/16" holes are the location points. In the center of each recess, bore a l/4"-Dia hole through the plywood and 3/4" x 3" x 12" elevation blocks tor mounting to the drill press table. Using four 1/4" x 3" carriage bolts with nuts and washers, fas(en the plywood to the drill press table, after first placing a 60 • Creative Woodworks 6. Crafts September 2CD5 |


