Creative Woodworks & crafts-103-2004-Holiday, страница 16
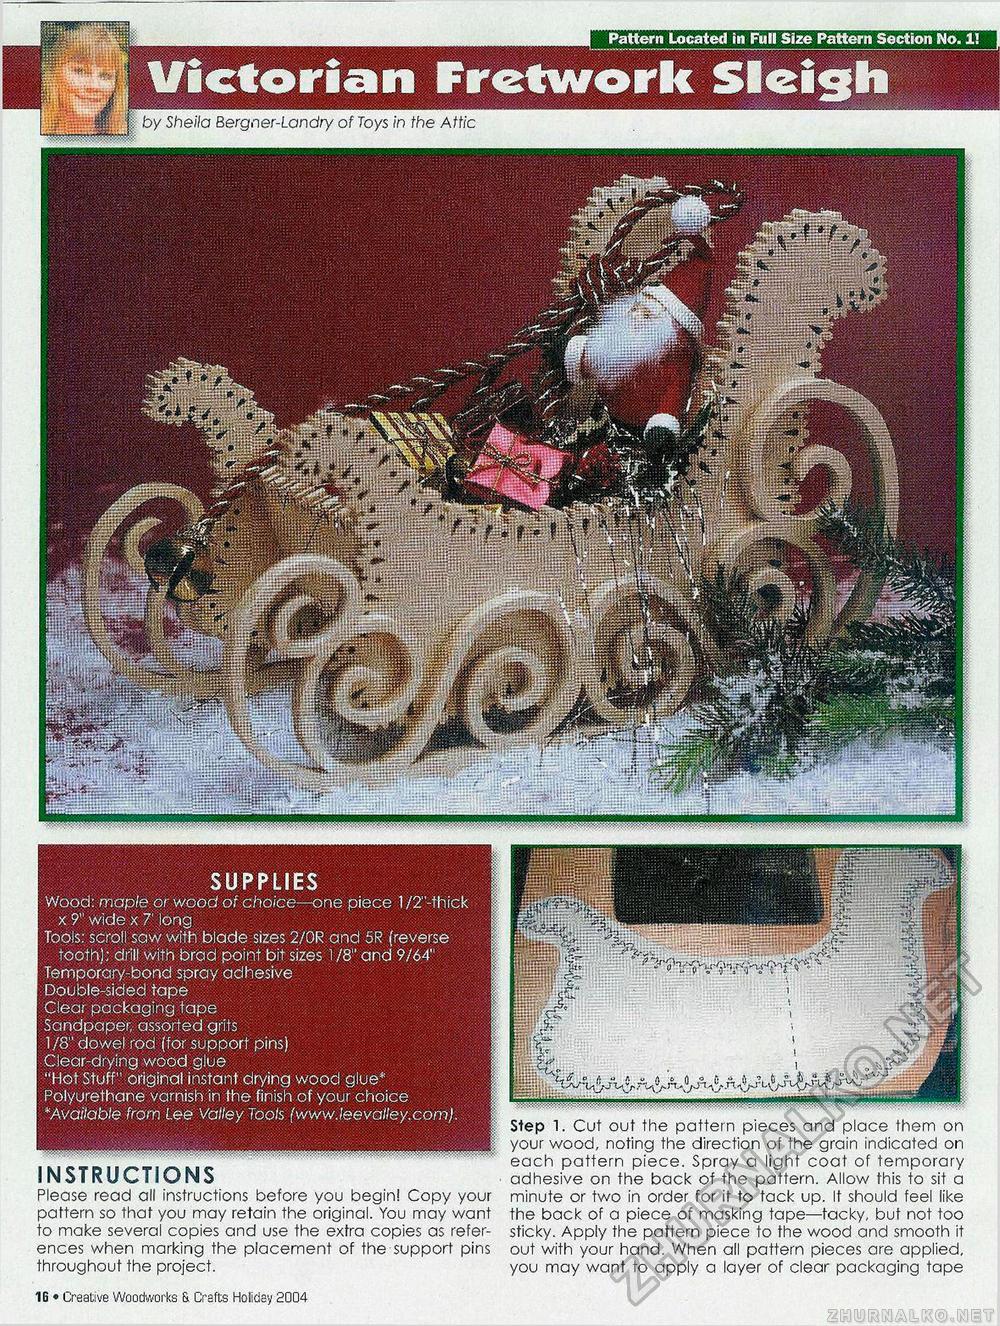
Pattern Located in Full Size Pattern Section No. 1! by Sheila Bergner-Landry of Toys in the Attic SUPPLIES Wood: maple or wood of choice—one piece 1 /2"-thick x 9" wide x 7' long Tools: scroll sow with blade sizes 2/OR and 5R (reverse tooth); drill with brad point bit sizes 1/8" and 9/64" Temporar/-bond spray adhesive Double-sided tape Clear packaging tape Sandpaper, assorted grits 1 /8" dowel rod (tor support pins) Clear-drying wood glue "Hot Stuff" original instant drying wood glue*. Polyurethane varnishin the finish of your choice *Avaitable from Lee Valley Tools (www.leevalley.com). INSTRUCTIONS Please read all instructions before you begin! Copy your pattern so that you may retain the original. You may want to make several copies and use the extra copies as references when marking the placement of the support pins throughout the project. Creative Woodworks & Craft:; Holiday 2004 • 15 Step 1. Cut out the pattern pieces and place them on your wood, noting the direction of the grain indicated on each pattern piece. Spray a light coat of temporary adhesive on the back of the pattern. Allow this to sit a minute or two in order for it to tack up. It should feel like the back of a piece of masking tape—tacky, but not too sticky. Apply the pattern piece to the wood and smooth it out with your hand. When all pattern pieces are applied, you may want to apply a layer of clear packaging tape |


