Creative Woodworks & crafts-103-2004-Holiday, страница 18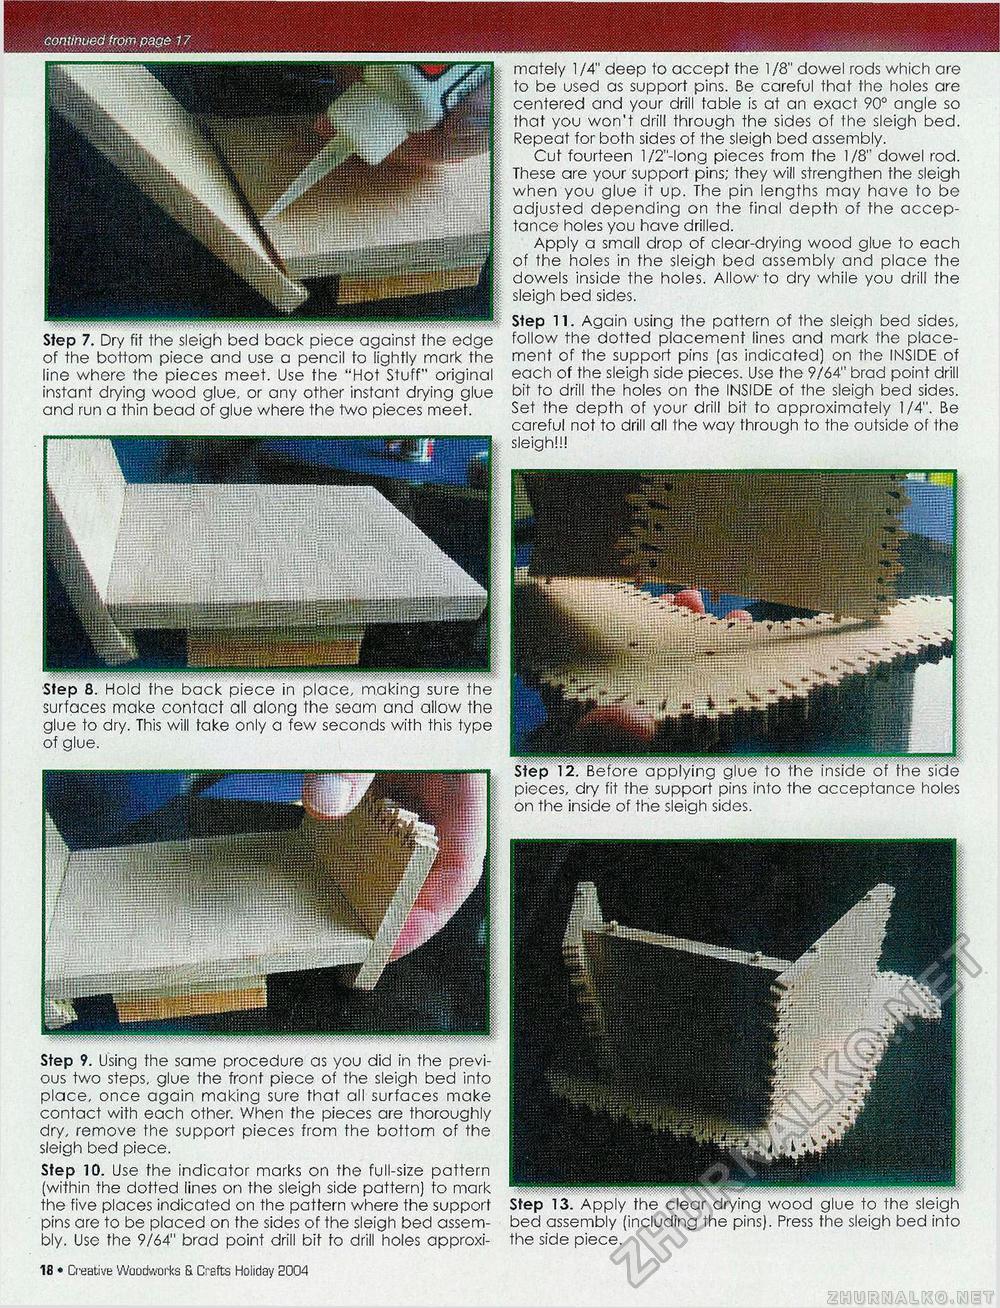
continued from page 17 Step 8. Hold the back piece in place, making sure the surfaces make contact all along the seam and allow the glue to dry. This will take only a few seconds with this type of glue. Step 9. Using the same procedure as you did in the previous two steps, glue the front piece of the sleigh bed into place, once again making sure that all surfaces make contact with each other. When the pieces are thoroughly dry, remove the support pieces from the bottom of the sleigh bed piece. Step 10. Use the indicator marks on the full-size pattern (within the dotted lines on the sleigh side pattern) to mark the five places indicated on the pattern where the support pins are to be placed on the sides of the sleigh bed assembly. Use the 9/64" brad point drill bit to drill holes approxi mately 1/4" deep to accept the 1/8" dowel rods which are to be used as support pins. Be careful that the holes are centered and your drill table is at an exact 90° angle so that you won't drill through the sides of the sleigh bed. Repeat for both sides of the sleigh bed assembly. Cut fourteen l/2"-long pieces from the 1/8" dowel rod. These are your support pins; they will strengthen the sleigh when you glue it up. The pin lengths may have to be adjusted depending on the final depth of the acceptance holes you have drilled. Apply a small drop of clear-drying wood glue to each of the holes in the sleigh bed assembly and place the dowels inside the holes. Allow to dry while you drill the sleigh bed sides. Step 11. Again using the pattern of the sleigh bed sides, follow the dotted placement lines and mark the placement of the support pins (as indicated) on the INSIDE of each of the sleigh side pieces. Use the 9/64" brad point drill bit to drill the holes on the INSIDE of the sleigh bed sides. Set the depth of your drill bit to approximately 1/4". Be careful not to drill all the way through to the outside of the sleigh!!! Step 13. Apply the clear drying wood glue to the sleigh bed assembly (including the pins). Press the sleigh bed into the side piece. of the bottom piece and use a pencil to lightly mark the line where the pieces meet. Use the "Hot Stuff" original instant drying wood glue, or any other instant drying glue and run a thin bead of glue where the two pieces meet. pieces, dry fit the on the inside of the acceptance holes Creative Woodworks & Craft:; Holiday 2004 • 15 |


