Popular Woodworking 2000-02 № 113, страница 50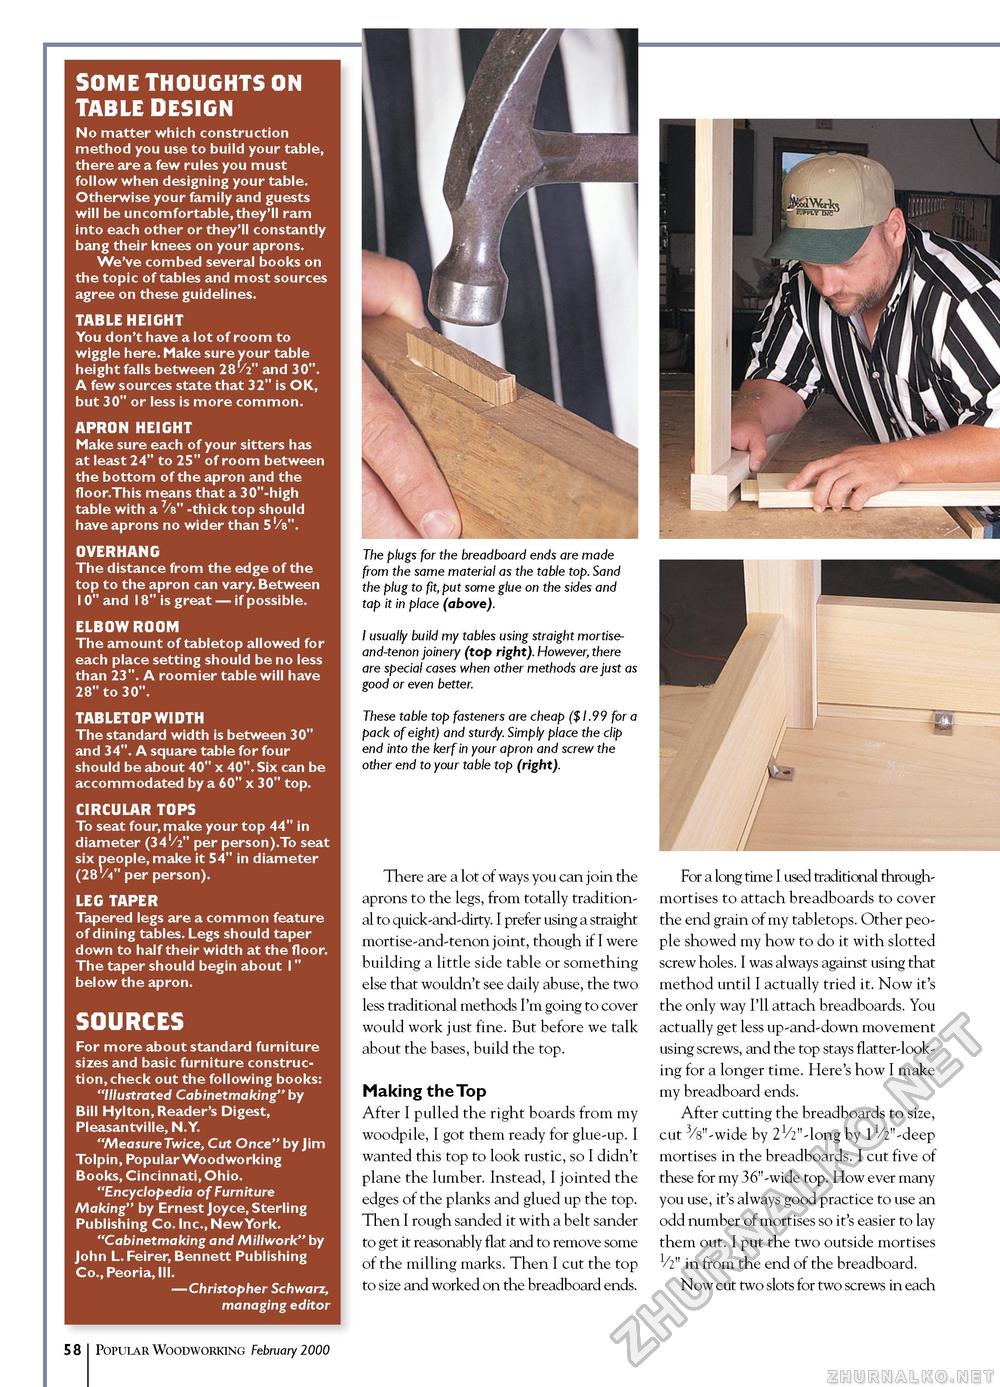
SOME THOUGHTS ON TABLE DESIGN No matter which construction method you use to build your table, there are a few rules you must follow when designing your table. Otherwise your family and guests will be uncomfortable, they'll ram into each other or they'll constantly bang their knees on your aprons. We've combed several books on the topic of tables and most sources agree on these guidelines. TABLE HEIGHT You don't have a lot of room to wiggle here. Make sure your table height falls between 28V2" and 30". A few sources state that 32" is OK, but 30" or less is more common. APRON HEIGHT Make sure each of your sitters has at least 24" to 25" of room between the bottom of the apron and the floor.This means that a 30"-high table with a -thick top should have aprons no wider than 5 '/8". OVERHANG The distance from the edge of the top to the apron can vary. Between 10" and 18" is great — if possible. ELBOW ROOM The amount of tabletop allowed for each place setting should be no less than 23". A roomier table will have 28" to 30". TABLETOP WIDTH The standard width is between 30" and 34". A square table for four should be about 40" x 40". Six can be accommodated by a 60" x 30" top. CIRCULAR TOPS To seat four, make your top 44" in diameter (34'/2" per person).To seat six people, make it 54" in diameter (28V4" per person). LEG TAPER Tapered legs are a common feature of dining tables. Legs should taper down to half their width at the floor. The taper should begin about I" below the apron. SOURCES For more about standard furniture sizes and basic furniture construction, check out the following books: "Illustrated Cabinetmaking" by Bill Hylton,Reader's Digest, Pleasantville, N.Y. "MeasureTwice, Cut Once" by Jim Tolpin, Popular Woodworking Books, Cincinnati, Ohio. "Encyclopedia of Furniture Making" by Ernest Joyce,Sterling Publishing Co. Inc., NewYork. "Cabinetmaking and Millwork" by John L. Feirer, Bennett Publishing Co., Peoria, Ill. —Christopher Schwarz, managing editor The plugs for the breadboard ends are made from the same material as the table top. Sand the plug to ft, put some glue on the sides and tap it in place (above). I usually build my tables using straight mortise and-tenon joinery (top right). However, there are special cases when other methods are just as good or even better. These table top fasteners are cheap ($1.99 for a pack of eight) and sturdy. Simply place the clip end into the kerf in your apron and screw the other end to your table top (right). There are a lot of ways you can join the aprons to the legs, from totally traditional to quick-and-dirty. I prefer using a straight mortise-and-tenon joint, though if I were building a little side table or something else that wouldn't see daily abuse, the two less traditional methods I'm going to cover would work just fine. But before we talk about the bases, build the top. Making the Top After I pulled the right boards from my woodpile, I got them ready for glue-up. I wanted this top to look rustic, so I didn't plane the lumber. Instead, I jointed the edges of the planks and glued up the top. Then I rough sanded it with a belt sander to get it reasonably flat and to remove some of the milling marks. Then I cut the top to size and worked on the breadboard ends. 10 Popular Woodworking February 2000 For a long time I used traditional through-mortises to attach breadboards to cover the end grain of my tabletops. Other people showed my how to do it with slotted screw holes. I was always against using that method until I actually tried it. Now it's the only way I'll attach breadboards. You actually get less up-and-down movement using screws, and the top stays flatter-looking for a longer time. Here's how I make my breadboard ends. After cutting the breadboards to size, cut 3/8"-wide by 21/2"-long by 11/2"-deep mortises in the breadboards. I cut five of these for my 36"-wide top. How ever many you use, it's always good practice to use an odd number of mortises so it's easier to lay them out. I put the two outside mortises 1/2" in from the end of the breadboard. Now cut two slots for two screws in each |


