Popular Woodworking 2001-06 № 122, страница 54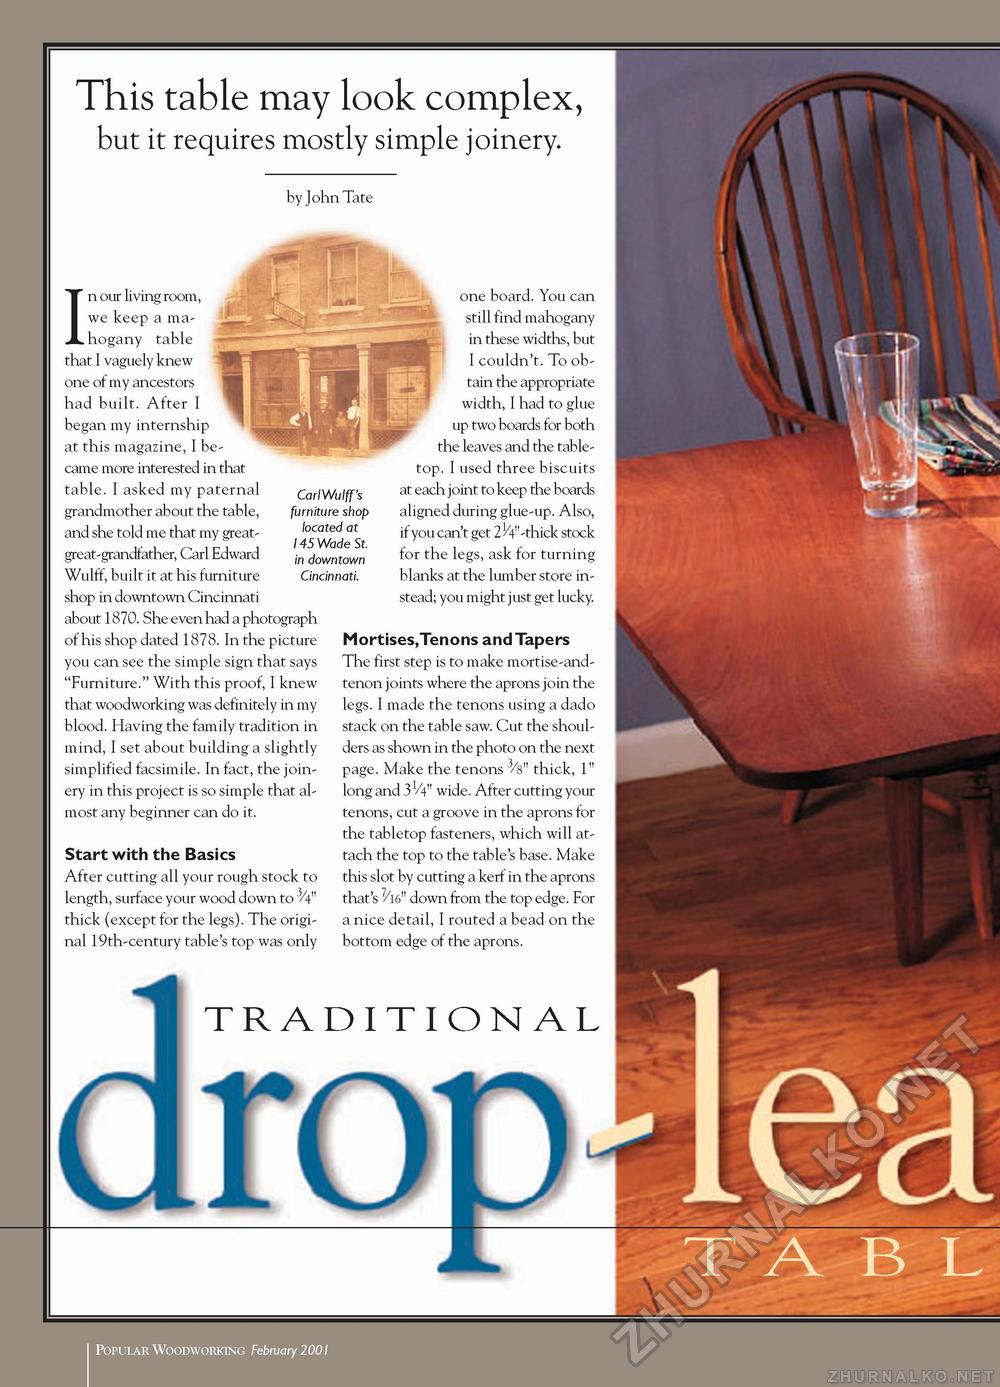
This table may look complex, but it requires mostly simple joinery. t -leaT A B L by John Tate In our living room, we keep a mahogany table that I vaguely knew one of my ancestors had built. After I began my internship at this magazine, I be came more interested in that table. I asked my paternal grandmother about the table, and she told me that my great-great-grandfather, Carl Edward Wulff, built it at his furniture shop in downtown Cincinnati about 1870. She even had a photograph of his shop dated 1878. In the picture you can see the simple sign that says "Furniture." With this proof, I knew that woodworking was definitely in my blood. Having the family tradition in mind, I set about building a slightly simplified facsimile. In fact, the joinery in this project is so simple that almost any beginner can do it. Start with the Basics After cutting all your rough stock to length, surface your wood down to 3/4" thick (except for the legs). The original 19th-century table's top was only Carl Wulff's furniture shop located at 145 Wade St. in downtown Cincinnati. one board. You can still find mahogany in these widths, but I couldn't. To obtain the appropriate width, I had to glue up two boards for both the leaves and the table-top. I used three biscuits at each joint to keep the boards aligned during glue-up. Also, if you can't get 214"-thick stock for the legs, ask for turning blanks at the lumber store instead; you might just get lucky. Mortises,Tenons and Tapers The first step is to make mortise-and-tenon joints where the aprons join the legs. I made the tenons using a dado stack on the table saw. Cut the shoulders as shown in the photo on the next page. Make the tenons 3/s" thick, 1" long and 3 V4" wide. After cutting your tenons, cut a groove in the aprons for the tabletop fasteners, which will attach the top to the table's base. Make this slot by cutting a kerf in the aprons that's 7/16" down from the top edge. For a nice detail, I routed a bead on the bottom edge of the aprons. TRADITIONAL Popular Woodworking February 2001 |


