Popular Woodworking 2003-04 № 133, страница 64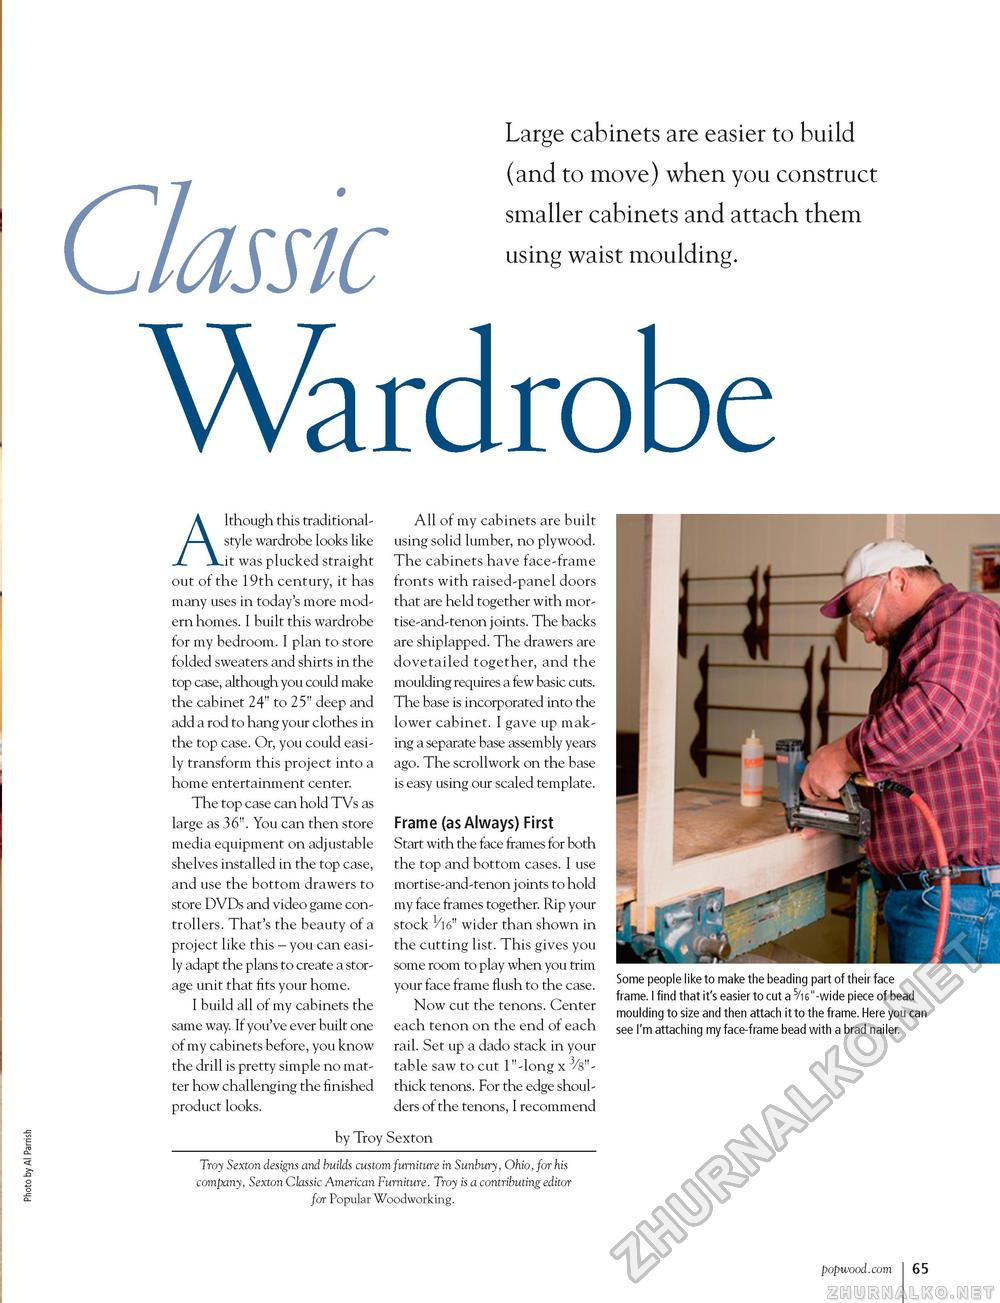
Large cabinets are easier to build (and to move) when you construct smaller cabinets and attach them using waist moulding. Classic WardrobeAlthough this traditional-style wardrobe looks like it was plucked straight out of the 19 th century, it has many uses in today's more modern homes. I built this wardrobe for my bedroom. I plan to store folded sweaters and shirts in the top case, although you could make the cabinet 24" to 25" deep and add a rod to hang your clothes in the top case. Or, you could easily transform this project into a home entertainment center. The top case can hold TVs as large as 36". You can then store media equipment on adjustable shelves installed in the top case, and use the bottom drawers to store DVDs and video game controllers. That's the beauty of a project like this - you can easily adapt the plans to create a storage unit that fits your home. I build all of my cabinets the same way. If you've ever built one of my cabinets before, you know the drill is pretty simple no matter how challenging the finished product looks. All of my cabinets are built using solid lumber, no plywood. The cabinets have face-frame fronts with raised-panel doors that are held together with mor-tise-and-tenon joints. The backs are shiplapped. The drawers are dovetailed together, and the moulding requires a few basic cuts. The base is incorporated into the lower cabinet. I gave up making a separate base assembly years ago. The scrollwork on the base is easy using our scaled template. Frame (as Always) First Start with the face frames for both the top and bottom cases. I use mortise-and-tenon joints to hold my face frames together. Rip your stock 1/l6" wider than shown in the cutting list. This gives you some room to play when you trim your face frame flush to the case. Now cut the tenons. Center each tenon on the end of each rail. Set up a dado stack in your table saw to cut 1"-long x 3/s"-thick tenons. For the edge shoulders of the tenons, I recommend Some people like to make the beading part of their face frame. I find that it's easier to cut a 5/i6"-wide piece of bead moulding to size and then attach it to the frame. Here you can see I'm attaching my face-frame bead with a brad nailer. by Troy Sexton Troy Sexton designs and builds custom furniture in Sunbury, Ohio, for his company, Sexton Classic American Furniture. Troy is a contributing editor for Popular Woodworking. popwood.com 65 |


