Popular Woodworking 2003-04 № 133, страница 84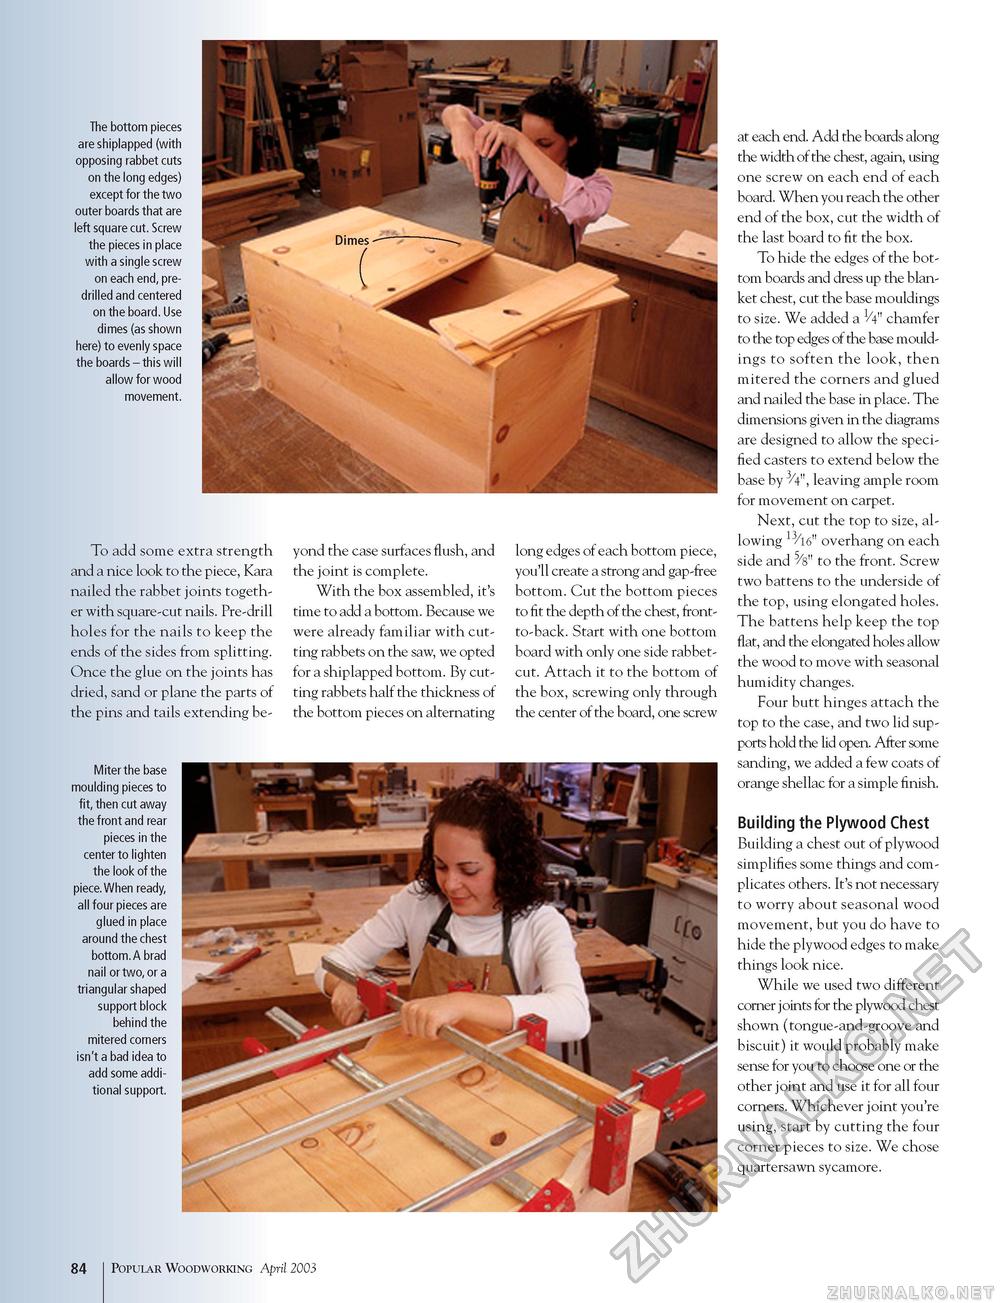
The bottom pieces are shiplapped (with opposing rabbet cuts on the long edges) except for the two outer boards that are left square cut. Screw the pieces in place with a single screw on each end, pre-drilled and centered on the board. Use dimes (as shown here) to evenly space the boards - this will allow for wood movement. To add some extra strength and a nice look to the piece, Kara nailed the rabbet joints together with square-cut nails. Pre-drill holes for the nails to keep the ends of the sides from splitting. Once the glue on the joints has dried, sand or plane the parts of the pins and tails extending be- Miter the base moulding pieces to fit, then cut away the front and rear pieces in the center to lighten the look of the piece.When ready, all four pieces are glued in place around the chest bottom. A brad nail or two, or a triangular shaped support block behind the mitered corners isn't a bad idea to add some additional support. yond the case surfaces flush, and the joint is complete. With the box assembled, it's time to add a bottom. Because we were already familiar with cutting rabbets on the saw, we opted for a shiplapped bottom. By cutting rabbets half the thickness of the bottom pieces on alternating long edges of each bottom piece, you'll create a strong and gap-free bottom. Cut the bottom pieces to fit the depth of the chest, front-to-back. Start with one bottom board with only one side rabbet-cut. Attach it to the bottom of the box, screwing only through the center of the board, one screw at each end. Add the boards along the width of the chest, again, using one screw on each end of each board. When you reach the other end of the box, cut the width of the last board to fit the box. To hide the edges of the bottom boards and dress up the blanket chest, cut the base mouldings to size. We added a V4" chamfer to the top edges of the base mouldings to soften the look, then mitered the corners and glued and nailed the base in place. The dimensions given in the diagrams are designed to allow the specified casters to extend below the base by 3/4", leaving ample room for movement on carpet. Next, cut the top to size, allowing 13/l6" overhang on each side and 5/s" to the front. Screw two battens to the underside of the top, using elongated holes. The battens help keep the top flat, and the elongated holes allow the wood to move with seasonal humidity changes. Four butt hinges attach the top to the case, and two lid supports hold the lid open. After some sanding, we added a few coats of orange shellac for a simple finish. Building the Plywood Chest Building a chest out of plywood simplifies some things and complicates others. It's not necessary to worry about seasonal wood movement, but you do have to hide the plywood edges to make things look nice. While we used two different corner joints for the plywood chest shown (tongue-and-groove and biscuit) it would probably make sense for you to choose one or the other joint and use it for all four corners. Whichever joint you're using, start by cutting the four corner pieces to size. We chose quartersawn sycamore. 84 Popular Woodworking April 2003 |


