Popular Woodworking 2003-06 № 134, страница 76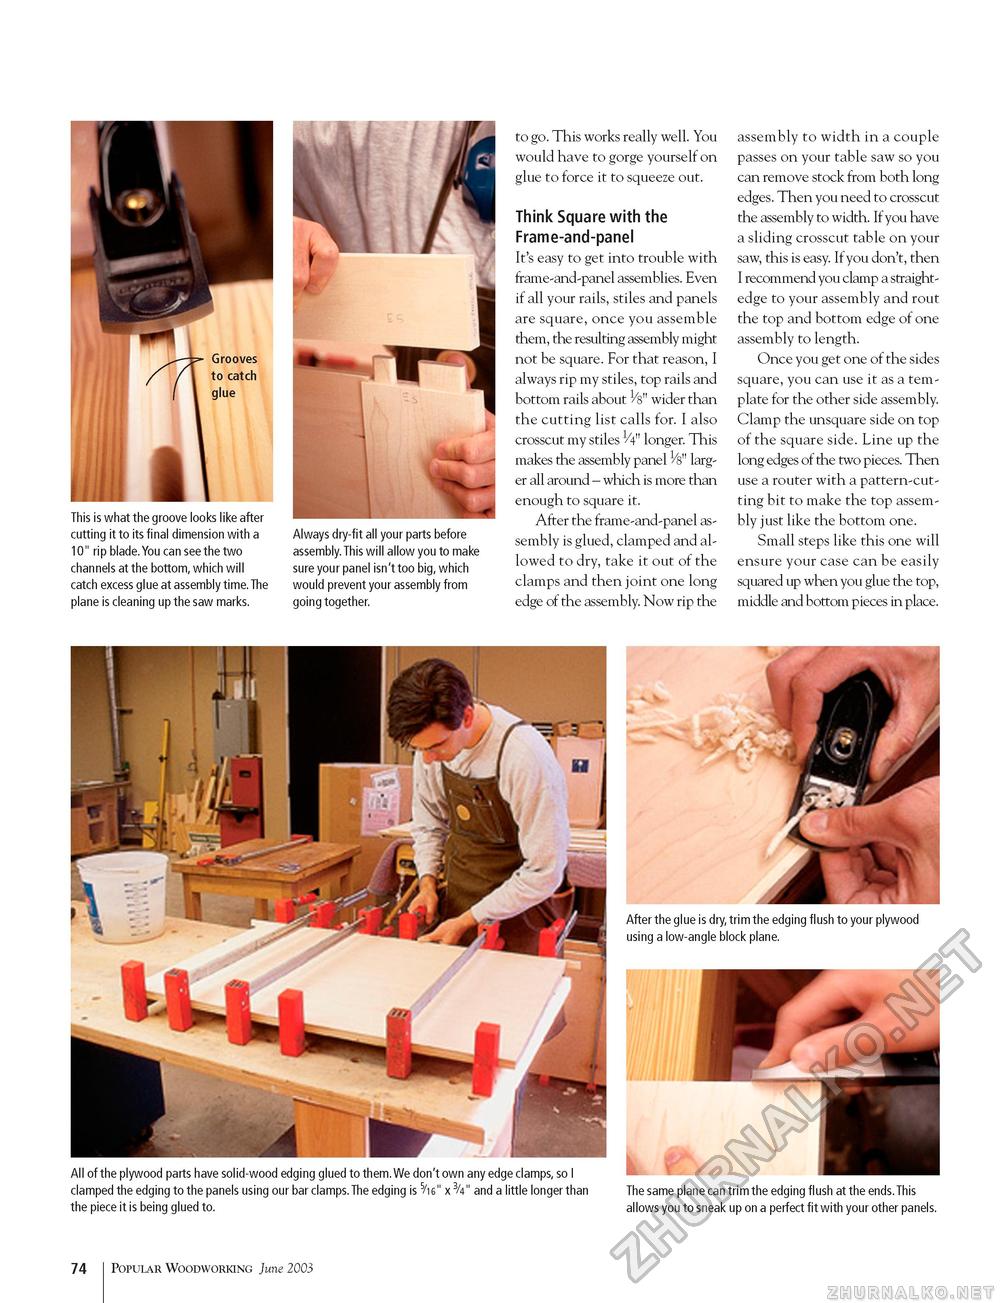
This is what the groove looks like after cutting it to its final dimension with a 10" rip blade.You can see the two channels at the bottom, which will catch excess glue at assembly time.The plane is cleaning up the saw marks. Always dry-fit all your parts before assembly.This will allow you to make sure your panel isn't too big, which would prevent your assembly from going together. to go. This works really well. You would have to gorge yourself on glue to force it to squeeze out. Think Square with the Frame-and-panel It's easy to get into trouble with frame-and-panel assemblies. Even if all your rails, stiles and panels are square, once you assemble them, the resulting assembly might not be square. For that reason, I always rip my stiles, top rails and bottom rails about ^s" wider than the cutting list calls for. I also crosscut my stiles 1/4" longer. This makes the assembly panel ^s" larger all around - which is more than enough to square it. After the frame-and-panel assembly is glued, clamped and allowed to dry, take it out of the clamps and then joint one long edge of the assembly. Now rip the assembly to width in a couple passes on your table saw so you can remove stock from both long edges. Then you need to crosscut the assembly to width. If you have a sliding crosscut table on your saw, this is easy. If you don't, then I recommend you clamp a straightedge to your assembly and rout the top and bottom edge of one assembly to length. Once you get one of the sides square, you can use it as a template for the other side assembly. Clamp the unsquare side on top of the square side. Line up the long edges of the two pieces. Then use a router with a pattern-cutting bit to make the top assembly just like the bottom one. Small steps like this one will ensure your case can be easily squared up when you glue the top, middle and bottom pieces in place. After the glue is dry, trim the edging flush to your plywood using a low-angle block plane. All of the plywood parts have solid-wood edging glued to them. We don't own any edge clamps, so I clamped the edging to the panels using our bar clamps.The edging is 5/16" x 3/4" and a little longer than The same plane can trim the edging flush at the ends.This the piece it is being glued to. allows you to sneak up on a perfect fit with your other panels. 74 Popular Woodworking June 2003 |


