Popular Woodworking 2003-10 № 136, страница 47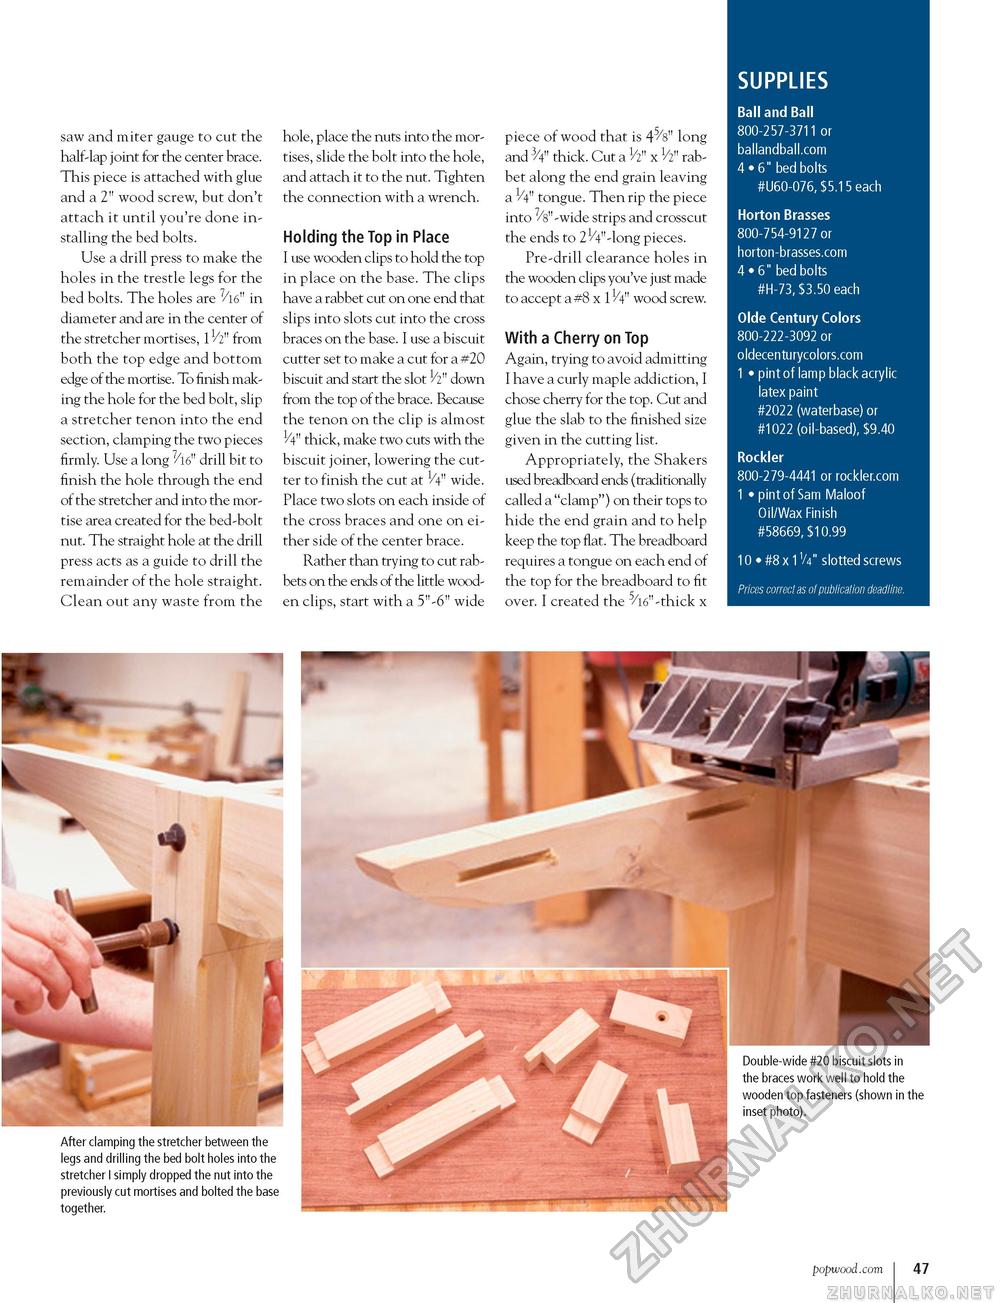
SUPPLIES Ball and Ball 800-257-3711 or ballandball.com 4 • 6" bed bolts #U60-076, $5.15 each Horton Brasses 800-754-9127 or horton-brasses.com 4 • 6" bed bolts #H-73, $3.50 each Olde Century Colors 800-222-3092 or oldecenturycolors.com 1 • pint of lamp black acrylic latex paint #2022 (waterbase) or #1022 (oil-based), $9.40 Rockler 800-279-4441 or rockler.com 1 • pint of Sam Maloof Oil/Wax Finish #58669, $10.99 10 • #8 x 1V4" slotted screws Prices correct as of publication deadline. saw and miter gauge to cut the half-lap joint for the center brace. This piece is attached with glue and a 2" wood screw, but don't attach it until you're done installing the bed bolts. Use a drill press to make the holes in the trestle legs for the bed bolts. The holes are 7/16" in diameter and are in the center of the stretcher mortises, 1V2" from both the top edge and bottom edge of the mortise. To finish making the hole for the bed bolt, slip a stretcher tenon into the end section, clamping the two pieces firmly. Use a long 7/16" drill bit to finish the hole through the end of the stretcher and into the mortise area created for the bed-bolt nut. The straight hole at the drill press acts as a guide to drill the remainder of the hole straight. Clean out any waste from the hole, place the nuts into the mortises, slide the bolt into the hole, and attach it to the nut. Tighten the connection with a wrench. Holding the Top in Place I use wooden clips to hold the top in place on the base. The clips have a rabbet cut on one end that slips into slots cut into the cross braces on the base. I use a biscuit cutter set to make a cut for a #20 biscuit and start the slot 1/2" down from the top of the brace. Because the tenon on the clip is almost 1/4" thick, make two cuts with the biscuit joiner, lowering the cutter to finish the cut at 1/4" wide. Place two slots on each inside of the cross braces and one on either side of the center brace. Rather than trying to cut rabbets on the ends of the little wooden clips, start with a 5"-6" wide piece of wood that is 45/8" long and 3/4" thick. Cut a 1/2" x 1/2" rabbet along the end grain leaving a V4" tongue. Then rip the piece into 7/8"-wide strips and crosscut the ends to 21/4"-long pieces. Pre-drill clearance holes in the wooden clips you've just made to accept a #8 x 11/4" wood screw. With a Cherry on Top Again, trying to avoid admitting I have a curly maple addiction, I chose cherry for the top. Cut and glue the slab to the finished size given in the cutting list. Appropriately, the Shakers used breadboard ends (traditionally called a "clamp") on their tops to hide the end grain and to help keep the top flat. The breadboard requires a tongue on each end of the top for the breadboard to fit over. I created the 5/16"-thick x popwood.com 47 |


