Popular Woodworking 2003-11 № 137, страница 54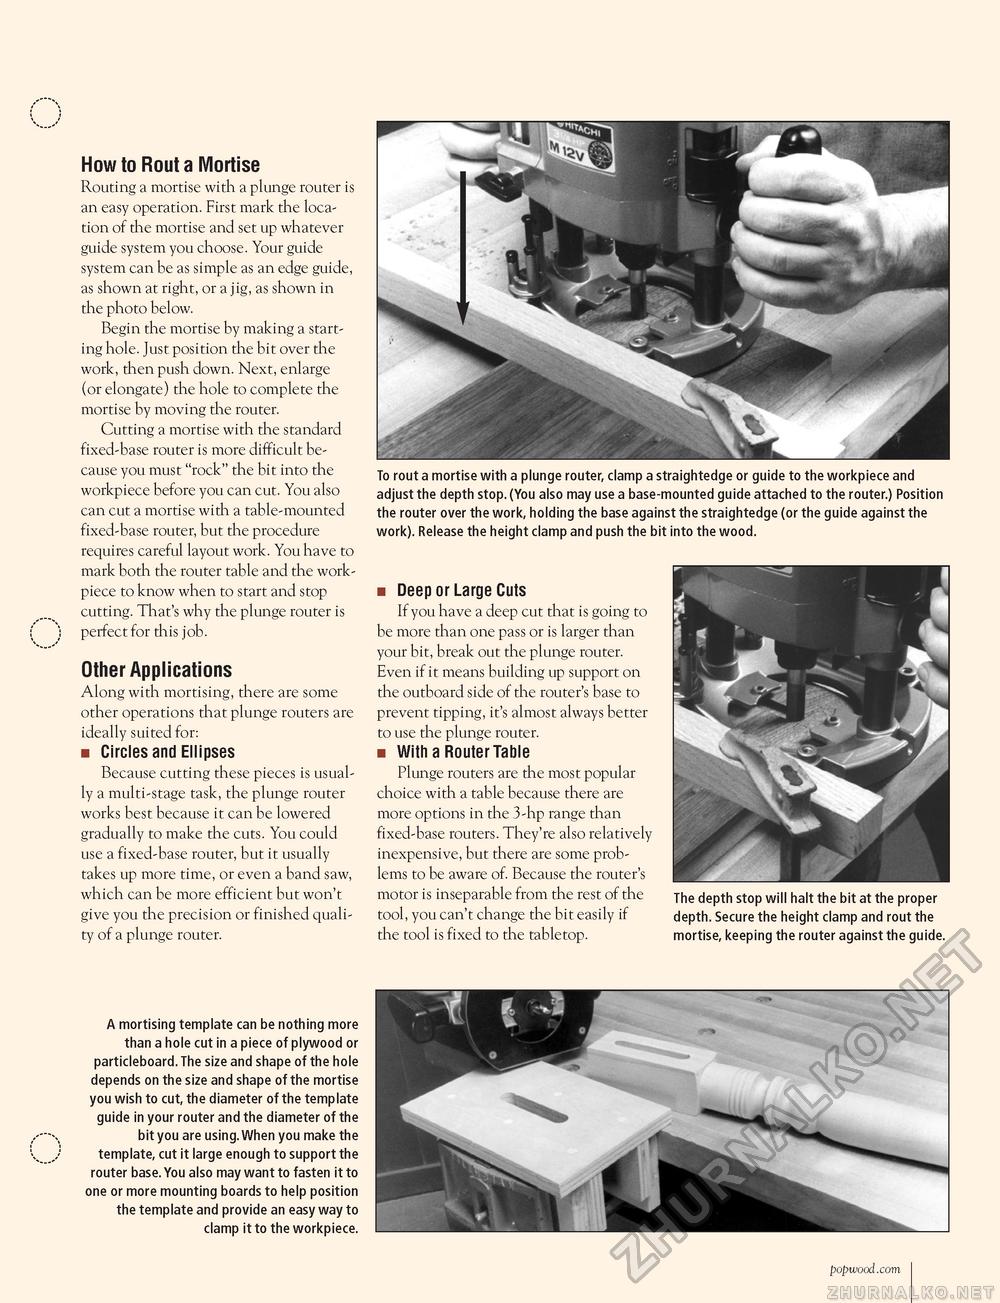
To rout a mortise with a plunge router, clamp a straightedge or guide to the workpiece and adjust the depth stop. (You also may use a base-mounted guide attached to the router.) Position the router over the work, holding the base against the straightedge (or the guide against the work). Release the height clamp and push the bit into the wood. How to Rout a Mortise Routing a mortise with a plunge router is an easy operation. First mark the location of the mortise and set up whatever guide system you choose. Your guide system can be as simple as an edge guide, as shown at right, or a jig, as shown in the photo below. Begin the mortise by making a starting hole. Just position the bit over the work, then push down. Next, enlarge (or elongate) the hole to complete the mortise by moving the router. Cutting a mortise with the standard fixed-base router is more difficult because you must "rock" the bit into the workpiece before you can cut. You also can cut a mortise with a table-mounted fixed-base router, but the procedure requires careful layout work. You have to mark both the router table and the work-piece to know when to start and stop cutting. That's why the plunge router is perfect for this job. Other Applications Along with mortising, there are some other operations that plunge routers are ideally suited for: ■ Circles and Ellipses Because cutting these pieces is usually a multi-stage task, the plunge router works best because it can be lowered gradually to make the cuts. You could use a fixed-base router, but it usually takes up more time, or even a band saw, which can be more efficient but won't give you the precision or finished quality of a plunge router. A mortising template can be nothing more than a hole cut in a piece of plywood or particleboard. The size and shape of the hole depends on the size and shape of the mortise you wish to cut, the diameter of the template guide in your router and the diameter of the bit you are using. When you make the template, cut it large enough to support the router base. You also may want to fasten it to one or more mounting boards to help position the template and provide an easy way to clamp it to the workpiece. ■ Deep or Large Cuts If you have a deep cut that is going to be more than one pass or is larger than your bit, break out the plunge router. Even if it means building up support on the outboard side of the router's base to prevent tipping, it's almost always better to use the plunge router. ■ With a Router Table Plunge routers are the most popular choice with a table because there are more options in the 3-hp range than fixed-base routers. They're also relatively inexpensive, but there are some problems to be aware of. Because the router's motor is inseparable from the rest of the tool, you can't change the bit easily if the tool is fixed to the tabletop. The depth stop will halt the bit at the proper depth. Secure the height clamp and rout the mortise, keeping the router against the guide. popwood.com 54 |


