Popular Woodworking 2004-02 № 139, страница 48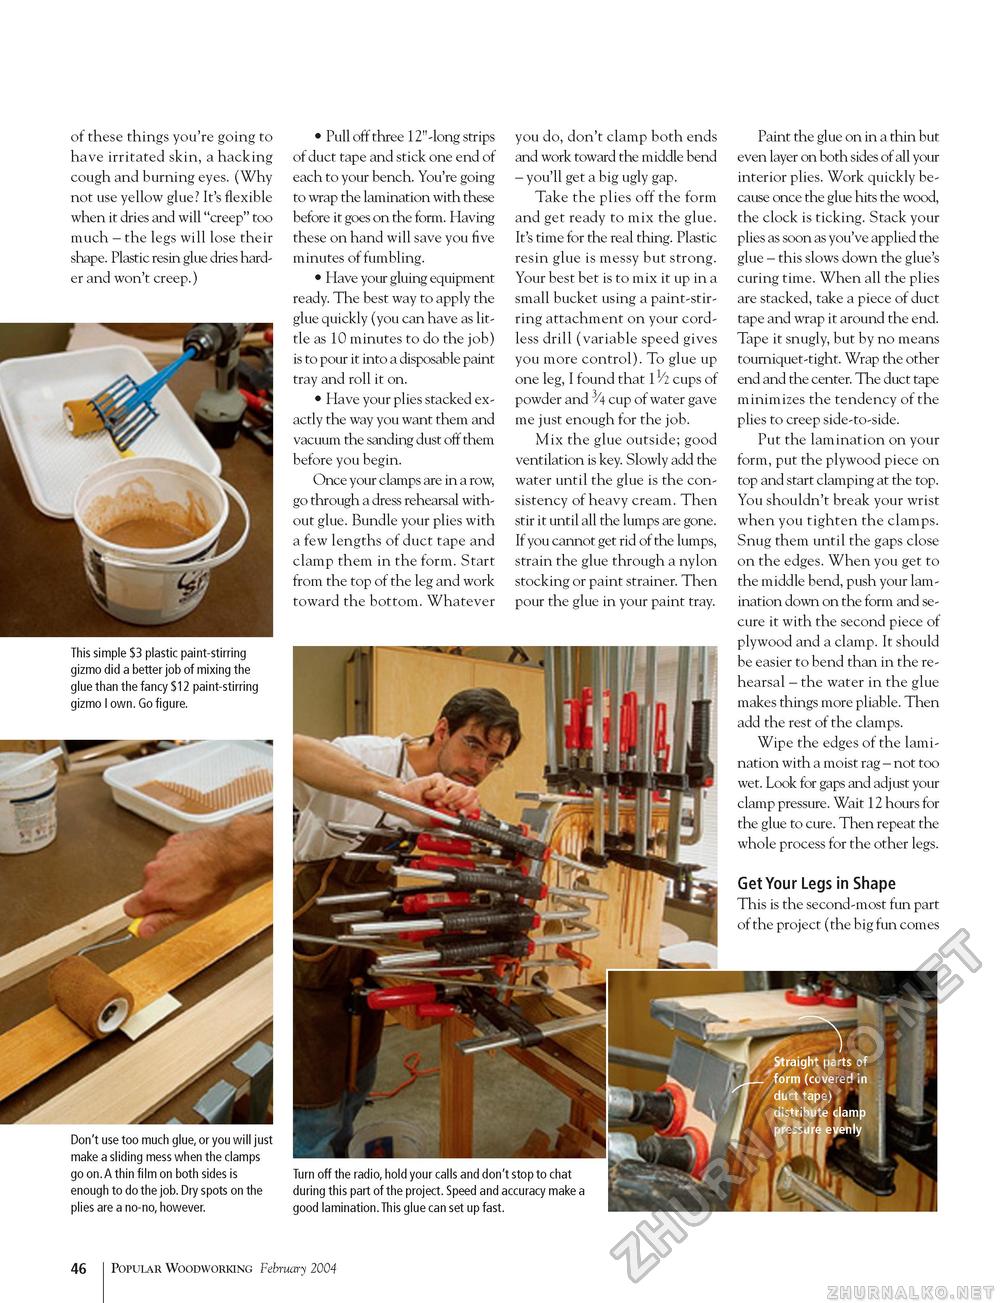
of these things you're going to have irritated skin, a hacking cough and burning eyes. (Why not use yellow glue? It's flexible when it dries and will "creep" too much - the legs will lose their shape. Plastic resin glue dries harder and won't creep.) • Pull off three 12"-long strips of duct tape and stick one end of each to your bench. You're going to wrap the lamination with these before it goes on the form. Having these on hand will save you five minutes of fumbling. • Have your gluing equipment ready. The best way to apply the glue quickly (you can have as little as 10 minutes to do the job) is to pour it into a disposable paint tray and roll it on. • Have your plies stacked exactly the way you want them and vacuum the sanding dust off them before you begin. Once your clamps are in a row, go through a dress rehearsal without glue. Bundle your plies with a few lengths of duct tape and clamp them in the form. Start from the top of the leg and work toward the bottom. Whatever you do, don't clamp both ends and work toward the middle bend - you'll get a big ugly gap. Take the plies off the form and get ready to mix the glue. It's time for the real thing. Plastic resin glue is messy but strong. Your best bet is to mix it up in a small bucket using a paint-stirring attachment on your cordless drill (variable speed gives you more control). To glue up one leg, I found that 11/2 cups of powder and 3/4 cup of water gave me just enough for the job. Mix the glue outside; good ventilation is key. Slowly add the water until the glue is the consistency of heavy cream. Then stir it until all the lumps are gone. If you cannot get rid of the lumps, strain the glue through a nylon stocking or paint strainer. Then pour the glue in your paint tray. This simple $3 plastic paint-stirring gizmo did a better job of mixing the glue than the fancy $12 paint-stirring gizmo I own. Go figure. Paint the glue on in a thin but even layer on both sides of all your interior plies. Work quickly because once the glue hits the wood, the clock is ticking. Stack your plies as soon as you've applied the glue - this slows down the glue's curing time. When all the plies are stacked, take a piece of duct tape and wrap it around the end. Tape it snugly, but by no means tourniquet-tight. Wrap the other end and the center. The duct tape minimizes the tendency of the plies to creep side-to-side. Put the lamination on your form, put the plywood piece on top and start clamping at the top. You shouldn't break your wrist when you tighten the clamps. Snug them until the gaps close on the edges. When you get to the middle bend, push your lamination down on the form and secure it with the second piece of plywood and a clamp. It should be easier to bend than in the rehearsal - the water in the glue makes things more pliable. Then add the rest of the clamps. Wipe the edges of the lamination with a moist rag - not too wet. Look for gaps and adjust your clamp pressure. Wait 12 hours for the glue to cure. Then repeat the whole process for the other legs. Get Your Legs in Shape This is the second-most fun part of the project (the big fun comes Don't use too much glue, or you will just make a sliding mess when the clamps go on.A thin film on both sides is enough to do the job. Dry spots on the plies are a no-no, however. Turn off the radio, hold your calls and don't stop to chat during this part of the project. Speed and accuracy make a good lamination.This glue can set up fast. 46 Popular Woodworking February 2004 |


