Popular Woodworking 2005-02 № 146, страница 49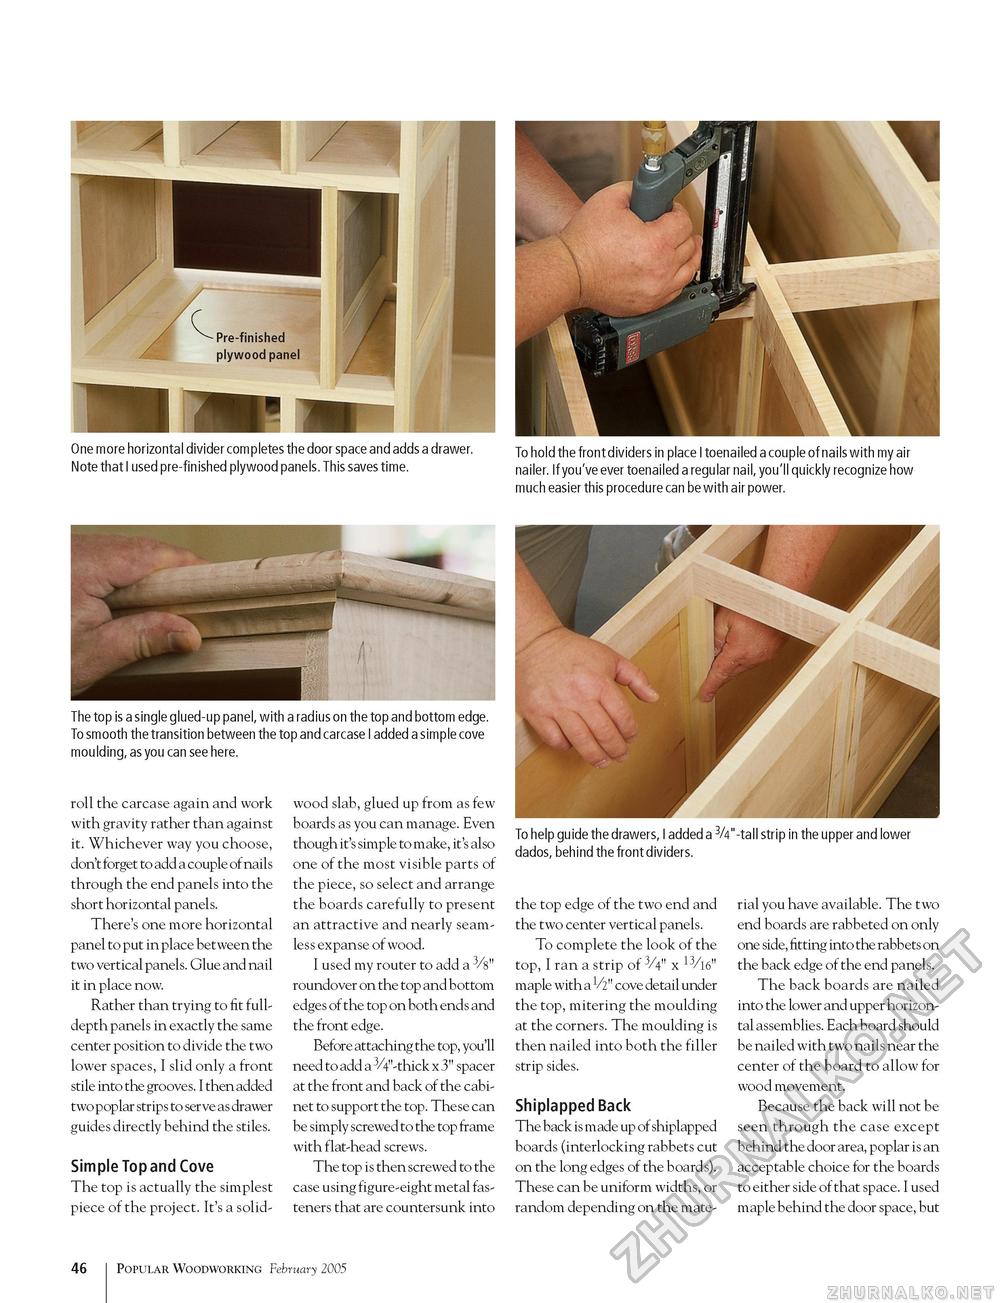
One more horizontal divider completes the door space and adds a drawer. Note that I used pre-finished plywood panels. This saves time. To hold the front dividers in place I toenailed a couple of nails with my air nailer. If you've ever toenailed a regular nail, you'll quickly recognize how much easier this procedure can be with air power. To help guide the drawers, I added a 3/4"-tall strip in the upper and lower dados, behind the front dividers. roll the carcase again and work with gravity rather than against it. Whichever way you choose, don't forget to add a couple of nails through the end panels into the short horizontal panels. There's one more horizontal panel to put in place between the two vertical panels. Glue and nail it in place now. Rather than trying to fit full-depth panels in exactly the same center position to divide the two lower spaces, I slid only a front stile into the grooves. I then added two poplar strips to serve as drawer guides directly behind the stiles. Simple Top and Cove The top is actually the simplest piece of the project. It's a solid- wood slab, glued up from as few boards as you can manage. Even though it's simple to make, it's also one of the most visible parts of the piece, so select and arrange the boards carefully to present an attractive and nearly seamless expanse of wood. I used my router to add a 3/s" roundover on the top and bottom edges of the top on both ends and the front edge. Before attaching the top, you'll need to add a 3/4"-thick x 3" spacer at the front and back of the cabinet to support the top. These can be simply screwed to the top frame with flat-head screws. The top is then screwed to the case using figure-eight metal fasteners that are countersunk into the top edge of the two end and the two center vertical panels. To complete the look of the top, I ran a strip of 3/4" x maple with a V2" cove detail under the top, mitering the moulding at the corners. The moulding is then nailed into both the filler strip sides. Shiplapped Back The back is made up of shiplapped boards (interlocking rabbets cut on the long edges of the boards). These can be uniform widths, or random depending on the mate rial you have available. The two end boards are rabbeted on only one side, fitting into the rabbets on the back edge of the end panels. The back boards are nailed into the lower and upper horizontal assemblies. Each board should be nailed with two nails near the center of the board to allow for wood movement. Because the back will not be seen through the case except behind the door area, poplar is an acceptable choice for the boards to either side of that space. I used maple behind the door space, but 46 Popular Woodworking February 2005 |


