Popular Woodworking 2005-04 № 147, страница 58
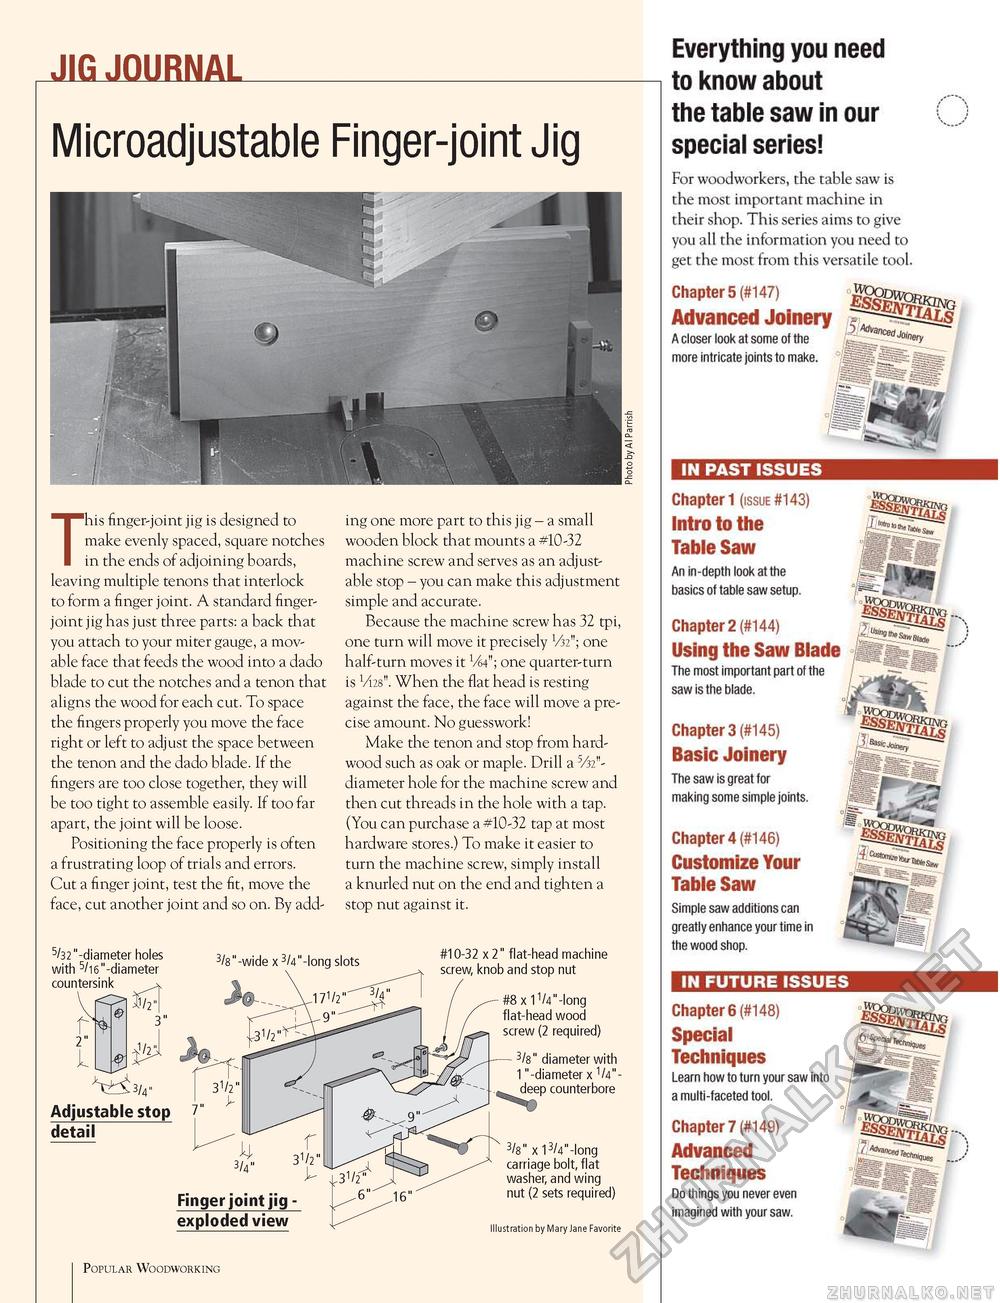
JIG JOURNAL Microadjustable Finger-joint Jig This finger-joint jig is designed to make evenly spaced, square notches in the ends of adjoining boards, leaving multiple tenons that interlock to form a finger joint. A standard finger-joint jig has just three parts: a back that you attach to your miter gauge, a movable face that feeds the wood into a dado blade to cut the notches and a tenon that aligns the wood for each cut. To space the fingers properly you move the face right or left to adjust the space between the tenon and the dado blade. If the fingers are too close together, they will be too tight to assemble easily. If too far apart, the joint will be loose. Positioning the face properly is often a frustrating loop of trials and errors. Cut a finger joint, test the fit, move the face, cut another joint and so on. By add- ing one more part to this jig - a small wooden block that mounts a #10-32 machine screw and serves as an adjustable stop - you can make this adjustment simple and accurate. Because the machine screw has 32 tpi, one turn will move it precisely V32"; one half-turn moves it W; one quarter-turn is VI28". When the flat head is resting against the face, the face will move a precise amount. No guesswork! Make the tenon and stop from hardwood such as oak or maple. Drill a W'-diameter hole for the machine screw and then cut threads in the hole with a tap. (You can purchase a #10-32 tap at most hardware stores.) To make it easier to turn the machine screw, simply install a knurled nut on the end and tighten a stop nut against it. 5/32 "-diameter holes with 5/i6"-diameter countersink 3/8"-wide x3/4"-long slots 2" L ^ Adjustable stop ] detail #10-32x2" flat-head machine screw, knob and stop nut #8x1l/4"-long flat-head wood screw (2 required) 3/s" diameterwith 1"-diameter x 1/4"-deep counterbore Finger joint jig -exploded view 3/8" x13/4"-long carriage bolt, flat washer, and wing nut (2 sets required) Illustration by Mary Jane Favorite Popular Woodworking |


