Popular Woodworking 2005-06 № 148, страница 73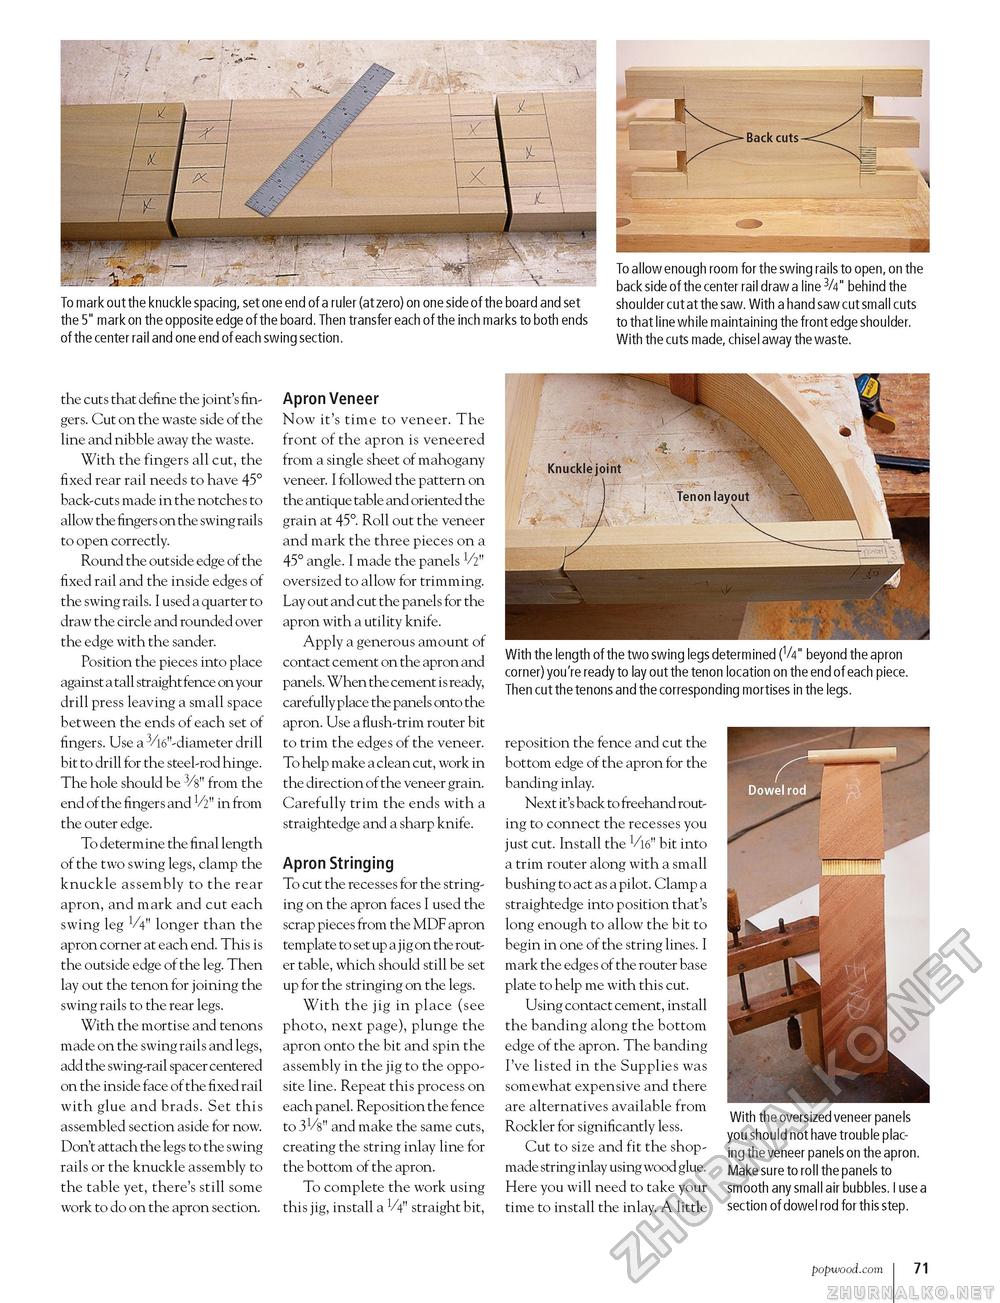
To mark out the knuckle spacing, set one end of a ruler (at zero) on one side of the board and set shoulder cut at the saw. With a hand saw cut small cuts the 5" mark on the opposite edge of the board. Then transfer each of the inch marks to both ends to that line while maintaining the front edge shoulder. of the center rail and one end of each swing section. With the cuts made, chisel away the waste. With the length of the two swing legs determined (V4" beyond the apron corner) you're ready to lay out the tenon location on the end of each piece. Then cut the tenons and the corresponding mortises in the legs. the cuts that define the joint's fingers. Cut on the waste side of the line and nibble away the waste. With the fingers all cut, the fixed rear rail needs to have 45° back-cuts made in the notches to allow the fingers on the swing rails to open correctly. Round the outside edge of the fixed rail and the inside edges of the swing rails. I used a quarter to draw the circle and rounded over the edge with the sander. Position the pieces into place against a tall straight fence on your drill press leaving a small space between the ends of each set of fingers. Use a 3/l6"-diameter drill bit to drill for the steel-rod hinge. The hole should be 3/8" from the end of the fingers and V2" in from the outer edge. To determine the final length of the two swing legs, clamp the knuckle assembly to the rear apron, and mark and cut each swing leg V4" longer than the apron corner at each end. This is the outside edge of the leg. Then lay out the tenon for joining the swing rails to the rear legs. With the mortise and tenons made on the swing rails and legs, add the swing-rail spacer centered on the inside face of the fixed rail with glue and brads. Set this assembled section aside for now. Don't attach the legs to the swing rails or the knuckle assembly to the table yet, there's still some work to do on the apron section. Apron Veneer Now it's time to veneer. The front of the apron is veneered from a single sheet of mahogany veneer. I followed the pattern on the antique table and oriented the grain at 45°. Roll out the veneer and mark the three pieces on a 45° angle. I made the panels V2" oversized to allow for trimming. Lay out and cut the panels for the apron with a utility knife. Apply a generous amount of contact cement on the apron and panels. When the cement is ready, carefully place the panels onto the apron. Use a flush-trim router bit to trim the edges of the veneer. To help make a clean cut, work in the direction of the veneer grain. Carefully trim the ends with a straightedge and a sharp knife. Apron Stringing To cut the recesses for the stringing on the apron faces I used the scrap pieces from the MDF apron template to set up a jig on the router table, which should still be set up for the stringing on the legs. With the jig in place (see photo, next page), plunge the apron onto the bit and spin the assembly in the jig to the opposite line. Repeat this process on each panel. Reposition the fence to 3V8" and make the same cuts, creating the string inlay line for the bottom of the apron. To complete the work using this jig, install a V4" straight bit, reposition the fence and cut the bottom edge of the apron for the banding inlay. Next it's back to freehand routing to connect the recesses you just cut. Install the V16" bit into a trim router along with a small bushing to act as a pilot. Clamp a straightedge into position that's long enough to allow the bit to begin in one of the string lines. I mark the edges of the router base plate to help me with this cut. Using contact cement, install the banding along the bottom edge of the apron. The banding I've listed in the Supplies was somewhat expensive and there are alternatives available from Rockler for significantly less. Cut to size and fit the shop-made string inlay using wood glue. Here you will need to take your time to install the inlay. A little With the oversized veneer panels you should not have trouble placing the veneer panels on the apron. Make sure to roll the panels to smooth any small air bubbles. I use a section of dowel rod for this step. popwood.com 71 |


