Popular Woodworking 2005-10 № 150, страница 81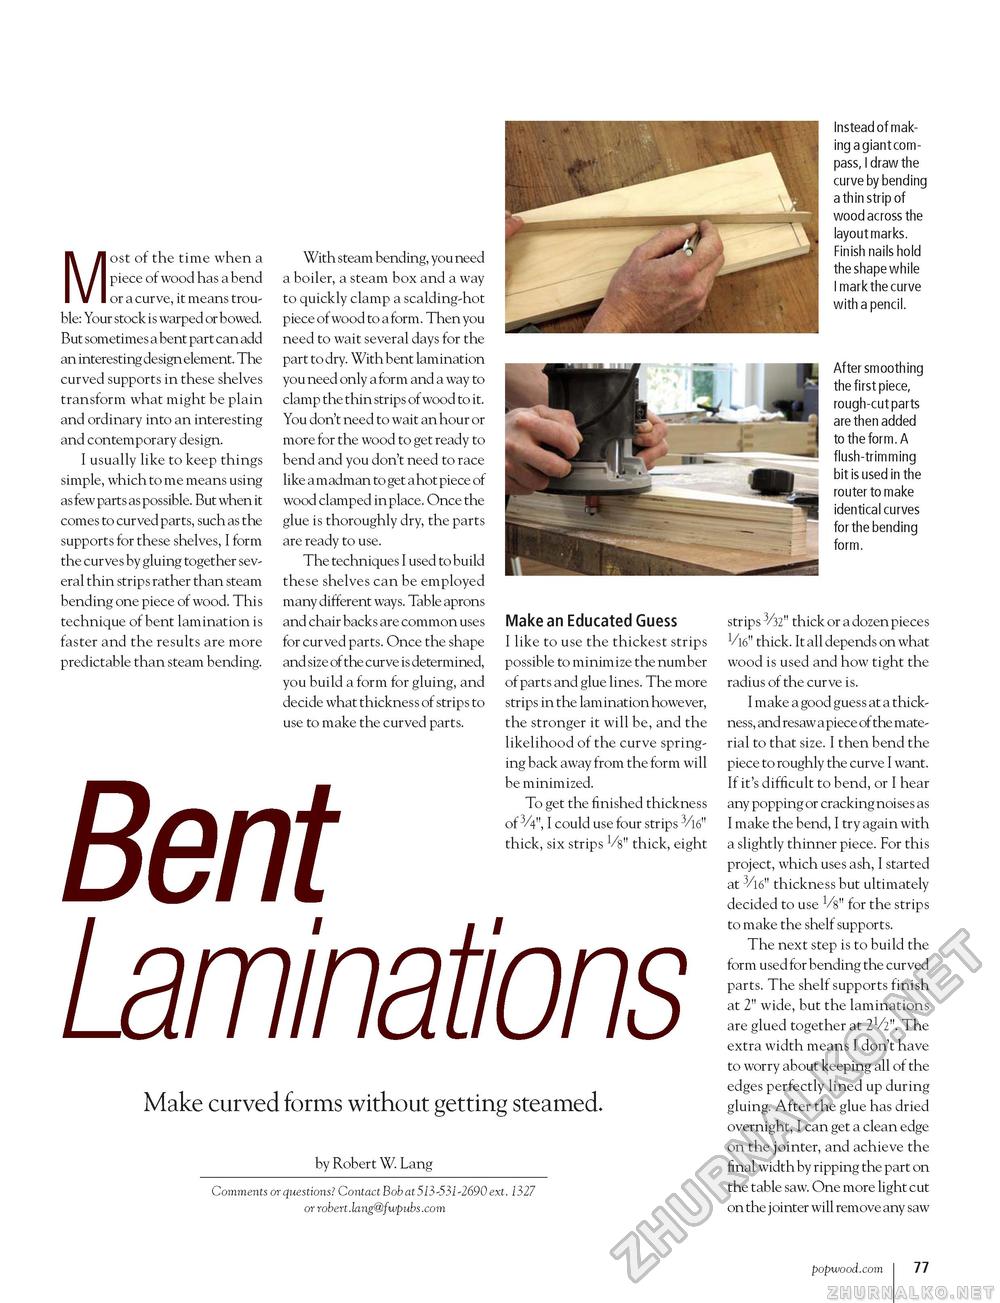
Instead of making a giant compass, I draw the curve by bending a thin strip of wood across the layout marks. Finish nails hold the shape while I mark the curve with a pencil. After smoothing the first piece, rough-cut parts are then added to the form. A fl ush-trimming bit is used in the router to make identical curves for the bending form. Most of the time when a piece of wood has a bend or a curve, it means trouble: Your stock is warped or bowed. But sometimes a bent part can add an interesting design element. The curved supports in these shelves transform what might be plain and ordinary into an interesting and contemporary design. I usually like to keep things simple, which to me means using as few parts as possible. But when it comes to curved parts, such as the supports for these shelves, I form the curves by gluing together several thin strips rather than steam bending one piece of wood. This technique of bent lamination is faster and the results are more predictable than steam bending. With steam bending, you need a boiler, a steam box and a way to quickly clamp a scalding-hot piece ofwood to a form. Then you need to wait several days for the part to dry. With bent lamination you need only a form and a way to clamp the thin strips of wood to it. You don't need to wait an hour or more for the wood to get ready to bend and you don't need to race like a madman to get a hot piece of wood clamped in place. Once the glue is thoroughly dry, the parts are ready to use. The techniques I used to build these shelves can be employed many different ways. Table aprons and chair backs are common uses for curved parts. Once the shape and size of the curve is determined, you build a form for gluing, and decide what thickness of strips to use to make the curved parts. Make an Educated Guess I like to use the thickest strips possible to minimize the number of parts and glue lines. The more strips in the lamination however, the stronger it will be, and the likelihood of the curve springing back away from the form will be minimized. To get the finished thickness of V4", I could use four strips 3/l6" thick, six strips Vs" thick, eight strips 3/32" thick or a dozen pieces V16" thick. It all depends on what wood is used and how tight the radius of the curve is. I make a good guess at a thickness, and resaw a piece of the material to that size. I then bend the piece to roughly the curve I want. If it's difficult to bend, or I hear any popping or cracking noises as I make the bend, I try again with a slightly thinner piece. For this project, which uses ash, I started at 3/l6" thickness but ultimately decided to use Vs" for the strips to make the shelf supports. The next step is to build the form used for bending the curved parts. The shelf supports finish at 2" wide, but the laminations are glued together at 2V2". The extra width means I don't have to worry about keeping all of the edges perfectly lined up during gluing. After the glue has dried overnight, I can get a clean edge on the jointer, and achieve the final width by ripping the part on the table saw. One more light cut on the j ointer will remove any saw Bent Laminations Make curved forms without getting steamed. by Robert W. Lang Comments or questions? Contact Bob at 513-531-2690 ext. 1327 or robert.lang@fwpubs.com popwood.com i 77 |


