Popular Woodworking 2005-10 № 150, страница 84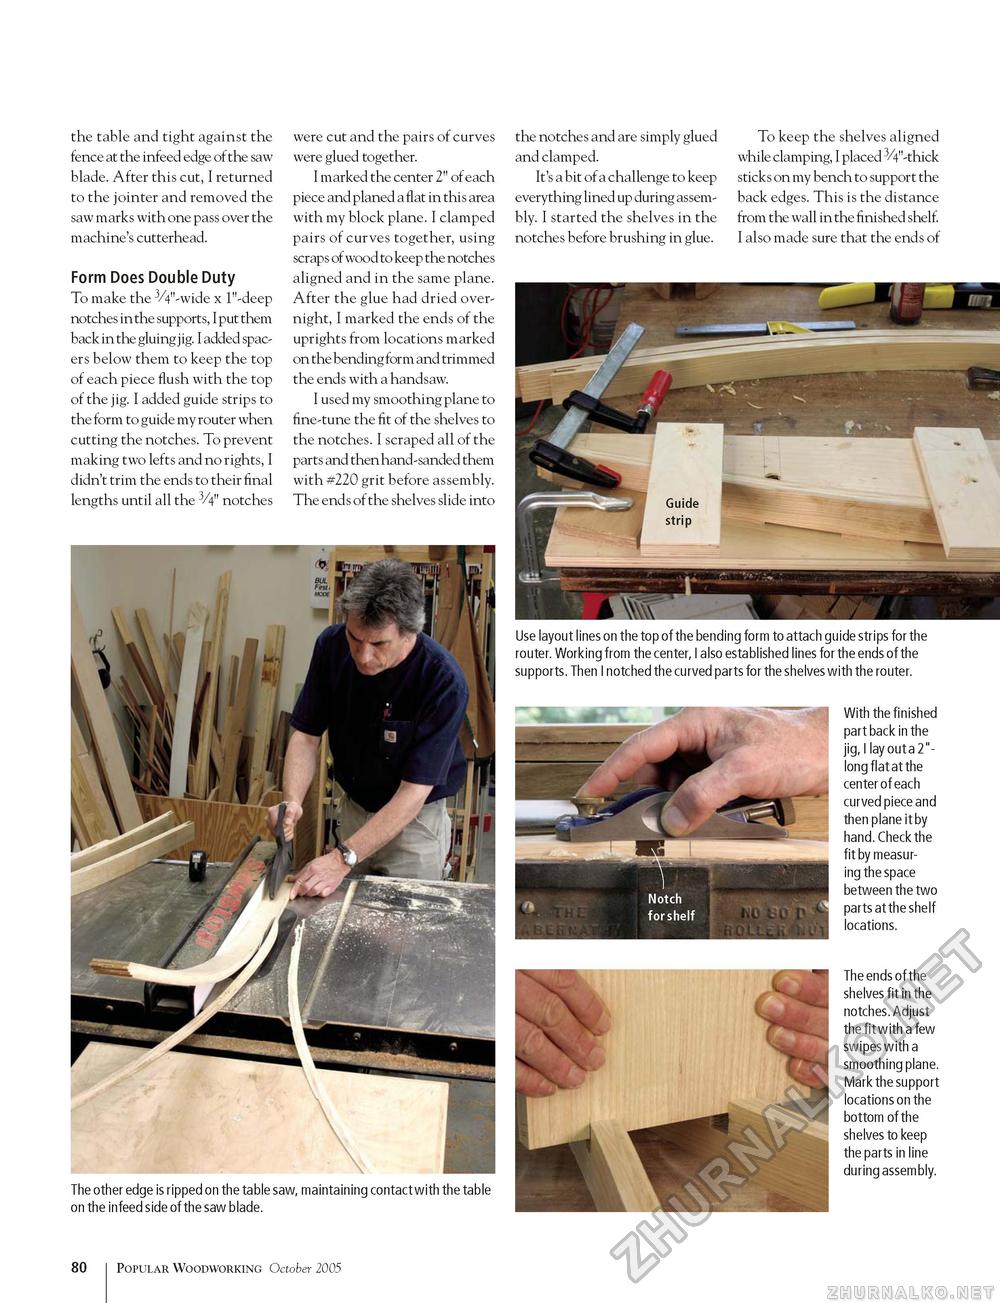
the table and tight against the fence at the infeed edge of the saw blade. After this cut, I returned to the jointer and removed the saw marks with one pass over the machine's cutterhead. Form Does Double Duty To make the 3/4"-wide x 1"-deep notches in the supports, I put them back in the gluing j ig. I added spacers below them to keep the top of each piece flush with the top of the jig. I added guide strips to the form to guide my router when cutting the notches. To prevent making two lefts and no rights, I didn't trim the ends to their final lengths until all the 3/4" notches were cut and the pairs of curves were glued together. I marked the center 2" of each piece and planed a flat in this area with my block plane. I clamped pairs of curves together, using scraps of wood to keep the notches aligned and in the same plane. After the glue had dried overnight, I marked the ends of the uprights from locations marked on the bending form and trimmed the ends with a handsaw. I used my smoothing plane to fine-tune the fit of the shelves to the notches. I scraped all of the parts and then hand-sanded them with #220 grit before assembly. The ends of the shelves slide into the notches and are simply glued and clamped. It's a bit of a challenge to keep everything lined up during assembly. I started the shelves in the notches before brushing in glue. To keep the shelves aligned while clamping, I placed 3/4"-thick sticks on my bench to support the back edges. This is the distance from the wall in the finished shelf. I also made sure that the ends of Use layout lines on the top of the bending form to attach guide strips for the router. Working from the center, I also established lines for the ends of the supports. Then I notched the curved parts for the shelves with the router. The other edge is ripped on the table saw, maintaining contact with the table on the infeed side of the saw blade. With the finished part back in the jig, I lay out a 2"-long flat at the center of each curved piece and then plane it by hand. Check the fit by measuring the space between the two parts at the shelf locations. The ends of the shelves fit in the notches. Adjust the fit with a few swipes with a smoothing plane. Mark the support locations on the bottom of the shelves to keep the parts in line during assembly. 80 Popular Woodworking October 2005 |


