Popular Woodworking 2005-10 № 150, страница 85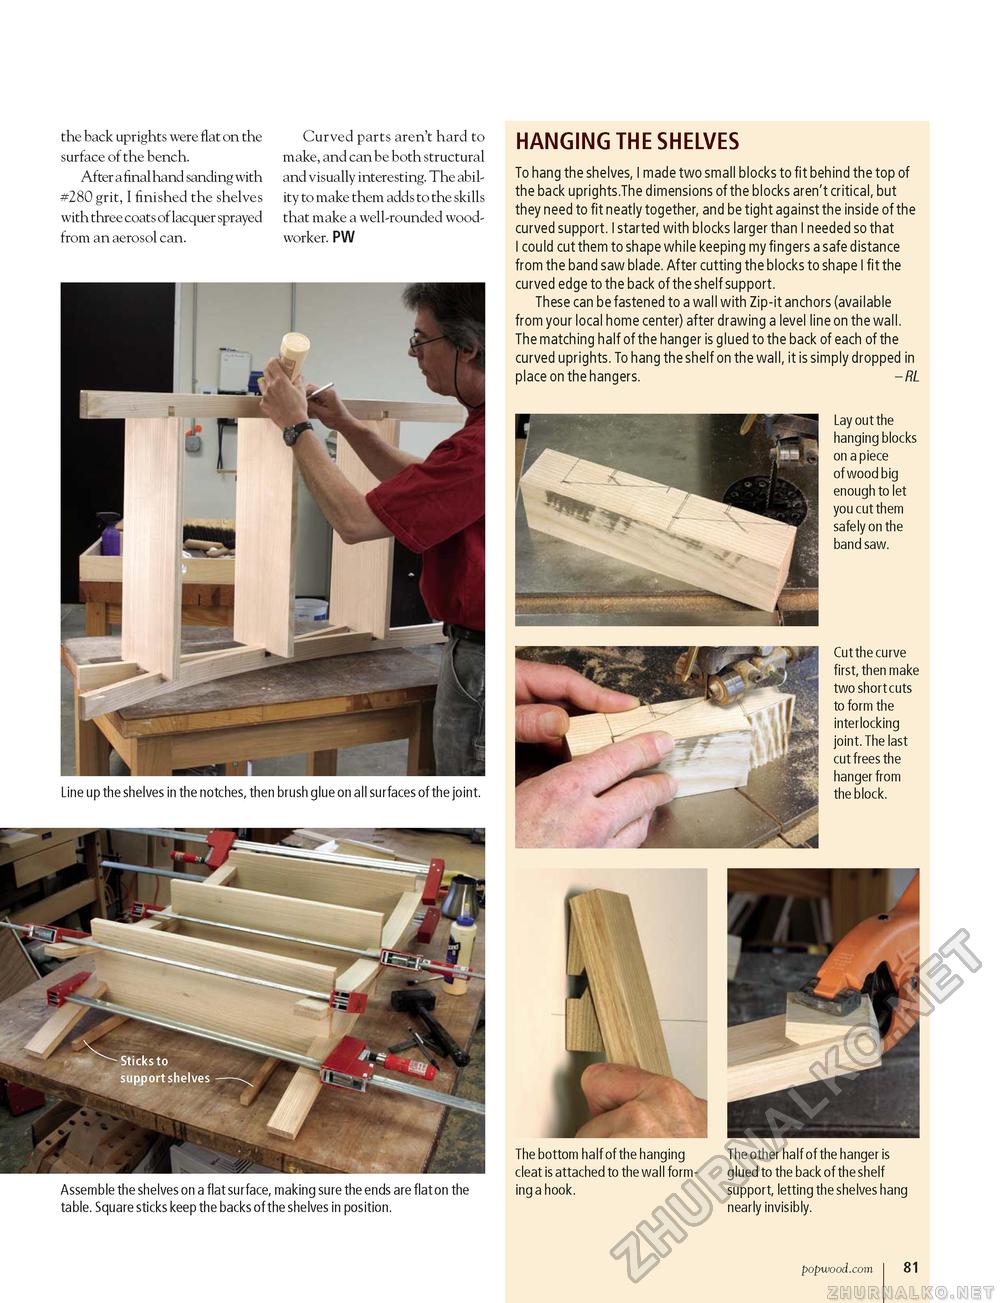
the back uprights were flat on the surface of the bench. After a final hand sanding with #280 grit, I finished the shelves with three coats of lacquer sprayed from an aerosol can. Curved parts aren't hard to make, and can be both structural and visually interesting. The ability to make them adds to the skills that make a well-rounded woodworker. PW HANGING THE SHELVES To hang the shelves, I made two small blocks to fit behind the top of the back uprights.The dimensions of the blocks aren't critical, but they need to fit neatly together, and be tight against the inside of the curved support. I started with blocks larger than I needed so that I could cut them to shape while keeping my fingers a safe distance from the band saw blade. After cutting the blocks to shape I fit the curved edge to the back of the shelf support. These can be fastened to a wall with Zip-it anchors (available from your local home center) after drawing a level line on the wall. The matching half of the hanger is glued to the back of each of the curved uprights. To hang the shelf on the wall, it is simply dropped in place on the hangers. - RL Lay out the hanging blocks on a piece of wood big enough to let you cut them safely on the band saw. Line up the shelves in the notches, then brush glue on all surfaces of the joint. Cut the curve fi rst, then make two short cuts to form the interlocking joint. The last cut frees the hanger from the block. Assemble the shelves on a fiat surface, making sure the ends are fiat on the table. Square sticks keep the backs of the shelves in position. The bottom half of the hanging cleat is attached to the wall forming a hook. The other half of the hanger is glued to the back of the shelf support, letting the shelves hang nearly invisibly. popwood.com i 81 |


