Popular Woodworking 2006-04 № 154, страница 74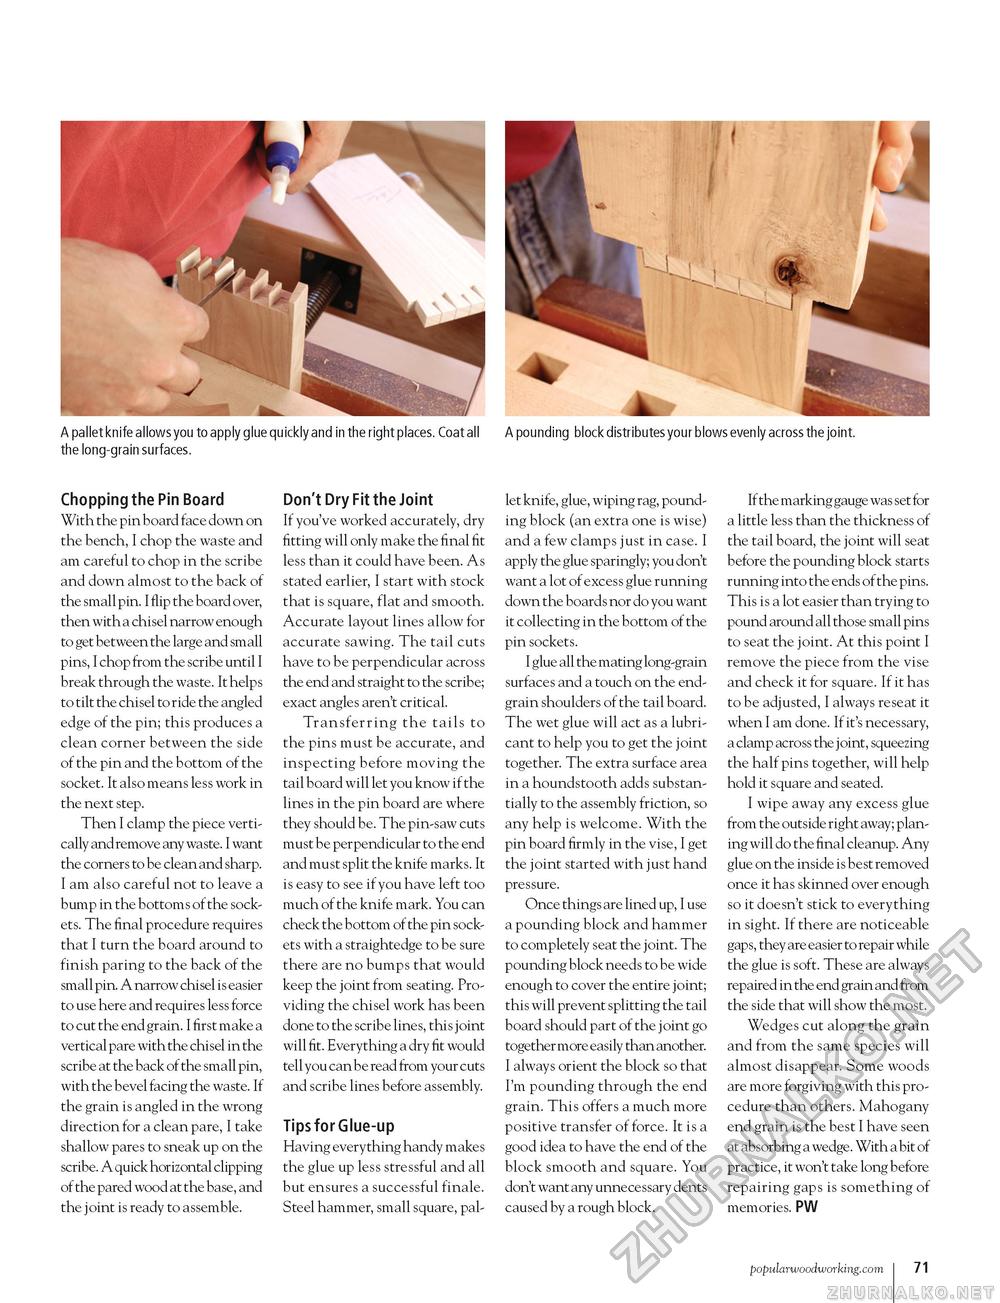
A pallet knife allows you to apply glue quickly and in the right places. Coat all A pounding block distributes your blows evenly across the joint. the long-grain surfaces. Chopping the Pin Board With the pin board face down on the bench, I chop the waste and am careful to chop in the scribe and down almost to the back of the small pin. I flip the board over, then with a chisel narrow enough to get between the large and small pins, I chop from the scribe until I break through the waste. It helps to tilt the chisel to ride the angled edge of the pin; this produces a clean corner between the side of the pin and the bottom of the socket. It also means less work in the next step. Then I clamp the piece vertically and remove any waste. I want the corners to be clean and sharp. I am also careful not to leave a bump in the bottoms of the sockets. The final procedure requires that I turn the board around to finish paring to the back of the small pin. A narrow chisel is easier to use here and requires less force to cut the end grain. I first make a vertical pare with the chisel in the scribe at the back of the small pin, with the bevel facing the waste. If the grain is angled in the wrong direction for a clean pare, I take shallow pares to sneak up on the scribe. A quick horizontal clipping of the pared wood at the base, and the joint is ready to assemble. Don't Dry Fit the Joint If you've worked accurately, dry fitting will only make the final fit less than it could have been. As stated earlier, I start with stock that is square, flat and smooth. Accurate layout lines allow for accurate sawing. The tail cuts have to be perpendicular across the end and straight to the scribe; exact angles aren't critical. Transferring the tails to the pins must be accurate, and inspecting before moving the tail board will let you know if the lines in the pin board are where they should be. The pin-saw cuts must be perpendicular to the end and must split the knife marks. It is easy to see if you have left too much of the knife mark. You can check the bottom of the pin sockets with a straightedge to be sure there are no bumps that would keep the joint from seating. Providing the chisel work has been done to the scribe lines, this joint will fit. Everything a dry fit would tell you can be read from your cuts and scribe lines before assembly. Tips for Glue-up Having everything handy makes the glue up less stressful and all but ensures a successful finale. Steel hammer, small square, pal let knife, glue, wiping rag, pounding block (an extra one is wise) and a few clamps just in case. I apply the glue sparingly; you don't want a lot of excess glue running down the boards nor do you want it collecting in the bottom of the pin sockets. I glue all the mating long-grain surfaces and a touch on the end-grain shoulders of the tail board. The wet glue will act as a lubricant to help you to get the joint together. The extra surface area in a houndstooth adds substantially to the assembly friction, so any help is welcome. With the pin board firmly in the vise, I get the joint started with just hand pressure. Once things are lined up, I use a pounding block and hammer to completely seat the joint. The pounding block needs to be wide enough to cover the entire joint; this will prevent splitting the tail board should part of the joint go together more easily than another. I always orient the block so that I'm pounding through the end grain. This offers a much more positive transfer of force. It is a good idea to have the end of the block smooth and square. You don't want any unnecessary dents caused by a rough block. If the marking gauge was set for a little less than the thickness of the tail board, the joint will seat before the pounding block starts running into the ends of the pins. This is a lot easier than trying to pound around all those small pins to seat the joint. At this point I remove the piece from the vise and check it for square. If it has to be adjusted, I always reseat it when I am done. If it's necessary, a clamp across the joint, squeezing the half pins together, will help hold it square and seated. I wipe away any excess glue from the outside right away; planing will do the final cleanup. Any glue on the inside is best removed once it has skinned over enough so it doesn't stick to everything in sight. If there are noticeable gaps, they are easier to repair while the glue is soft. These are always repaired in the end grain and from the side that will show the most. Wedges cut along the grain and from the same species will almost disappear. Some woods are more forgiving with this procedure than others. Mahogany end grain is the best I have seen at absorbing a wedge. With a bit of practice, it won't take long before repairing gaps is something of memories. PW popularwoodworking.com i 71 |


