Popular Woodworking 2006-06 № 155, страница 65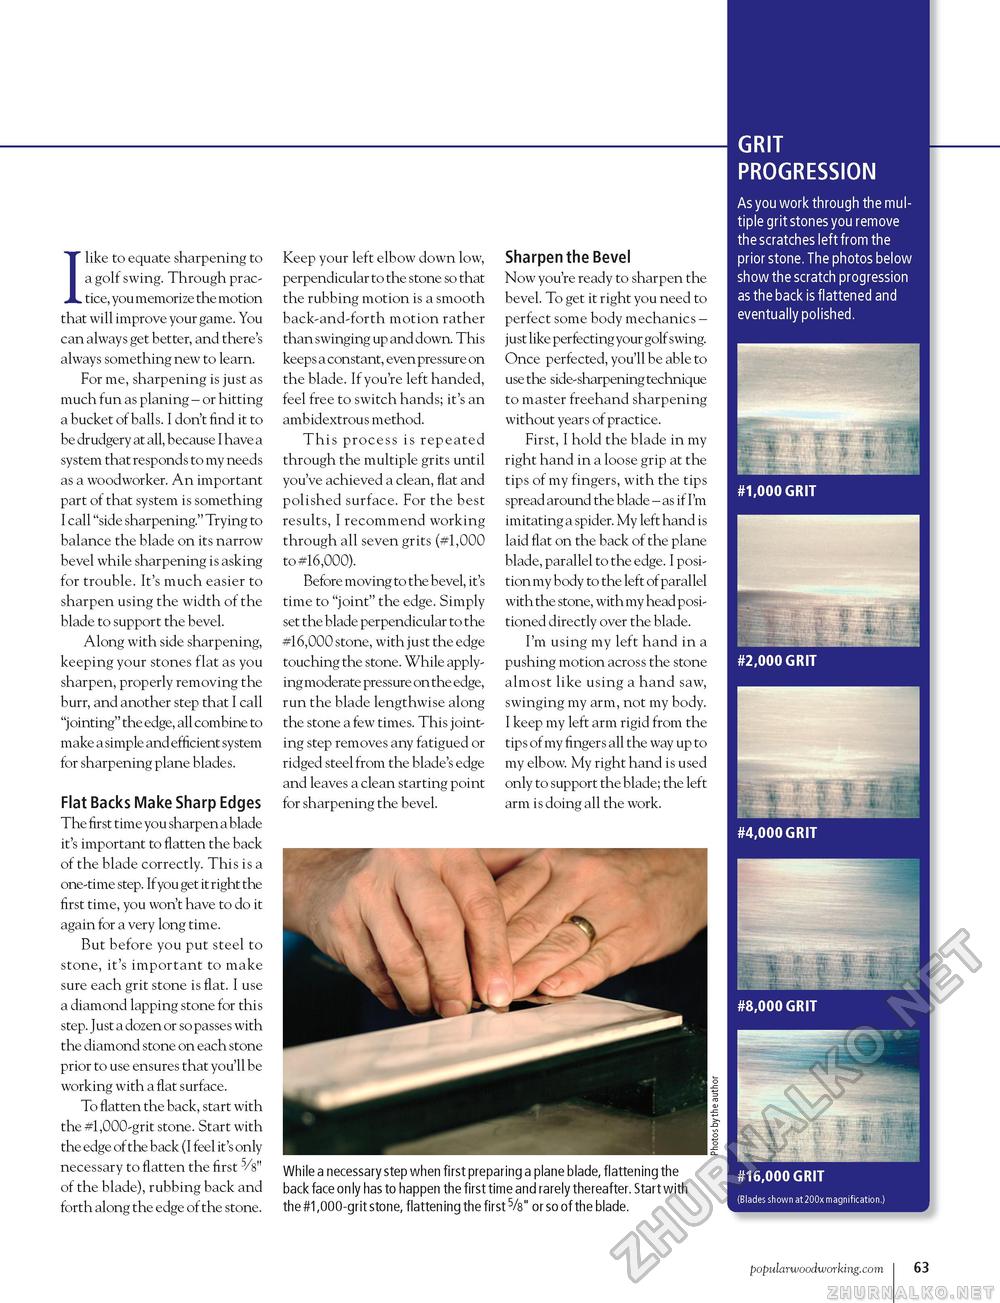
GRIT PROGRESSION Ilike to equate sharpening to a golf swing. Through practice, you memorize the motion that will improve your game. You can always get better, and there's always something new to learn. For me, sharpening is just as much fun as planing - or hitting a bucket of balls. I don't find it to be drudgery at all, because I have a system that responds to my needs as a woodworker. An important part of that system is something I call "side sharpening." Trying to balance the blade on its narrow bevel while sharpening is asking for trouble. It's much easier to sharpen using the width of the blade to support the bevel. Along with side sharpening, keeping your stones flat as you sharpen, properly removing the burr, and another step that I call "jointing" the edge, all combine to make a simple and efficient system for sharpening plane blades. Flat Backs Make Sharp Edges The first time you sharpen a blade it's important to flatten the back of the blade correctly. This is a one-time step. If you get it right the first time, you won't have to do it again for a very long time. But before you put steel to stone, it's important to make sure each grit stone is flat. I use a diamond lapping stone for this step. Just a dozen or so passes with the diamond stone on each stone prior to use ensures that you'll be working with a flat surface. To flatten the back, start with the #1,000-grit stone. Start with the edge of the back (I feel it's only necessary to flatten the first 5/3" of the blade), rubbing back and forth along the edge of the stone. Keep your left elbow down low, perpendicular to the stone so that the rubbing motion is a smooth back-and-forth motion rather than swinging up and down. This keeps a constant, even pressure on the blade. If you're left handed, feel free to switch hands; it's an ambidextrous method. This process is repeated through the multiple grits until you've achieved a clean, flat and polished surface. For the best results, I recommend working through all seven grits (#1,000 to #16,000). Before moving to the bevel, it's time to "joint" the edge. Simply set the blade perpendicular to the #16,000 stone, with just the edge touching the stone. While applying moderate pressure on the edge, run the blade lengthwise along the stone a few times. This jointing step removes any fatigued or ridged steel from the blade's edge and leaves a clean starting point for sharpening the bevel. Sharpen the Bevel Now you're ready to sharpen the bevel. To get it right you need to perfect some body mechanics -just like perfecting your golf swing. Once perfected, you'll be able to use the side-sharpening technique to master freehand sharpening without years of practice. First, I hold the blade in my right hand in a loose grip at the tips of my fingers, with the tips spread around the blade - as if I'm imitating a spider. My left hand is laid flat on the back of the plane blade, parallel to the edge. I position my body to the left of parallel with the stone, with my head positioned directly over the blade. I'm using my left hand in a pushing motion across the stone almost like using a hand saw, swinging my arm, not my body. I keep my left arm rigid from the tips of my fingers all the way up to my elbow. My right hand is used only to support the blade; the left arm is doing all the work. As you work through the multiple grit stones you remove the scratches left from the prior stone. The photos below show the scratch progression as the back is flattened and eventually polished. #4,000 GRIT While a necessary step when first preparing a plane blade, flattening the back face only has to happen the first time and rarely thereafter. Start with the #1,000-grit stone, flattening the first 5/s" or so of the blade. #16,000 GRIT (Blades shown at 200x magnification.) popularwoodworking.com I 63 |


