Popular Woodworking 2007-04 № 161, страница 44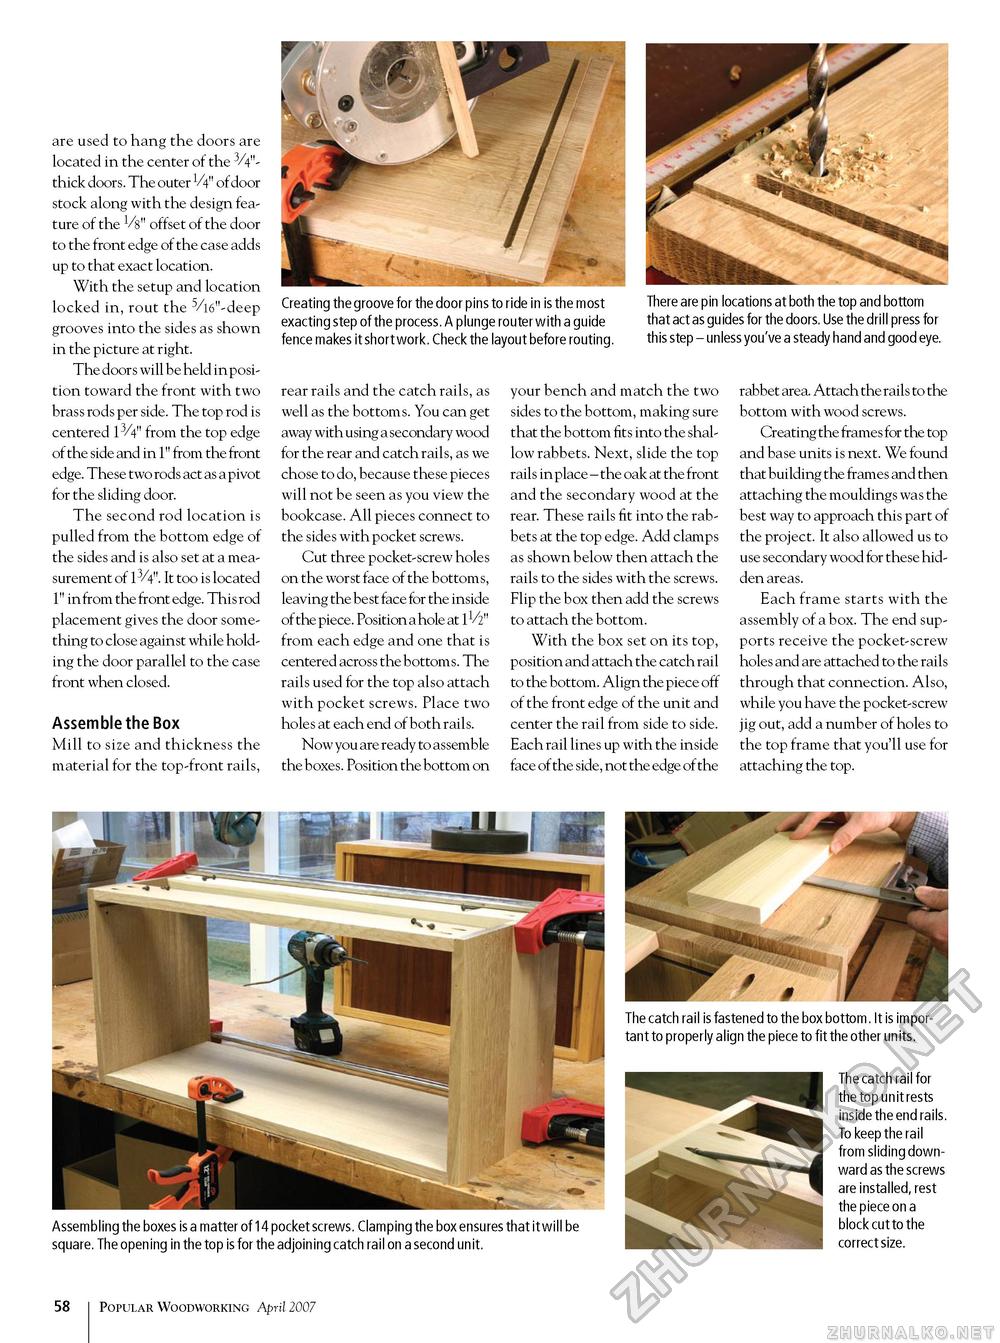
are used to hang the doors are located in the center of the 3/4"-thick doors. The outer 1/4" of door stock along with the design feature of the V8" offset of the door to the front edge of the case adds up to that exact location. With the setup and location locked in, rout the 5/16"-deep grooves into the sides as shown in the picture at right. The doors will be held in position toward the front with two brass rods per side. The top rod is centered 13/4" from the top edge of the side and in 1" from the front edge. These two rods act as a pivot for the sliding door. The second rod location is pulled from the bottom edge of the sides and is also set at a measurement of 13/4". It too is located 1" in from the front edge. This rod placement gives the door something to close against while holding the door parallel to the case front when closed. Assemble the Box Mill to size and thickness the material for the top-front rails, Creating the groove for the door pins to ride in is the most exacting step of the process. A plunge router with a guide fence makes it short work. Check the layout before routing. There are pin locations at both the top and bottom that act as guides for the doors. Use the drill press for this step - unless you've a steady hand and good eye. rear rails and the catch rails, as well as the bottoms. You can get away with using a secondary wood for the rear and catch rails, as we chose to do, because these pieces will not be seen as you view the bookcase. All pieces connect to the sides with pocket screws. Cut three pocket-screw holes on the worst face of the bottoms, leaving the best face for the inside of the piece. Position a hole at 11/2" from each edge and one that is centered across the bottoms. The rails used for the top also attach with pocket screws. Place two holes at each end of both rails. Now you are ready to assemble the boxes. Position the bottom on your bench and match the two sides to the bottom, making sure that the bottom fits into the shallow rabbets. Next, slide the top rails in place - the oak at the front and the secondary wood at the rear. These rails fit into the rabbets at the top edge. Add clamps as shown below then attach the rails to the sides with the screws. Flip the box then add the screws to attach the bottom. With the box set on its top, position and attach the catch rail to the bottom. Align the piece off of the front edge of the unit and center the rail from side to side. Each rail lines up with the inside face of the side, not the edge of the rabbet area. Attach the rails to the bottom with wood screws. Creating the frames for the top and base units is next. We found that building the frames and then attaching the mouldings was the best way to approach this part of the project. It also allowed us to use secondary wood for these hidden areas. Each frame starts with the assembly of a box. The end supports receive the pocket-screw holes and are attached to the rails through that connection. Also, while you have the pocket-screw jig out, add a number of holes to the top frame that you'll use for attaching the top. Assembling the boxes is a matter of 14 pocket screws. Clamping the box ensures that it will be square. The opening in the top is for the adjoining catch rail on a second unit. The catch rail is fastened to the box bottom. It is important to properly align the piece to fit the other units. The catch rail for the top unit rests inside the end rails. To keep the rail from sliding downward as the screws are installed, rest the piece on a block cut to the correct size. 58 Popular Woodworking April 2007 |


