Popular Woodworking 2007-04 № 161, страница 69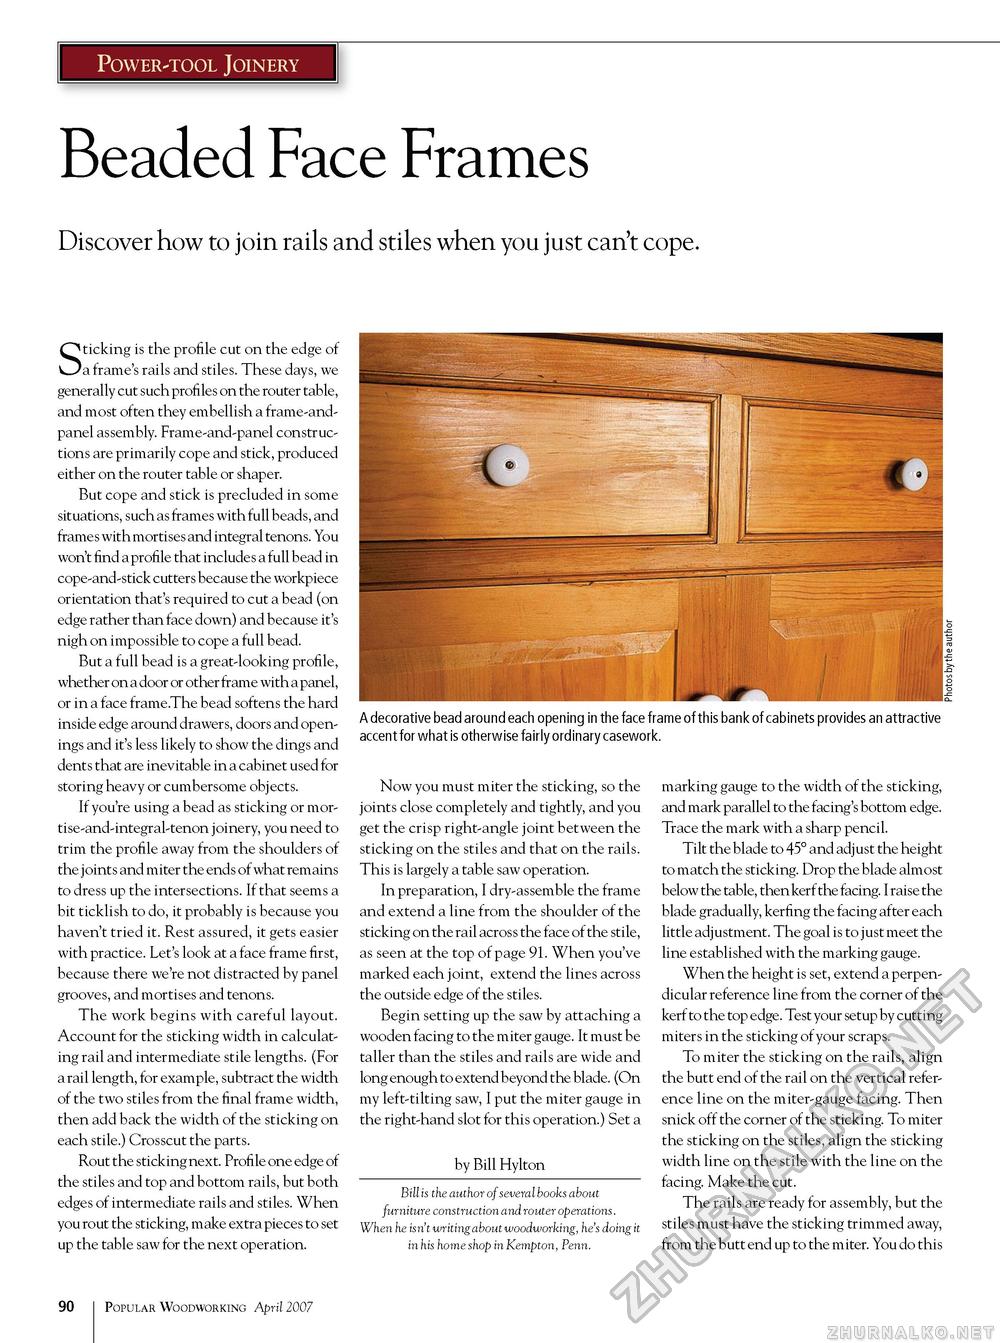
Power-tool Joinery Beaded Face Frames Discover how to join rails and stiles when you just can't cope. A decorative bead around each opening in the face frame of this bank of cabinets provides an attractive accent for what is otherwise fairly ordinary casework. Sticking is the profile cut on the edge of a frame's rails and stiles. These days, we generally cut such profiles on the router table, and most often they embellish a frame-and-panel assembly. Frame-and-panel constructions are primarily cope and stick, produced either on the router table or shaper. But cope and stick is precluded in some situations, such as frames with full beads, and frames with mortises and integral tenons. You won't find a profile that includes a full bead in cope-and-stick cutters because the workpiece orientation that's required to cut a bead (on edge rather than face down) and because it's nigh on impossible to cope a full bead. But a full bead is a great-looking profile, whether on a door or other frame with a panel, or in a face frame.The bead softens the hard inside edge around drawers, doors and openings and it's less likely to show the dings and dents that are inevitable in a cabinet used for storing heavy or cumbersome objects. If you're using a bead as sticking or mor-tise-and-integral-tenon joinery, you need to trim the profile away from the shoulders of the joints and miter the ends of what remains to dress up the intersections. If that seems a bit ticklish to do, it probably is because you haven't tried it. Rest assured, it gets easier with practice. Let's look at a face frame first, because there we're not distracted by panel grooves, and mortises and tenons. The work begins with careful layout. Account for the sticking width in calculating rail and intermediate stile lengths. (For a rail length, for example, subtract the width of the two stiles from the final frame width, then add back the width of the sticking on each stile.) Crosscut the parts. Rout the sticking next. Profile one edge of the stiles and top and bottom rails, but both edges of intermediate rails and stiles. When you rout the sticking, make extra pieces to set up the table saw for the next operation. Now you must miter the sticking, so the joints close completely and tightly, and you get the crisp right-angle joint between the sticking on the stiles and that on the rails. This is largely a table saw operation. In preparation, I dry-assemble the frame and extend a line from the shoulder of the sticking on the rail across the face of the stile, as seen at the top of page 91. When you've marked each joint, extend the lines across the outside edge of the stiles. Begin setting up the saw by attaching a wooden facing to the miter gauge. It must be taller than the stiles and rails are wide and long enough to extend beyond the blade. (On my left-tilting saw, I put the miter gauge in the right-hand slot for this operation.) Set a by Bill Hylton Bill is the author of several books about furniture construction and router operations. When he isn't writing about woodworking, he's doing it in his home shop in Kempton, Penn. marking gauge to the width of the sticking, and mark parallel to the facing's bottom edge. Trace the mark with a sharp pencil. Tilt the blade to 45° and adjust the height to match the sticking. Drop the blade almost below the table, then kerf the facing. I raise the blade gradually, kerfing the facing after each little adjustment. The goal is to just meet the line established with the marking gauge. When the height is set, extend a perpendicular reference line from the corner of the kerf to the top edge. Test your setup by cutting miters in the sticking of your scraps. To miter the sticking on the rails, align the butt end of the rail on the vertical reference line on the miter-gauge facing. Then snick off the corner of the sticking. To miter the sticking on the stiles, align the sticking width line on the stile with the line on the facing. Make the cut. The rails are ready for assembly, but the stiles must have the sticking trimmed away, from the butt end up to the miter. You do this 90 Popular Woodworking April 2007 |


