Popular Woodworking 2007-08 № 163, страница 15
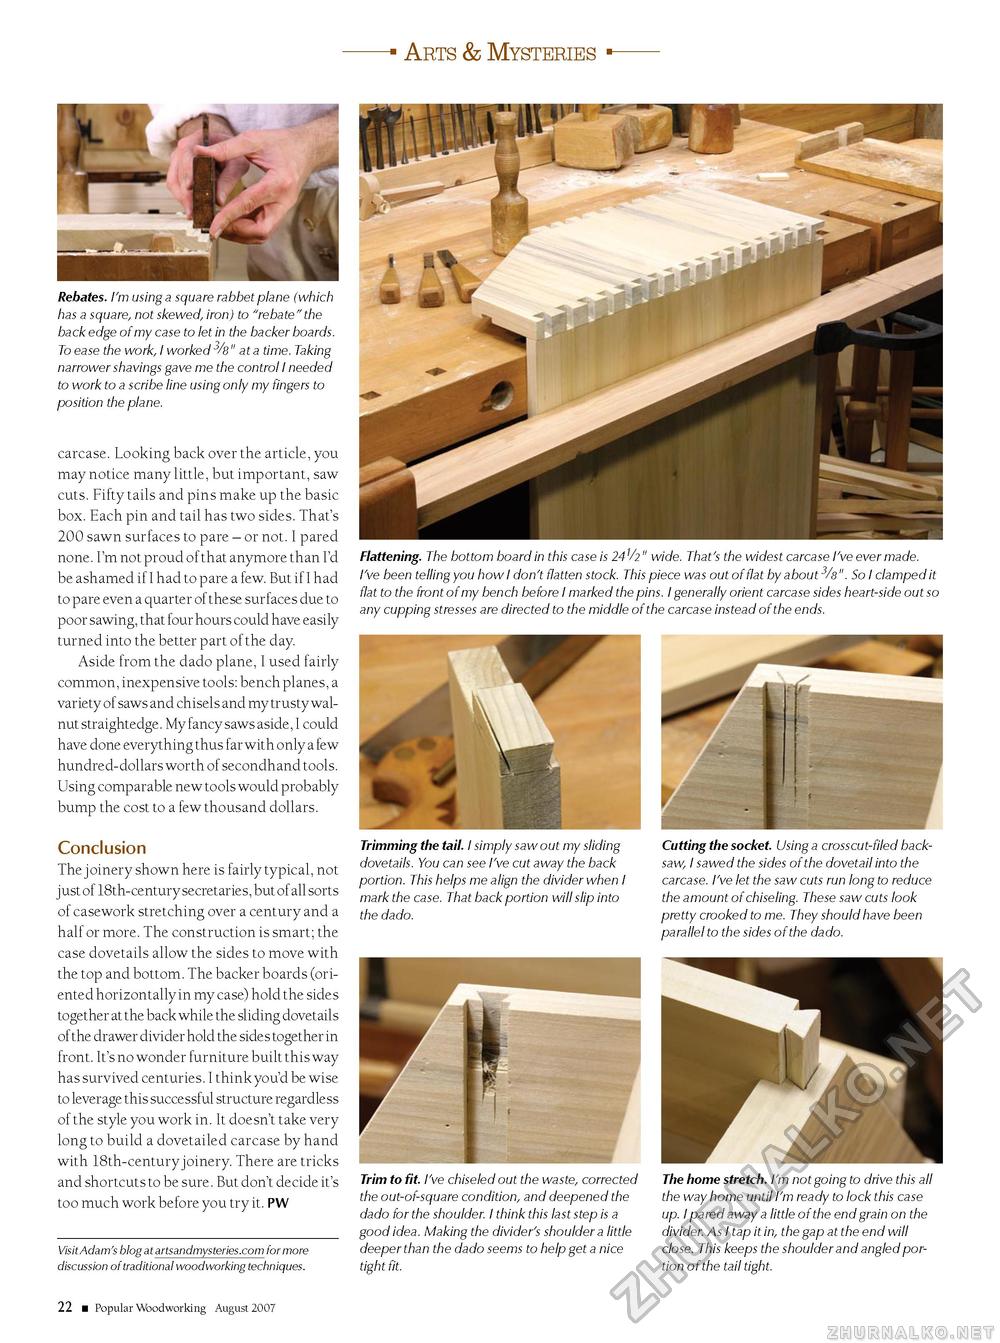
Arts & Mysteries Rebates. I'm using a square rabbet plane (which has a square, not skewed, iron) to "rebate" the back edge of my case to let in the backer boards. To ease the work, I worked 3/8" at a time. Taking narrower shavings gave me the control I needed to work to a scribe line using only my fingers to position the plane. carcase. Looking back over the article, you may notice many little, but important, saw cuts. Fifty tails and pins make up the basic box. Each pin and tail has two sides. That's 200 sawn surfaces to pare - or not. I pared none. I'm not proud of that anymore than I'd be ashamed if I had to pare a few. But if I had to pare even a quarter of these surfaces due to poor sawing, that four hours could have easily turned into the better part of the day. Aside from the dado plane, I used fairly common, inexpensive tools: bench planes, a variety of saws and chisels and my trusty walnut straightedge. My fancy saws aside, I could have done everything thus far with only a few hundred-dollars worth of secondhand tools. Using comparable new tools would probably bump the cost to a few thousand dollars. Conclusion The joinery shown here is fairly typical, not just of 18th-century secretaries, but of all sorts of casework stretching over a century and a half or more. The construction is smart; the case dovetails allow the sides to move with the top and bottom. The backer boards (oriented horizontally in my case) hold the sides together at the back while the sliding dovetails of the drawer divider hold the sides together in front. It's no wonder furniture built this way has survived centuries. I think you'd be wise to leverage this successful structure regardless of the style you work in. It doesn't take very long to build a dovetailed carcase by hand with 18th-century joinery. There are tricks and shortcuts to be sure. But don't decide it's too much work before you try it. PW Visit Adam's blog at artsandmysteries.com for more discussion of traditional woodworking techniques. Flattening. The bottom board in this case is 24V2" wide. That's the widest carcase I've ever made. I've been telling you how I don't flatten stock. This piece was out of flat by about 3/8". So I clamped it flat to the front of my bench before I marked the pins. I generally orient carcase sides heart-side out so any cupping stresses are directed to the middle of the carcase instead of the ends. Trimming the tail. I simply saw out my sliding dovetails. You can see I've cut away the back portion. This helps me align the divider when I mark the case. That back portion will slip into the dado. Cutting the socket. Using a crosscut-filed back-saw, I sawed the sides of the dovetail into the carcase. I've let the saw cuts run long to reduce the amount of chiseling. These saw cuts look pretty crooked to me. They should have been parallel to the sides of the dado. Trim to fit. I've chiseled out the waste, corrected the out-of-square condition, and deepened the dado for the shoulder. I think this last step is a good idea. Making the divider's shoulder a little deeper than the dado seems to help get a nice tight fit. The home stretch. I'm not going to drive this all the way home until I'm ready to lock this case up. I pared away a little of the end grain on the divider. As I tap it in, the gap at the end will close. This keeps the shoulder and angled portion of the tail tight. 22 ■ Popular Woodworking August 2007 |


