Popular Woodworking 2007-12 № 166, страница 48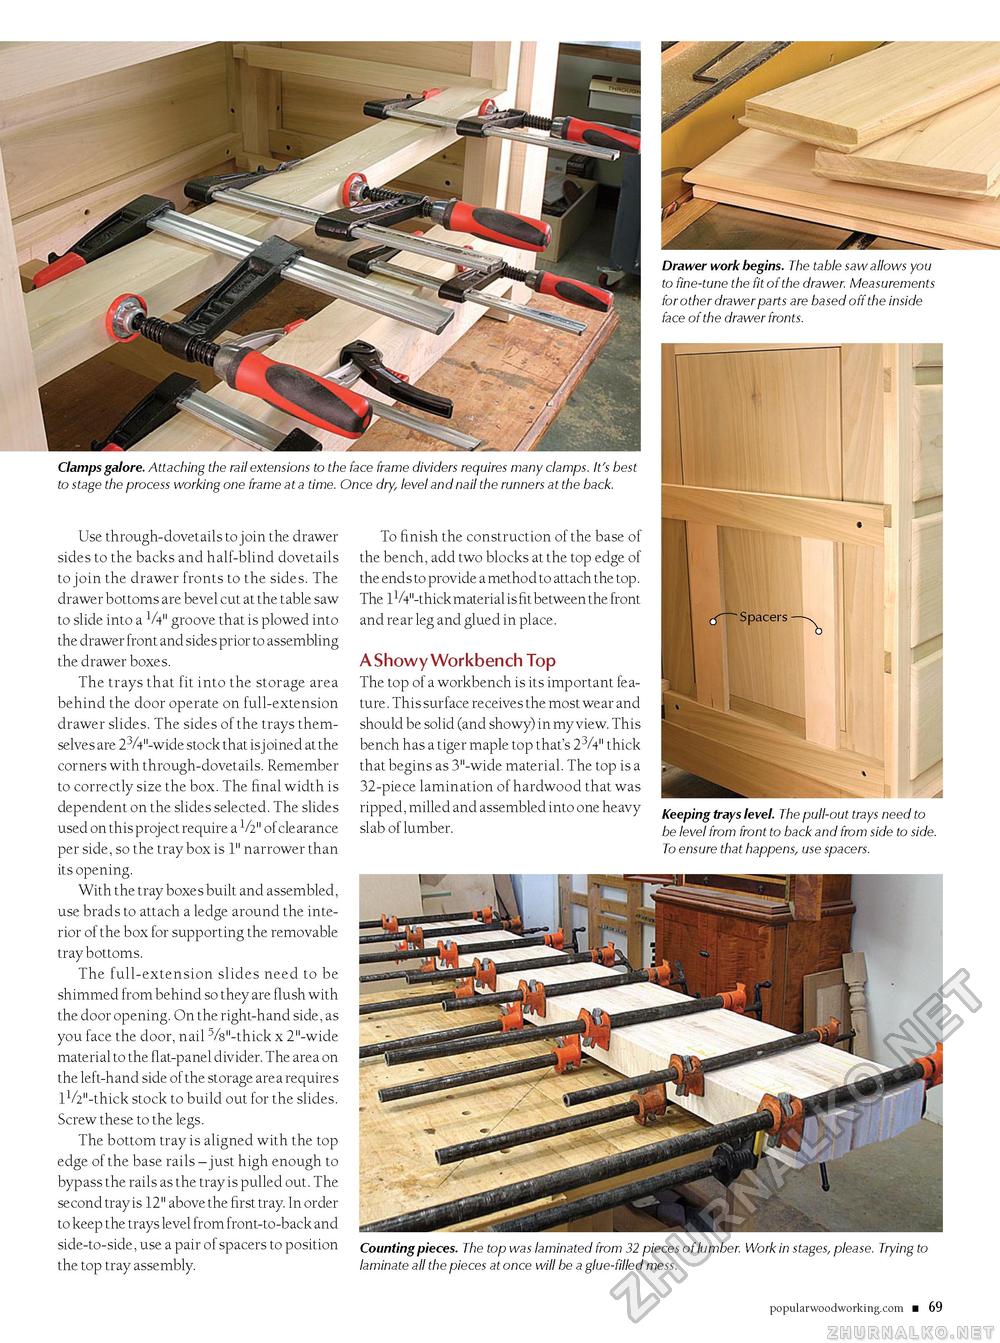
Clamps galore. Attaching the rail extensions to the face frame dividers requires many clamps. It's best to stage the process working one frame at a time. Once dry, level and nail the runners at the back. Use through-dovetails to join the drawer sides to the backs and half-blind dovetails to join the drawer fronts to the sides. The drawer bottoms are bevel cut at the table saw to slide into a V4" groove that is plowed into the drawer front and sides prior to assembling the drawer boxes. The trays that fit into the storage area behind the door operate on full-extension drawer slides. The sides of the trays themselves are 23A"-wide stock that isj oined at the corners with through-dovetails. Remember to correctly size the box. The final width is dependent on the slides selected. The slides used on this project require a V2" of clearance per side, so the tray box is 1" narrower than its opening. With the tray boxes built and assembled, use brads to attach a ledge around the interior of the box for supporting the removable tray bottoms. The full-extension slides need to be shimmed from behind so they are flush with the door opening. On the right-hand side, as you face the door, nail 5/8"-thick x 2"-wide material to the flat-panel divider. The area on the left-hand side of the storage area requires 11/2"-thick stock to build out for the slides. Screw these to the legs. The bottom tray is aligned with the top edge of the base rails - just high enough to bypass the rails as the tray is pulled out. The second tray is 12" above the first tray. In order to keep the trays level from front-to-back and side-to-side, use a pair of spacers to position the top tray assembly. Drawer work begins. The table saw allows you to fine-tune the fit of the drawer. Measurements for other drawer parts are based off the inside face of the drawer fronts. To finish the construction of the base of the bench, add two blocks at the top edge of the ends to provide a method to attach the top. The 1V4"-thick material is fit between the front and rear leg and glued in place. A Showy Workbench Top The top of a workbench is its imp ortant fe a-ture. This surface receives the most wear and should be solid (and showy) in my view. This bench has a tiger maple top that's 23A" thick that begins as 3"-wide material. The top is a 32-piece lamination of hardwood that was ripped, milled and assembled into one heavy slab of lumber. Keeping trays level. The pull-out trays need to be level from front to back and from side to side. To ensure that happens, use spacers. Counting pieces. The top was laminated from 32 pieces of lumber. Work in stages, please. Trying to laminate all the pieces at once will be a glue-filled mess. popularwoodworking.com ■ 69 |


