Popular Woodworking 2007-12 № 166, страница 49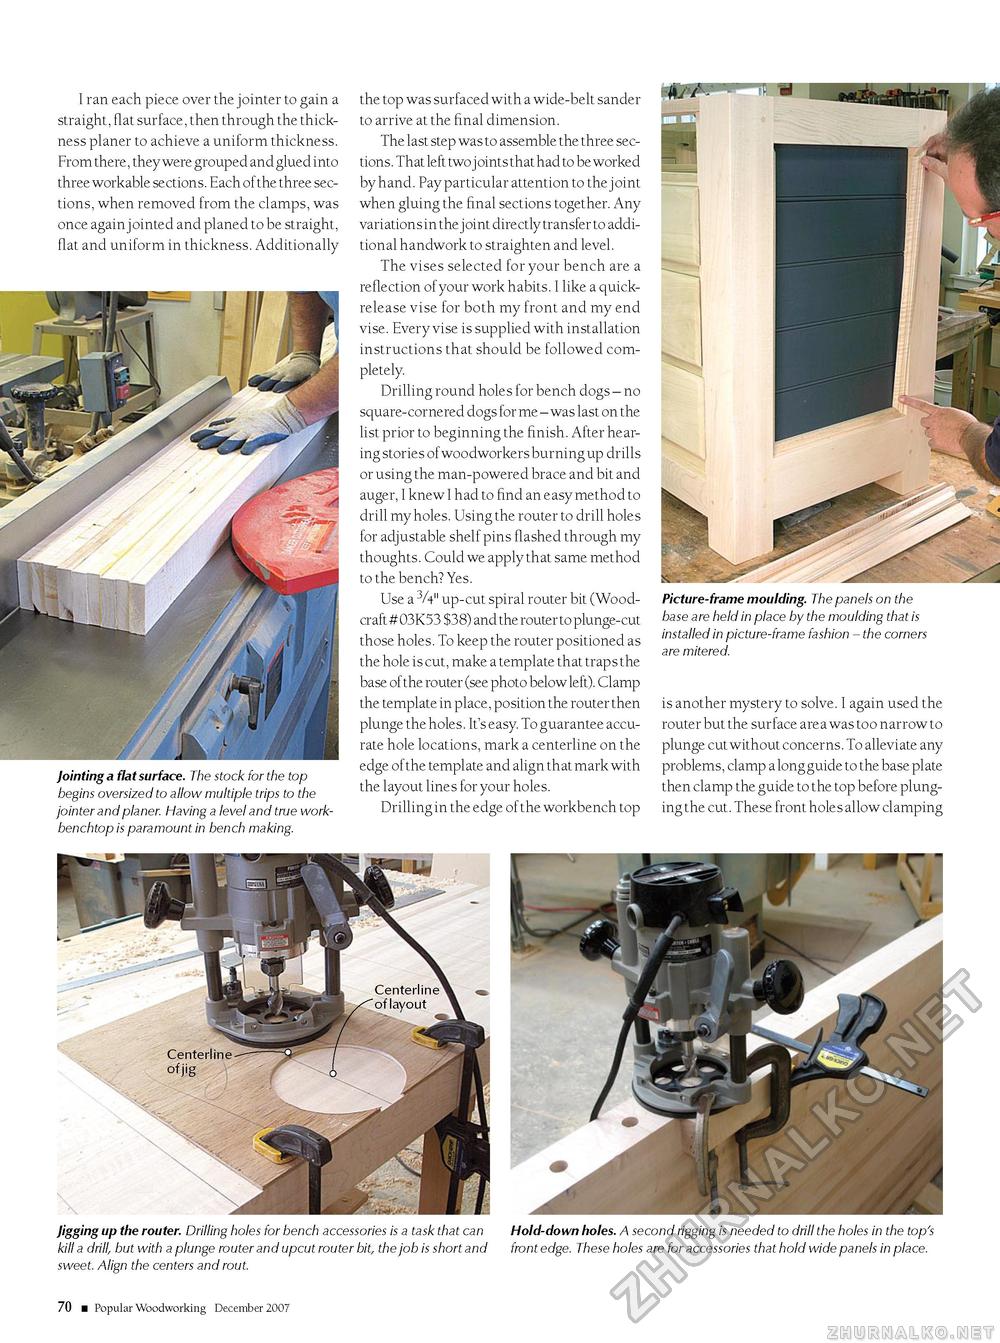
I ran each piece over the jointer to gain a straight, flat surface, then through the thickness planer to achieve a uniform thickness. From there, they were grouped and glued into three workable sections. Each of the three sections, when removed from the clamps, was once again jointed and planed to be straight, flat and uniform in thickness. Additionally Jointing a flat surface. The stock for the top begins oversized to allow multiple trips to the jointer and planer. Having a level and true work-benchtop is paramount in bench making. the top was surfaced with a wide-belt sander to arrive at the final dimension. The last step was to assemble the three sections. That left two j oints that had to be worked by hand. Pay particular attention to the j oint when gluing the final sections together. Any variations in the joint directly transfer to additional handwork to straighten and level. The vises selected for your bench are a reflection of your work habits. I like a quick-release vise for both my front and my end vise. Every vise is supplied with installation instructions that should be followed completely. Drilling round holes for bench dogs - no square-cornered dogs for me - was last on the list prior to beginning the finish. After hearing stories of woodworkers burning up drills or using the man-powered brace and bit and auger, I knew I had to find an easy method to drill my holes. Using the router to drill holes for adjustable shelf pins flashed through my thoughts. Could we apply that same method to the bench? Yes. Use a 3A" up-cut spiral router bit (Woodcraft # 03K53 $38) and the router to plunge-cut those holes. To keep the router positioned as the hole is cut, make a template that traps the base of the router (see photo below left). Clamp the template in place, position the router then plunge the holes. It's easy. To guarantee accurate hole locations, mark a centerline on the edge of the template and align that mark with the layout lines for your holes. Drilling in the edge of the workbench top Picture-frame moulding. The panels on the base are held in place by the moulding that is installed in picture-frame fashion - the corners are mitered. is another mystery to solve. I again used the router but the surface area was too narrow to plunge cut without concerns. To alleviate any problems, clamp a long guide to the base plate then clamp the guide to the top before plunging the cut. These front holes allow clamping Jigging up the router. Drilling holes for bench accessories is a task that can kill a drill, but with a plunge router and upcut router bit, the job is short and sweet. Align the centers and rout. Hold-down holes. A second rigging is needed to drill the holes in the top's front edge. These holes are for accessories that hold wide panels in place. 70 ■ Popular Woodworking December 2007 |


