Popular Woodworking 2008-10 № 171, страница 27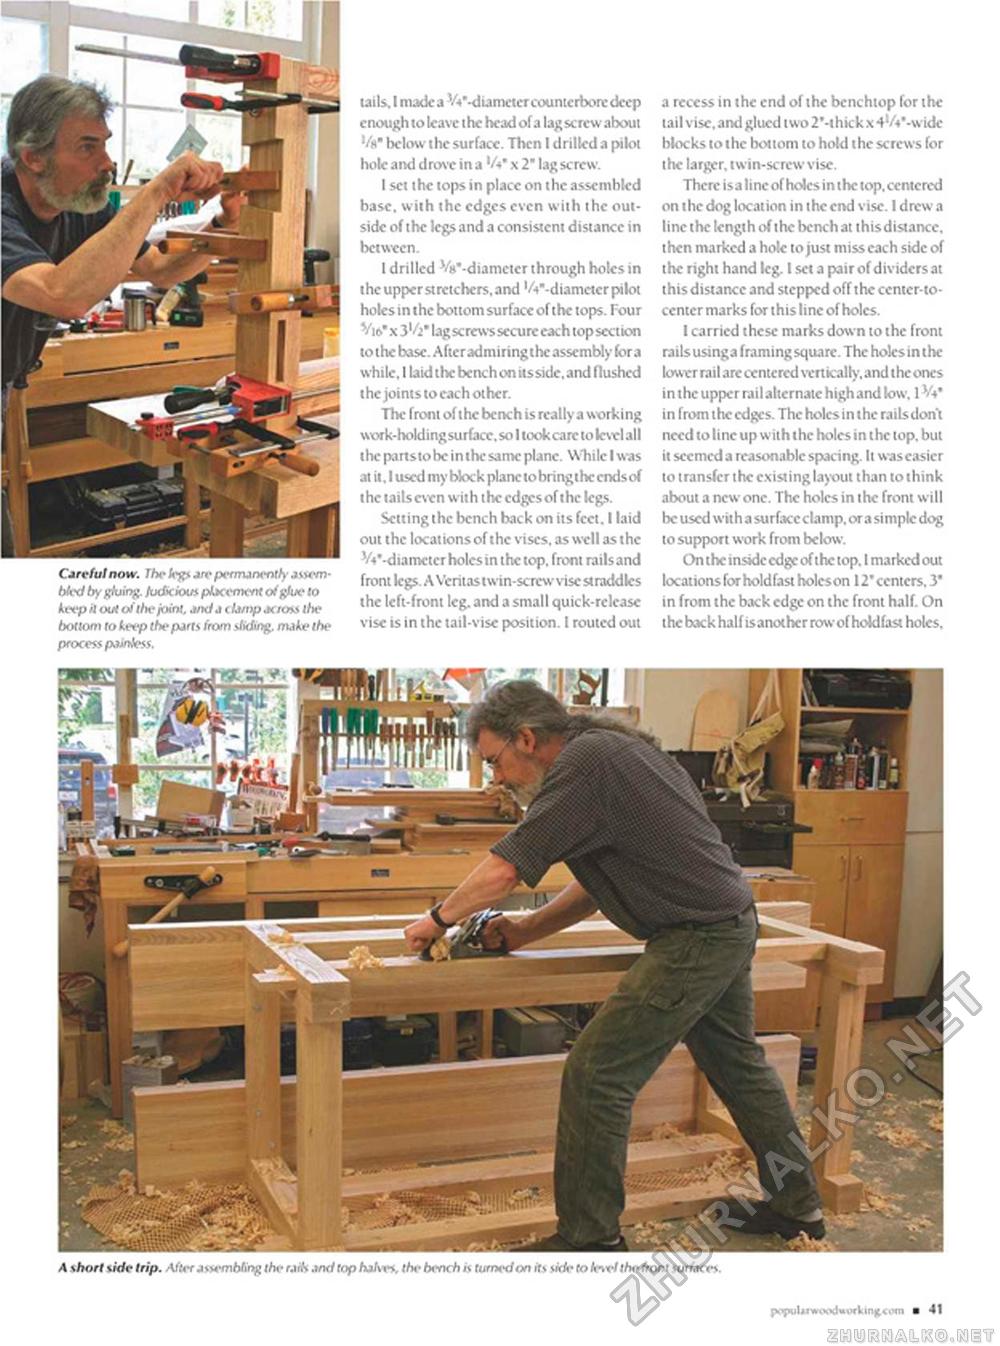
a recess in the end of the bcnchtop for ihe tail vise, and glued two 2"-t hit k x ^A'-wtde blocks to the bonom 10 hold the screws for the larger, twin-screw vise. There isa line of holes in the top, centered on the dog location in the end vise. I drew a line the length of the bench at this distance, then marked a hole to just miss each side of the right hand leg. I set a pair of dividers at this distance and stepped off the ccntcr-to-ccnter marks for this line of holes. I carried these marks down to the front rails usinga framing square. The holes in the lower rail arc centered vertically, and the ones in the upper rail alternate high and low. 1Vi* in from the edges. The holes in the rails dont need to line up with the holes in the top. but it seemed a reasonable spacing. It was easier to transfer the existing layout than to think about a new one. The holes in the front will be used with a surfaccclamp, ora simple dog to support work from below. On the inside edge of the top. I marked out locations for holdfast holeson 12* ccntcrs, 3" in from the back edge on the front half. On the back half isanothcr rowof holdfast holes. Careful now. I he legs arc permanently assem-bled by ghiog. fadscious placement of gfue to keep itoutc/f lite joint, and a clamp across the bottom to keep the parts from sliding, make the process painless. tails. I made a 'A'-diametcrcounicrboredecp enough to leave the head of a lag screw about below the surface. Then I drilled a pilot hole and drove in a '/■»• x 2" lag screw. I set the tops in place on the assembled base, with the edges even with the outside of the legs and a consistent distance in between. 1 drilled Vs'-diamctcr through holes in the upper strctchcrs. and 1 A'-diamctcr pilot holesin the bottom surface of the tops. Four Vi6* x lag screws secure each top section to the base. After admiring the assembly flora while. 1 laid the bcnch on its side, and flushed the joints to each other. The front of the bcnch is really a working wcrk-holdingsurfacc, so I took care to level all thcpartstobcinthcsamcplanc. Whilclwas at it. I used my block plane tobringthc endsof the tails even with the edges of the kgs. Setting the bcnch back on its feet. I laid out the locations of the vises, as well as the Vv-diamctcr holes in the top. front rails and front kgs. A Veritastwin-screw visestraddks the left-front leg. and a small quick-rckasc vise is in the tail-vise position. I routed out |


