Popular Woodworking 2008-11 № 172, страница 12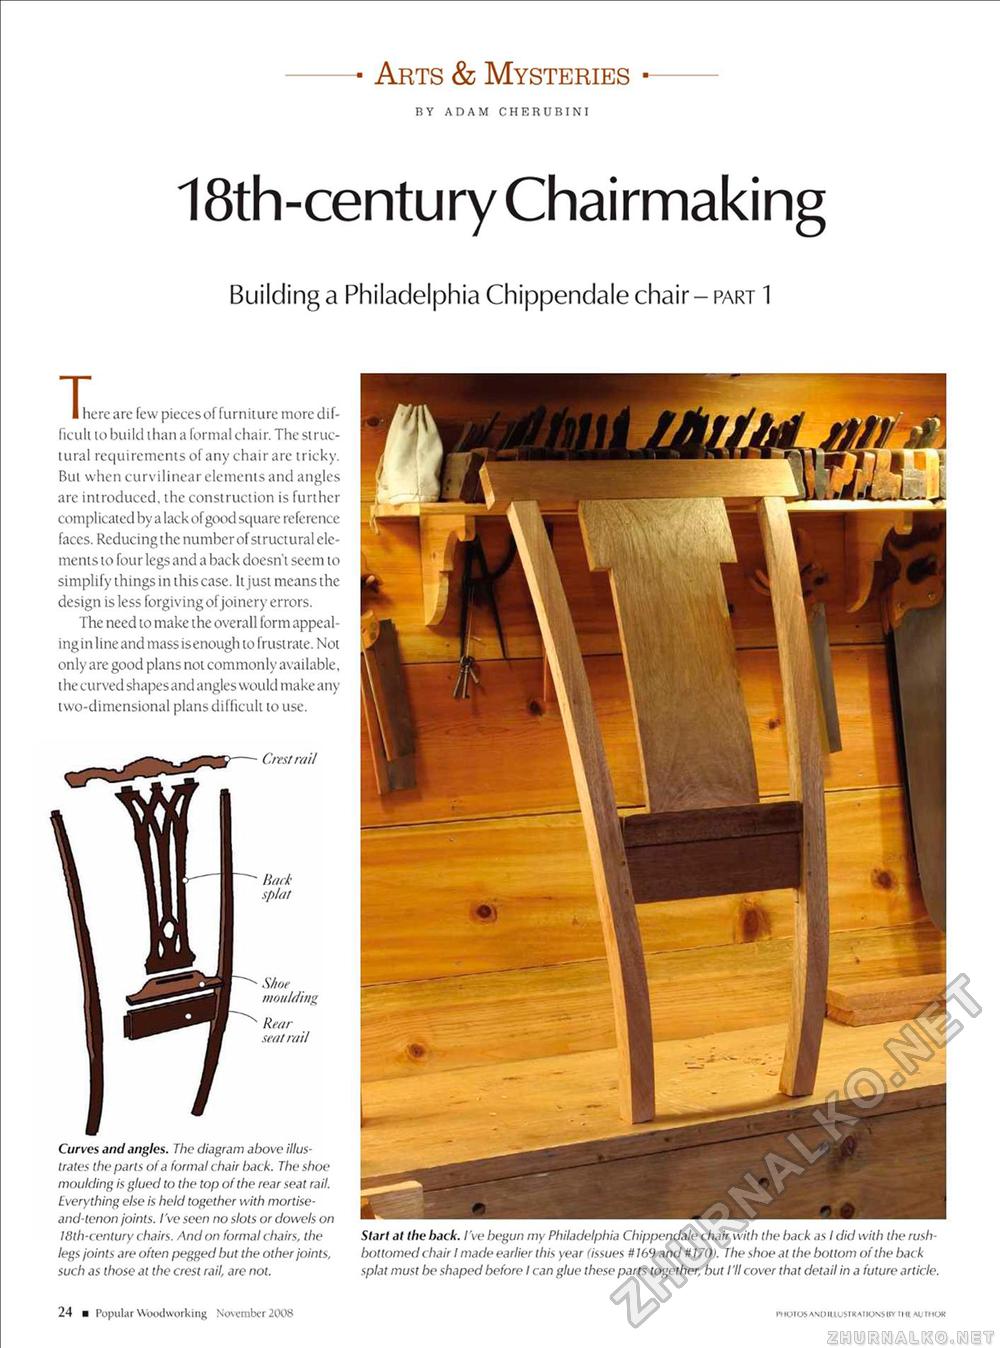
Arts & Mysteries BY ADAM CHERUBINI 18th-century Chairmaking Building a Philadelphia Chippendale chair - part 1 Start at the back. I've begun my Philadelphia Chippendale chair with the back as I did with the rush-bottomed chair I made earlier this year (issues it 169 and #170). The shoe at the bottom of the back splat must be shaped before I can glue these parts together, but I'll cover that detail in a future article. Shoe moulding, Rec/r seat rail Curves and angles. The diagram above illustrates the parts of a formal chair back. The shoe moulding is glued to the top of the rear seat rail. Everything else is held together with mortise-and-tenon joints. I've seen no slots or dowels on 18th-century chairs. And on formal chairs, the legs joints are often pegged but the other joints, such as those at the crest rail, are not. I here are few pieces of furniture more difficult to build than a formal chair. The structural requirements of any chair are tricky. But when curvilinear elements and angles are introduced, the construction is further complicated by a lack of good square reference faces. Reducing the number of structural elements to four legs and a back doesn't seem to simplify things in this case. It just means the design is less forgiving of joinery errors. The need to make the overall form appealing in line and mass is enough to frustrate. Not only are good plans not commonly available, the curved shapes and angles would make any two-dimensional plans difficult to use. Crest m il 24 ■ Popular Woodworking November 2008 PHOTOS -WmUL MK-MIOSSUV IHt VJfMOK |


