Popular Woodworking 2008-12 № 173, страница 51
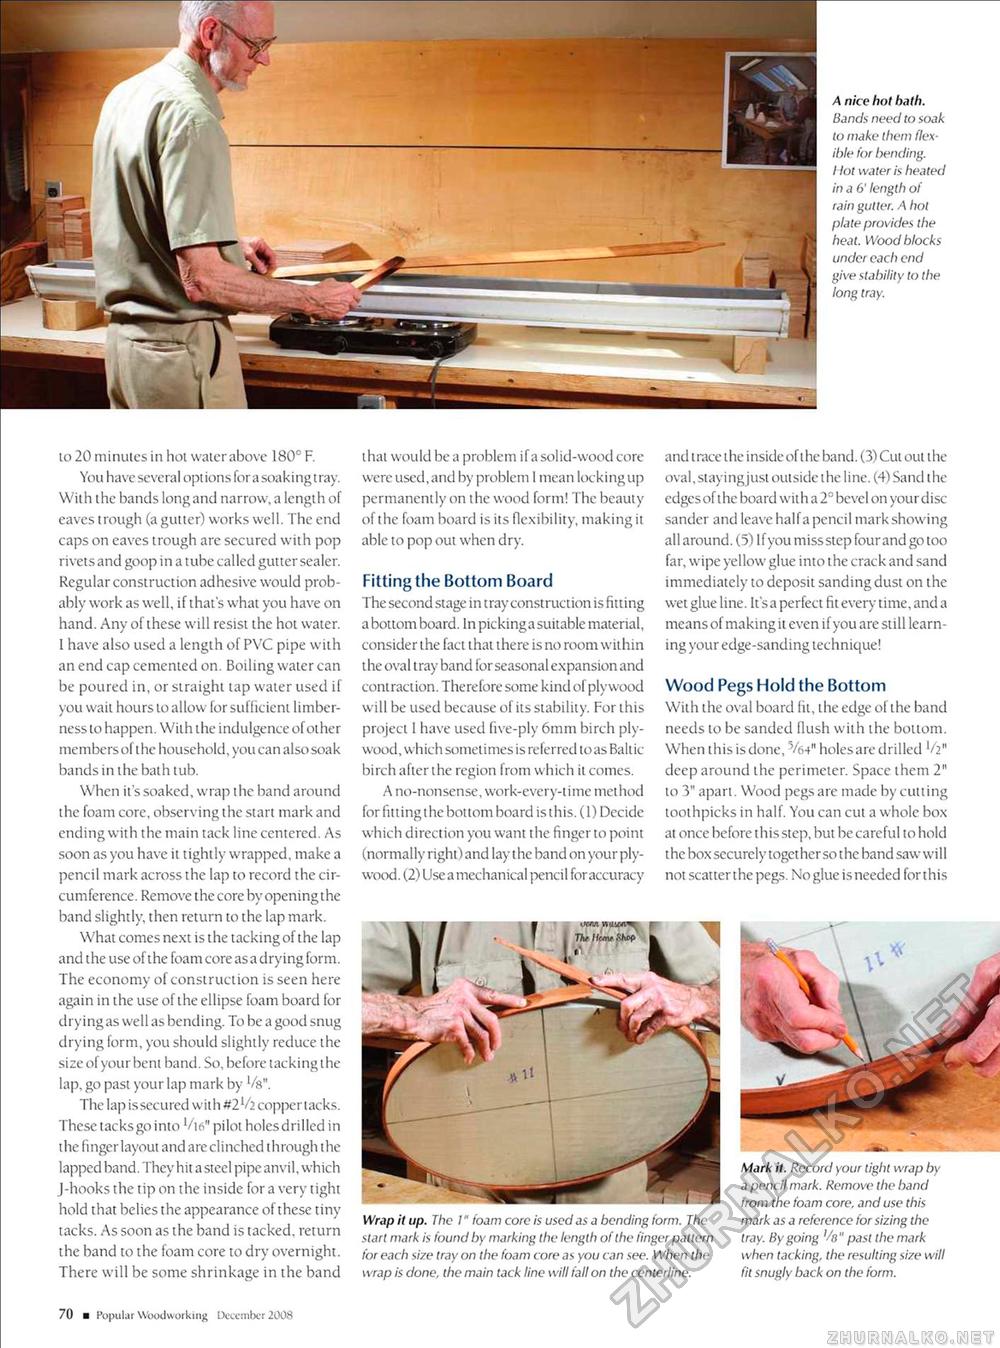
A nice hoi hath. Bands need to soak to make them flexible for bending. I lot water is heated in a 6' length of rain gutter. A hot plate provides the heat. Wood blocks under each end give stability to the long tray. lo 20 minulcsin hoi waierabove 180° F. You have several opt ions for a soaking t ray. With ihe bands long and narrow, a length of eaves trough (a gutter) works well. The end caps on eaves trough arc secured with pop rivets and goop in a tube called gutter sealer. Regular construction adhesive would probably work as well, if that's what you have on hand. Any of these will resist the hot water. 1 have also used a length of PVC pipe with an end cap cemented on. Boiling waier can be poured in, or straight lap water used if you wait hours lo allow lor sufficient limber-ness to happen. With the indulgence of other members of ihe household, you can also soak bands in the bath tub. When it's soaked, wrap the band around the foam core, observing the start mark and ending with the main tack line centered. As soon as you have it tightly wrapped, make a pencil mark across the lap to record the circumference. Remove the core by opening the band slightly, then return to the lap mark. What comes next is the tacking of the lap and the use of the foam core as a drying form. The economy of construction is seen here again in the use of the ellipse foam board for drying as well as bending. To be a good snug drying form, you should slightly reduce the size ol your bent band. So, before tacking the lap, go past your lap mark by Vs". The lap is secured with #2l/i coppertacks. These tacks go into 1/i<s" pilot holesdrilled in the fingerlayout and are clinched through the lapped band. They hit a steel pipe anvil, which J-hooks the tip on the inside for a very tight hold that belies the appearance of these tiny tacks. As soon as the band is tacked, return the band to the foam core to dry overnight. There will be some shrinkage in the band that would be a problem if a solid-wood core were used,and by problem 1 mean locking up permanently on the wood form! The beauty of the foam board is its flexibility, making it able to pop out when dry. Fitting the Bottom Board The second stage in tray construction is fitting a bottom board. In pickinga suitable material, consider the fact that there is no room within the oval tray band for seasonal expansion and contraction. Therefore some kind of plywood will be used because of its stability. For this project I have used live-ply 6mm birch plywood, which sometimes is referred to as Baltic-birch after the region from which it comes. A no-nonsense, work-every-time method for fitting the bottom board is this. (1) Decide which direction you want the finger to point (normally right) and lay the band on your plywood. (2) Use a mechanical pencil for accuracy and trace the inside of the band. (3) Cut out the oval,staying just outside t he line. (4) Sand t he-edges ofthe board with a 2° bevel on yourdisc sander and leave half a pencil mark showing all around. (5) If you miss step four and go too far, wipe yellow glue into the crack and sand immediately to deposit sanding dust on the wet glue line. It'sa perfect fit every time, and a means of makingit even if you are still learning your edge-sanding technique! Wood Pegs Hold the Bottom With the oval board lit, the edge of the band needs to be sanded Hush with the bottom. When this is done, 5/64n holes are drilled 1 /2" deep around the perimeter. Space them 2" to 3" apart. Wood pegs are made by cutting toothpicks in half. You can cut a whole box at once before this step, but be careful to hold t he box securely toget her so t he band saw will not scatter the pegs. No glue isneeded forthis Wrap it up. The /" foam core is used as a bending form. The start mark is found by marking the length of the linger pattern for each size tray on the foam core as you can see. When the wrap is done, the main tack line will fall on the centerline. Mark it. Record your tight wrap by a pencil mark. Remove the band from the foam core, and use this mark as a reference for sizing the tray. By going past the mark when tacking, the resulting size will fit snugly back on the form. iKftA WIU6AW tv/imv .w 70 ■ Popul ar Woodworking December 2008 |


