Popular Woodworking 2009-04 № 175, страница 31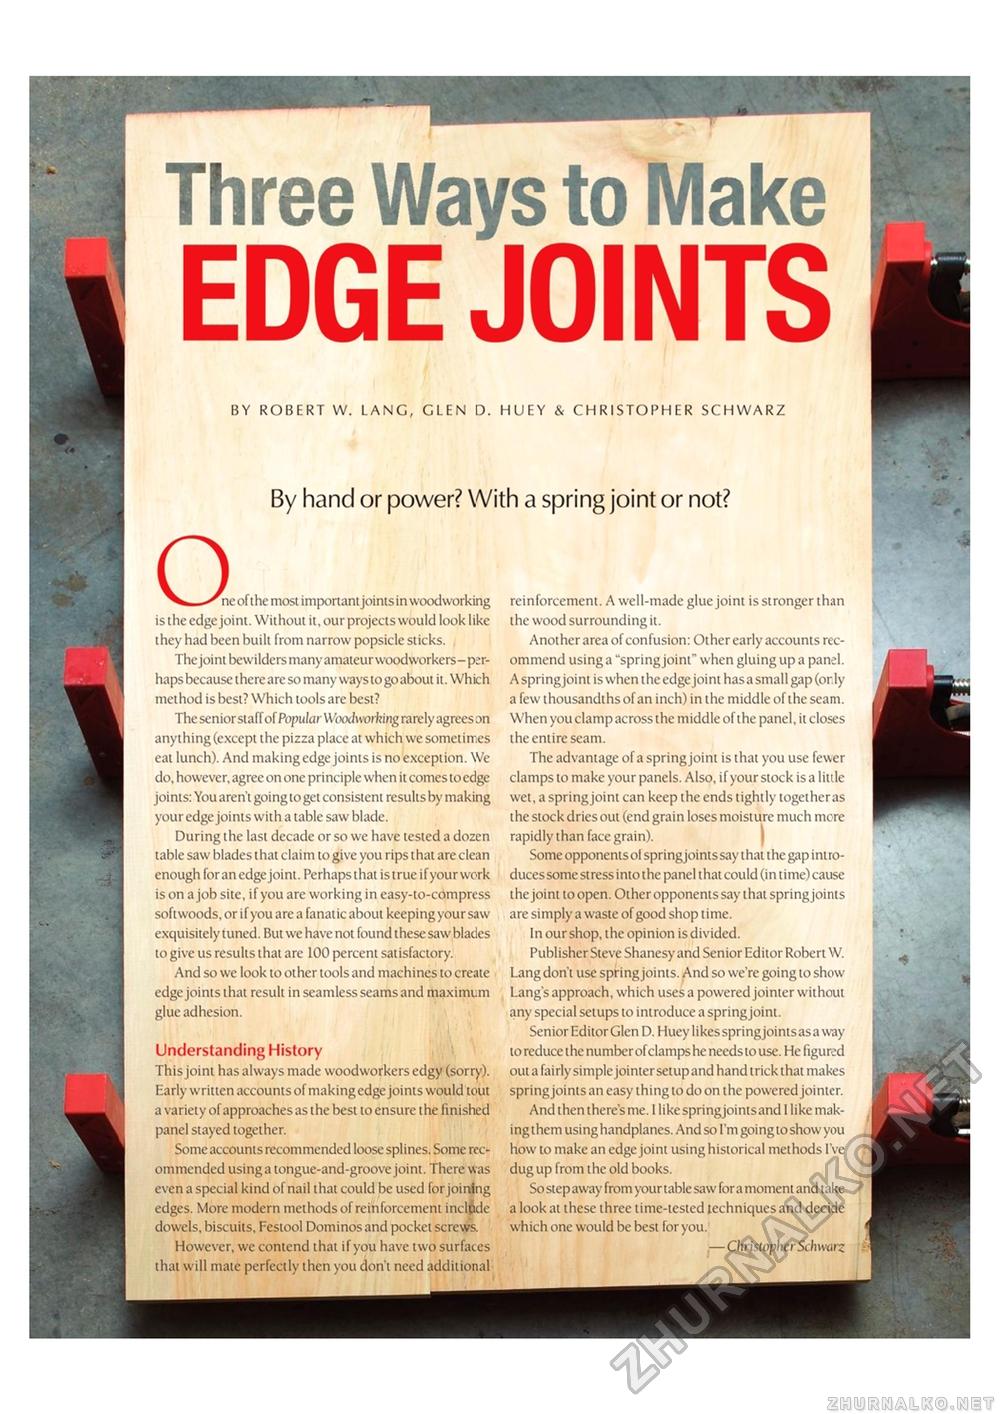
£ Three Ways to Make EDGE JOINTSBY ROBERT W. LANG, GLEN D. HUEY & CHRISTOPHER SCHWARZ By hand or power? With a spring joint or not? ne ofthe most important joints in woodworking is the edge joint. Without it, our projects would look like they had been built from narrow popsicle sticks. The joint bewilders many amateur woodworkers- perhaps because there are so many ways to go about it. Which method is best? Which tools are best? The senior staff of Popular Woodworking rarely agrees on anything (except the pizza place at which we sometimes eat lunch). And making edge joints is no exception. We do, however, agree on one principle when it comes to edge joints: You aren't going to get consistent results by making your edge joints with a table saw blade. During the last decade or so we have tested a dozen table saw blades that claim to give you rips that are clean enough for an edge joint. Perhaps that is true if your work is on a job site, if you are working in easy-to-compress softwoods, or if you are a fanatic about keeping your saw exquisitely tuned. But we have not found these saw blades to give us results that are 100 percent satisfactory. And so we look to other tools and machines to create edge joints that result in seamless seams and maximum glue adhesion. Understanding History This joint has always made woodworkers edgy (sorry). Early written accounts of making edge joints would tout a variety of approaches as the best to ensure the finished panel stayed together. Some accounts recommended loose splines. Some recommended using a tongue-and-groove joint. There was even a special kind of nail that could be used for joining edges. More modern methods of reinforcement include dowels, biscuits, Festool Dominosand pocket screws. However, we contend that if you have two surfaces that will mate perfectly then you don't need additional reinforcement. A well-made glue joint is stronger than the wood surrounding it. Another area of confusion: Other early accounts recommend using a "spring joint" when gluing up a panel. A springjoint is when the edge joint has a small gap (or.ly a few thousandths of an inch) in the middle ofthe seam. When you clamp across the middle ofthe panel, it closes the entire seam. The advantage of a springjoint is that you use fewer clamps to make your panels. Also, if your stock is a little wet, a springjoint can keep the ends tightly togetheras the stock dries out (end grain loses moisture much more rapidly than face grain). Some opponents ol springjointssay that the gap introduces some stress into the panel that could (in time) cause the joint to open. Other opponents say that springjoints are simply a waste of good shop lime. In our shop, ihe opinion is divided. Publisher Steve Shanesy and Senior Editor Robert W. Lang don't use springjoints. And so we're going to show Lang's approach, which uses a powered jointer without any special setups to introduce a springjoint. Senior Editor Glen D. Huey likesspringjointsasa way to reduce the number of clamps he needs to use. He figured out a fairly simple jointer setup and hand trick thai makes spring joints an easy thing to do on the powered jointer. And then there's me. I like springjoints and 1 like making them using handplanes. And so I'm going to show you how to make an edge joint using historical methods I've dug up from the old books. So step away from your table saw for a moment and take a look at these three time-tested techniques and decide which one would be best for you. — Christopher Schwarz |


