Popular Woodworking 2009-12 № 180, страница 48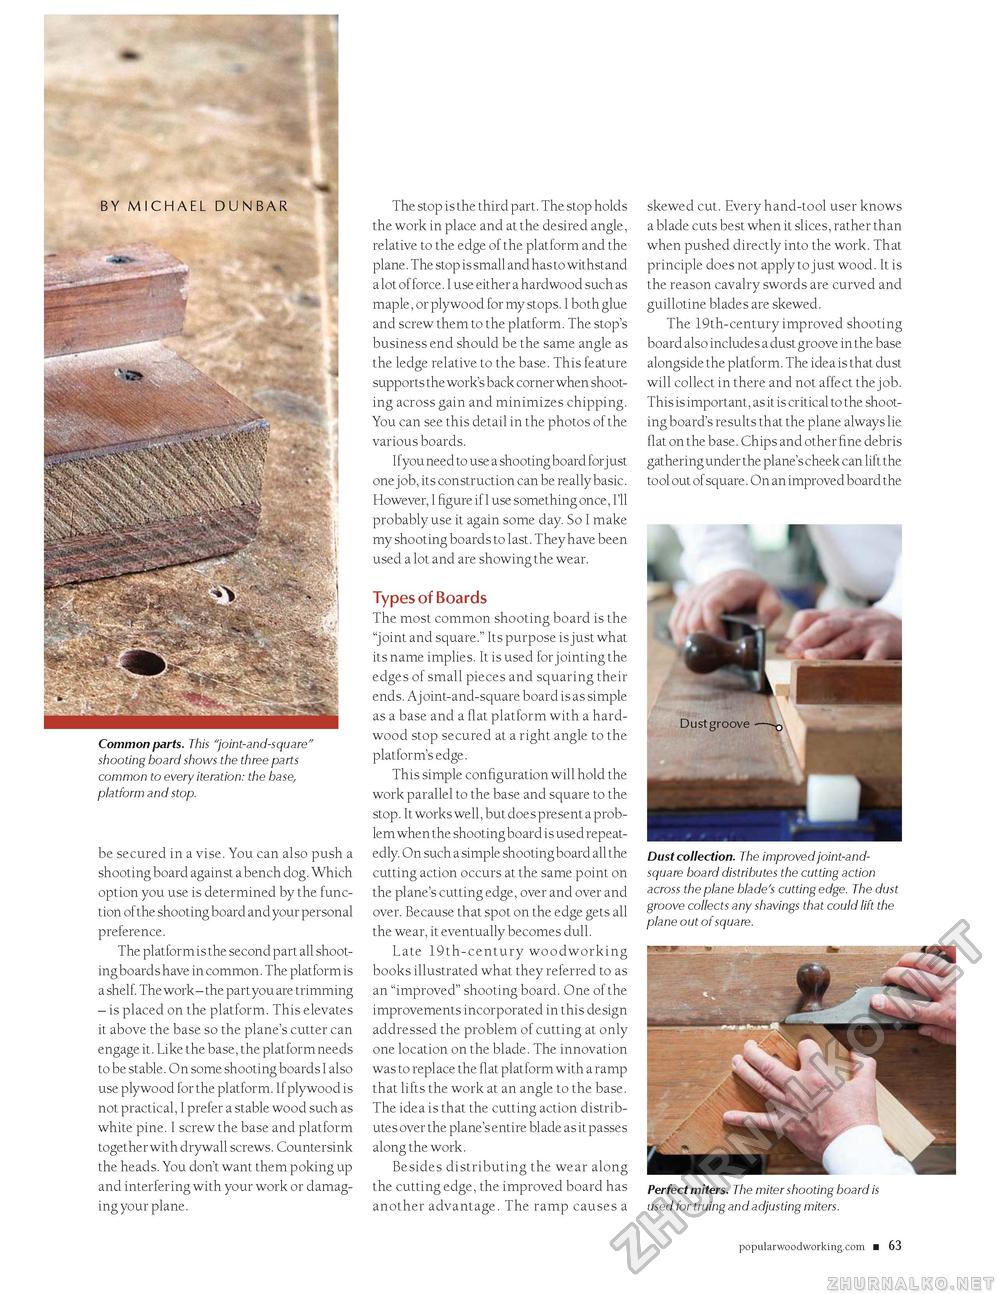
BY MICHAEL DUNBAR Common parts. This "joint-and-square" shooting board shows the three parts common to every iteration: the base, platform and stop. be secured in a vise. You can also push a shooting board against a bench dog. Which option you use is determined by the function of the shooting board and your personal preference. The platform is the second part all shooting boards have in common. The platform is a shelf. The work - the part you are trimming - is placed on the platform. This elevates it above the base so the plane's cutter can engage it. Like the base, the platform needs to be stable. On some shooting boards I also use plywood for the platform. If plywood is not practical, I prefer a stable wood such as white pine. I screw the base and platform together with drywall screws. Countersink the heads. You don't want them poking up and interfering with your work or damaging your plane. The stop is the third part. The stop holds the work in place and at the desired angle, relative to the edge of the platform and the plane. The stop is small and has to withstand a lot of force. I use either a hardwood such as maple, or plywood for my stops. I both glue and screw them to the platform. The stop's business end should be the same angle as the ledge relative to the base. This feature supports the work's back corner when shooting across gain and minimizes chipping. You can see this detail in the photos of the various boards. Ifyou need to use a shooting board forjust one job, its construction can be really basic. However, I figure if I use something once, I'll probably use it again some day. So I make my shooting boards to last. They have been used a lot and are showing the wear. Types of BoardsThe most common shooting board is the "joint and square." Its purpose is just what its name implies. It is used for jointing the edges of small pieces and squaring their ends. Aj oint-and-square board is as simple as a base and a flat platform with a hardwood stop secured at a right angle to the platform's edge. This simple configuration will hold the work parallel to the base and square to the stop. It works well, but does present a problem when the shooting board is used repeatedly. On such a simple shooting board all the cutting action occurs at the same point on the plane's cutting edge, over and over and over. Because that spot on the edge gets all the wear, it eventually becomes dull. Late 19th-century woodworking books illustrated what they referred to as an "improved" shooting board. One of the improvements incorporated in this design addressed the problem of cutting at only one location on the blade. The innovation was to replace the flat platform with a ramp that lifts the work at an angle to the base. The idea is that the cutting action distributes over the plane's entire blade as it passes along the work. Besides distributing the wear along the cutting edge, the improved board has another advantage. The ramp causes a skewed cut. Every hand-tool user knows a blade cuts best when it slices, rather than when pushed directly into the work. That principle does not apply to just wood. It is the reason cavalry swords are curved and guillotine blades are skewed. The 19th-century improved shooting board also includes a dust groove in the base alongside the platform. The idea is that dust will collect in there and not affect the job. This is important, as it is critical to the shooting board's results that the plane always lie flat on the base. Chips and other fine debris gathering under the plane's cheek can lift the tool out of square. On an improved board the Dust collection. The improved joint-and-square board distributes the cutting action across the plane blade's cutting edge. The dust groove collects any shavings that could lift the plane out of square. Perfect miters. The miter shooting board is used for truing and adjusting miters. popularwoodworking.com ■ 21 |


