Popular Woodworking 2009-12 № 180, страница 49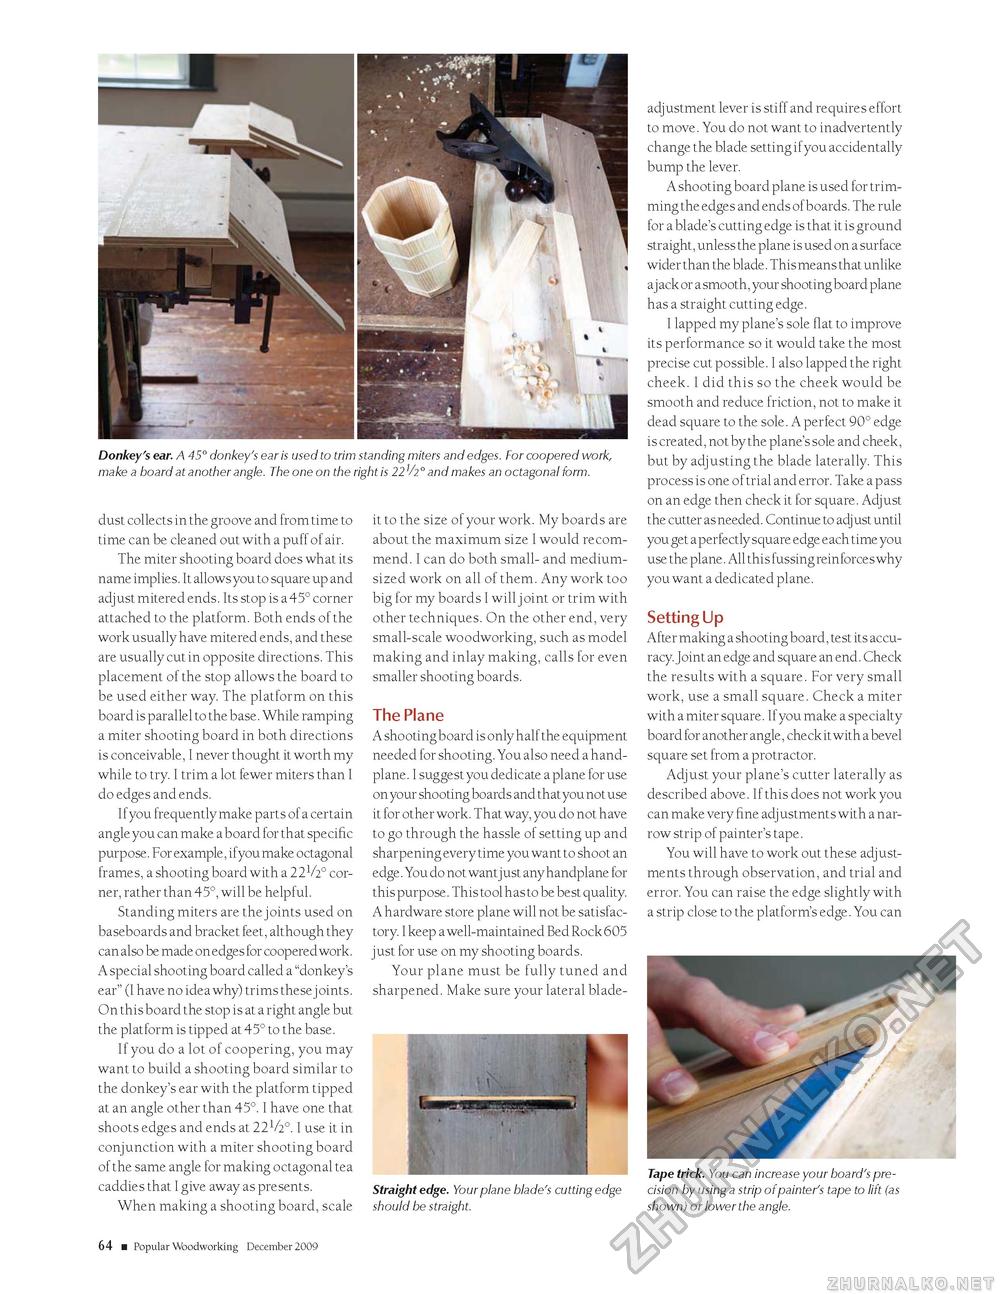
Donkey's ear. A 45° donkey's ear is used to trim standing miters and edges. For coopered work, make a board at another angle. The one on the right is 22V2° and makes an octagonal form. dust collects in the groove and from time to time can be cleaned out with a puff of air. The miter shooting board does what its name implies. It allows you to square up and adjust mitered ends. Its stop is a 45° corner attached to the platform. Both ends of the work usually have mitered ends, and these are usually cut in opposite directions. This placement of the stop allows the board to be used either way. The platform on this board is parallel to the base. While ramping a miter shooting board in both directions is conceivable, I never thought it worth my while to try. I trim a lot fewer miters than I do edges and ends. If you frequently make parts of a certain angle you can make a board for that specific purpose. For example, ifyou make octagonal frames, a shooting board with a 221/2° corner, rather than 45°, will be helpful. Standing miters are the joints used on baseboards and bracket feet, although they can also be made on edges for coopered work. A special shooting board called a "donkey's ear" (I have no idea why) trims these joints. On this board the stop is at a right angle but the platform is tipped at 45° to the base. If you do a lot of coopering, you may want to build a shooting board similar to the donkey's ear with the platform tipped at an angle other than 45°. I have one that shoots edges and ends at 221/2°. I use it in conjunction with a miter shooting board of the same angle for making octagonal tea caddies that I give away as presents. When making a shooting board, scale it to the size of your work. My boards are about the maximum size I would recommend. I can do both small- and medium-sized work on all of them. Any work too big for my boards I will joint or trim with other techniques. On the other end, very small-scale woodworking, such as model making and inlay making, calls for even smaller shooting boards. The Plane A shooting board is only half the equipment needed for shooting. You also need a hand-plane. I suggest you dedicate a plane for use on your shooting boards and that you not use it for other work. That way, you do not have to go through the hassle of setting up and sharpening every time you want to shoot an edge. You do not wantjust any handplane for this purpose. This tool has to be best quality. A hardware store plane will not be satisfactory. I keep a well-maintained Bed Rock 605 just for use on my shooting boards. Your plane must be fully tuned and sharpened. Make sure your lateral blade- adjustment lever is stiff and requires effort to move. You do not want to inadvertently change the blade setting if you accidentally bump the lever. A shooting board plane is used for trimming the edges and ends of boards. The rule for a blade's cutting edge is that it is ground straight, unless the plane is used on a surface wider than the blade. This means that unlike ajack or a smooth, your shooting board plane has a straight cutting edge. I lapped my plane's sole flat to improve its performance so it would take the most precise cut possible. I also lapped the right cheek. I did this so the cheek would be smooth and reduce friction, not to make it dead square to the sole. A perfect 90° edge is created, not by the plane's sole and cheek, but by adjusting the blade laterally. This process is one of trial and error. Take a pass on an edge then check it for square. Adjust the cutter as needed. Continue to adjust until you get a perfectly square edge each time you use the plane. All this fussing reinforces why you want a dedicated plane. Setting UpAfter making a shooting board, test its accu-racy.Joint an edge and square an end. Check the results with a square. For very small work, use a small square. Check a miter with a miter square. If you make a specialty board for another angle, check it with a bevel square set from a protractor. Adjust your plane's cutter laterally as described above. If this does not work you can make very fine adjustments with a narrow strip of painter's tape. You will have to work out these adjustments through observation, and trial and error. You can raise the edge slightly with a strip close to the platform's edge. You can Straight edge. Your plane blade's cutting edge should be straight. Tape trick. You can increase your board's precision by using a strip of painter's tape to lift (as shown) or lower the angle. 14 ■ Popular Woodworking December 2009 |


