15 - Sliding Table, страница 8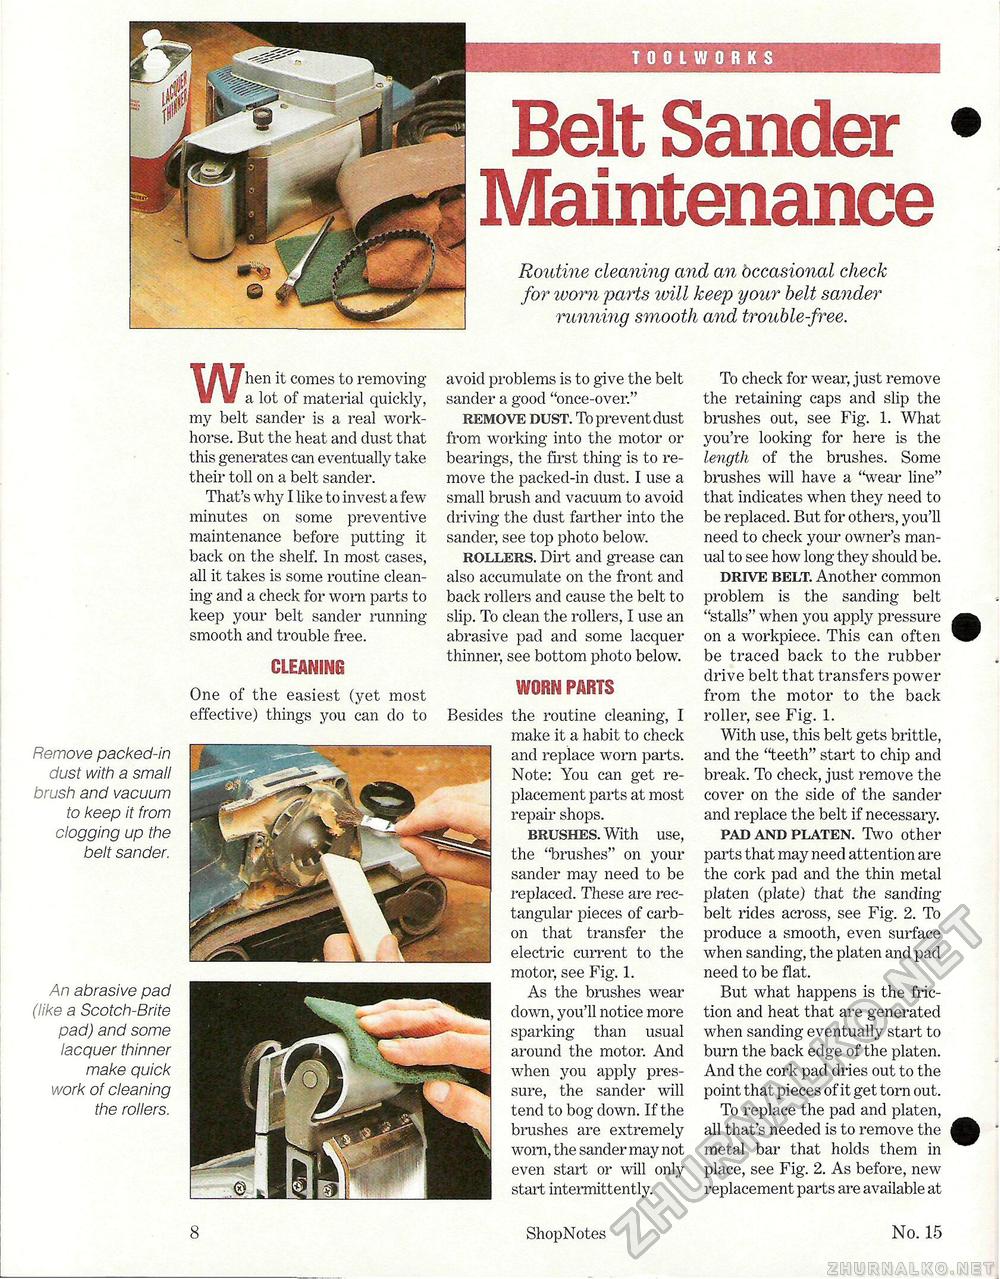
Belt Sander Maintenance Routine cleaning and an occasional check for 'worn parts will keep your belt sawder running smooth and trouble-free. Remove packed-in dust with a small brush and vacuum to keep it from clogging up the belt sander. An abrasive pad (like a Scotch-Brite pad) and some lacquer thinner make quick work of cleaning the rollers. When it comes to removing a lot of material quickly, my belt sander is a real workhorse. But the heat and dust that this generates can eventually take their toll on a belt sander. That's why I like to invest a few minutes on some preventive maintenance before putting it back on the shelf. In most cases, all it takes is some routine cleaning and a check for worn parts to keep your belt sander running-smooth and trouble free. cleaning One of the easiest (yet most effective) things you can do to avoid problems is to give the belt sander a good "once-over." remove dust. To prevent dust from working into the motor or bearings, the first thing is to remove the packed-in dust. I use a small brush and vacuum to avoid driving the dust farther into the sander, see top photo below. rollers. Dirt and grease can also accumulate on the front and back rollers and cause the belt to slip. To clean the rollers, I use an abrasive pad and some lacquer thinner, see bottom photo below. mm pubis Besides the routine cleaning, I make it a habit to check and replace worn parts. Note: You can get replacement parts at most repair shops. brushes. With use, the "brushes" on your sander may need to be replaced. These are rectangular pieces of carbon that transfer the electric current to the motor, see Fig. 1. As the brushes wear down, you'll notice more sparking than usual around the motor. And when you apply pressure, the sander will tend to bog down. If the brushes are extremely worn, the sander may not even start or will only start intermittently. To check for wear, just remove the retaining caps and slip the brushes out, see Fig. 1. What you're looking for here is the length of the brushes. Some brushes will have a "wear line" that indicates when they need to be replaced. But for others, you'll need to check your owner's manual to see how long they should be. drive belt. Another common problem is the sanding belt "stalls" when you apply pressure on a workpiece. This can often be traced back to the rubber drive belt that transfers power from the motor to the back roller, see Fig. 1. With use, this belt gets brittle, and the "teeth" start to chip and break. To check, just remove the cover on the side of the sander and replace the belt if necessary. pad and platen. Two other parts that may need attention are the cork pad and the thin metal platen (plate) that the sanding belt rides across, see Fig. 2. To produce a smooth, even surface when sanding, the platen and pad need to be flat. But what happens is the friction and heat that are generated when sanding eventually start to burn the back edge of the platen. And the cork pad dries out to the point that pieces of it get torn out. To replace the pad and platen, all that's needed is to remove the metal bar that holds them in place, see Fig. 2. As before, new replacement parts are available at 8 ShopNotes No. 15 |


