57 - A Shop-Built Pin Router, страница 9
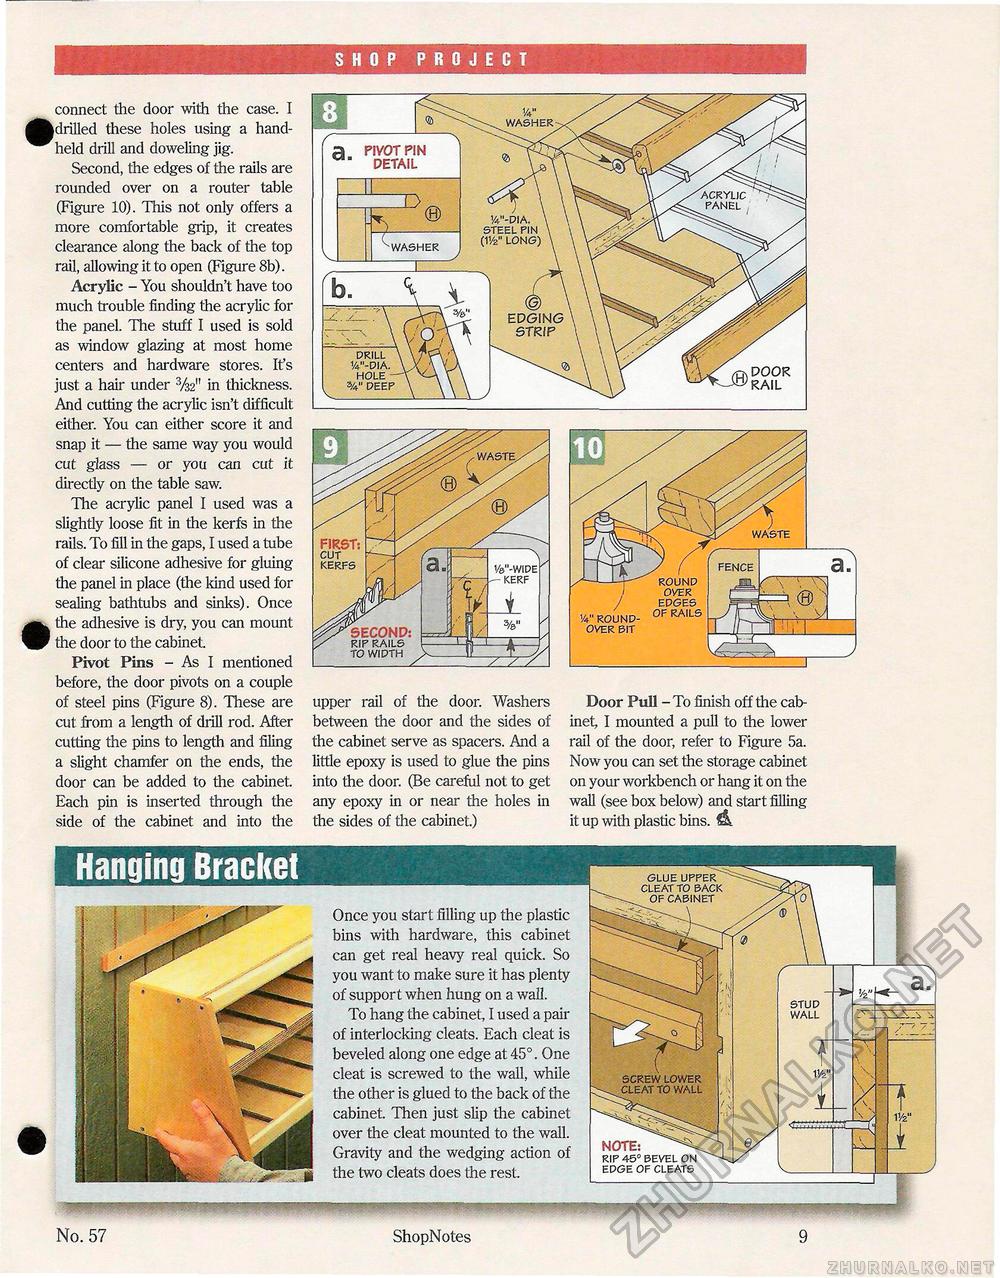
SHOP PROJECT connect the door with the case. I | drilled these holes using a handheld drill and doweling jig. Second, the edges of the rails are rounded over on a router table (Figure 10). This not only offers a more comfortable grip, it creates clearance along the back of the top rail, allowing it to open (Figure 8b). Acrylic - You shouldn't have too much trouble finding the acrylic for the panel. The stuff I used is sold as window glazing at most home centers and hardware stores. It's just a hair under 3/32" in thickness. And cutting the acrylic isn't difficult either. You can either score it and snap it — the same way you would cut glass — or you can cut it directly on the table saw. The acrylic panel I used was a slightly loose fit in the kerfs in the rails. To fill in the gaps, I used a tube of clear silicone adhesive for gluing the panel in place (the kind used for sealing bathtubs and sinks). Once the adhesive is dry, you can mount the door to the cabinet. Pivot Pins - As I mentioned before, the door pivots on a couple of steel pins (Figure 8). These are cut from a length of drill rod. After cutting the pins to length and filing a slight chamfer on the ends, the door can be added to the cabinet. Each pin is inserted through the side of the cabinet and into the upper rail of the door. Washers between the door and the sides of the cabinet serve as spacers. And a little epoxy is used to glue the pins into the door. (Be careful not to get any epoxy in or near the holes in the sides of the cabinet.) No. 57 ShopNotes DOOR RAIL DRILL V-DIA. HOLE %" DEEP 14"-DIA. STEEL PIN (V/2" LONG) a PIVOT PIN DETAIL a PIVOT PIN DETAIL
FIRST: CUT KERFS Door Pull - To finish off the cabinet, I mounted a pull to the lower rail of the door, refer to Figure 5a. Now you can set the storage cabinet on your workbench or hang it on the wall (see box below) and start filling it up with plastic bins. tL 1/4" round- ur kai1-=' OVER BIT NOTE: ^^ RIP 45° BEVEL ON EDGE OF CLEATS Hanging Bracket Once you start filling up the plastic bins with hardware, this cabinet can get real heavy real quick. So you want to make sure it has plenty of support when hung on a wall. To hang the cabinet, I used a pair of interlocking cleats. Each cleat is beveled along one edge at 45°. One cleat is screwed to the wall, while the other is glued to the back of the cabinet. Then just slip the cabinet over the cleat mounted to the wall. Gravity and the wedging action of the two cleats does the rest. STUD WALL SCREW LOWER CLEAT TO WALL GLUE UPPER CLEAT TO BACK OF CABINET |
||||||||||||


