82 - The Complete Miter Saw Workstation, страница 26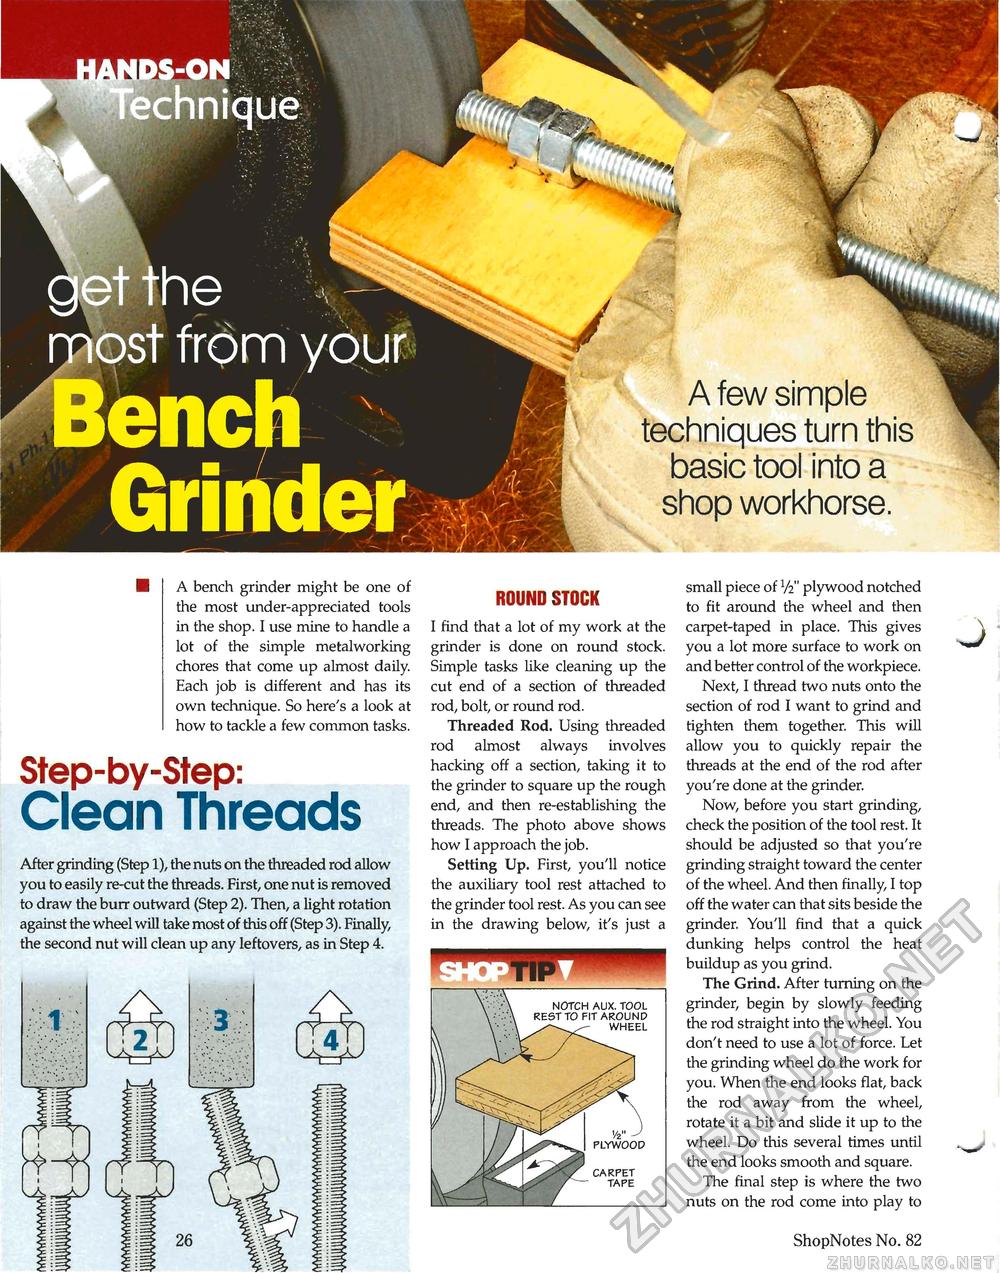
A few simple techniques turn this basic tool into a shop workhorse. A bench grinder might be one of the most under-appreciated tools in the shop. I use mine to handle a lot of the simple metalworking chores that come up almost daily. Each job is different and has its own technique. So here's a look at how to tackle a few common tasks. Step-by-Step: Clean Threads After grinding (Step 1), the nuts on the threaded rod allow you to easily re-cut the threads. First, one nut is removed to draw the burr outward (Step 2). Then, a light rotation against the wheel will take most of this off (Step 3). Finally, the second nut will clean up any leftovers, as in Step 4. ROUND STOCK I find that a lot of my work at the grinder is done on round stock. Simple tasks like cleaning up the cut end of a section of threaded rod, bolt, or round rod. Threaded Rod. Using threaded rod almost always involves hacking off a section, taking it to the grinder to square up the rough end, and then re-establishing the threads. The photo above shows how I approach the job. Setting Up. First, you'll notice the auxiliary tool rest attached to the grinder tool rest. As you can see in the drawing below, it's just a 1 m small piece of V2" plywood notched to fit around the wheel and then carpet-taped in place. This gives you a lot more surface to work on and better control of the workpiece. Next, I thread two nuts onto the section of rod I want to grind and tighten them together. This will allow you to quickly repair the threads at the end of the rod after you're done at the grinder. Now, before you start grinding, check the position of the tool rest. It should be adjusted so that you're grinding straight toward the center of the wheel. And then finally, I top off the water can that sits beside the grinder. You'll find that a quick dunking helps control the heat buildup as you grind. The Grind. After turning on the grinder, begin by slowly feeding the rod straight into the wheel. You don't need to use a lot of force. Let the grinding wheel do the work for you. When the end looks flat, back the rod away from the wheel, rotate it a bit and slide it up to the wheel. Do this several times until the end looks smooth and square. The final step is where the two nuts on the rod come into play to 26 ShopNotes No. 82 J NOTCH AUX. TOOL REST TO FIT AROUND WHEEL PLYWOOD CARPET TAPE |


