90 - Get the Most out of a Plunge Router, страница 10
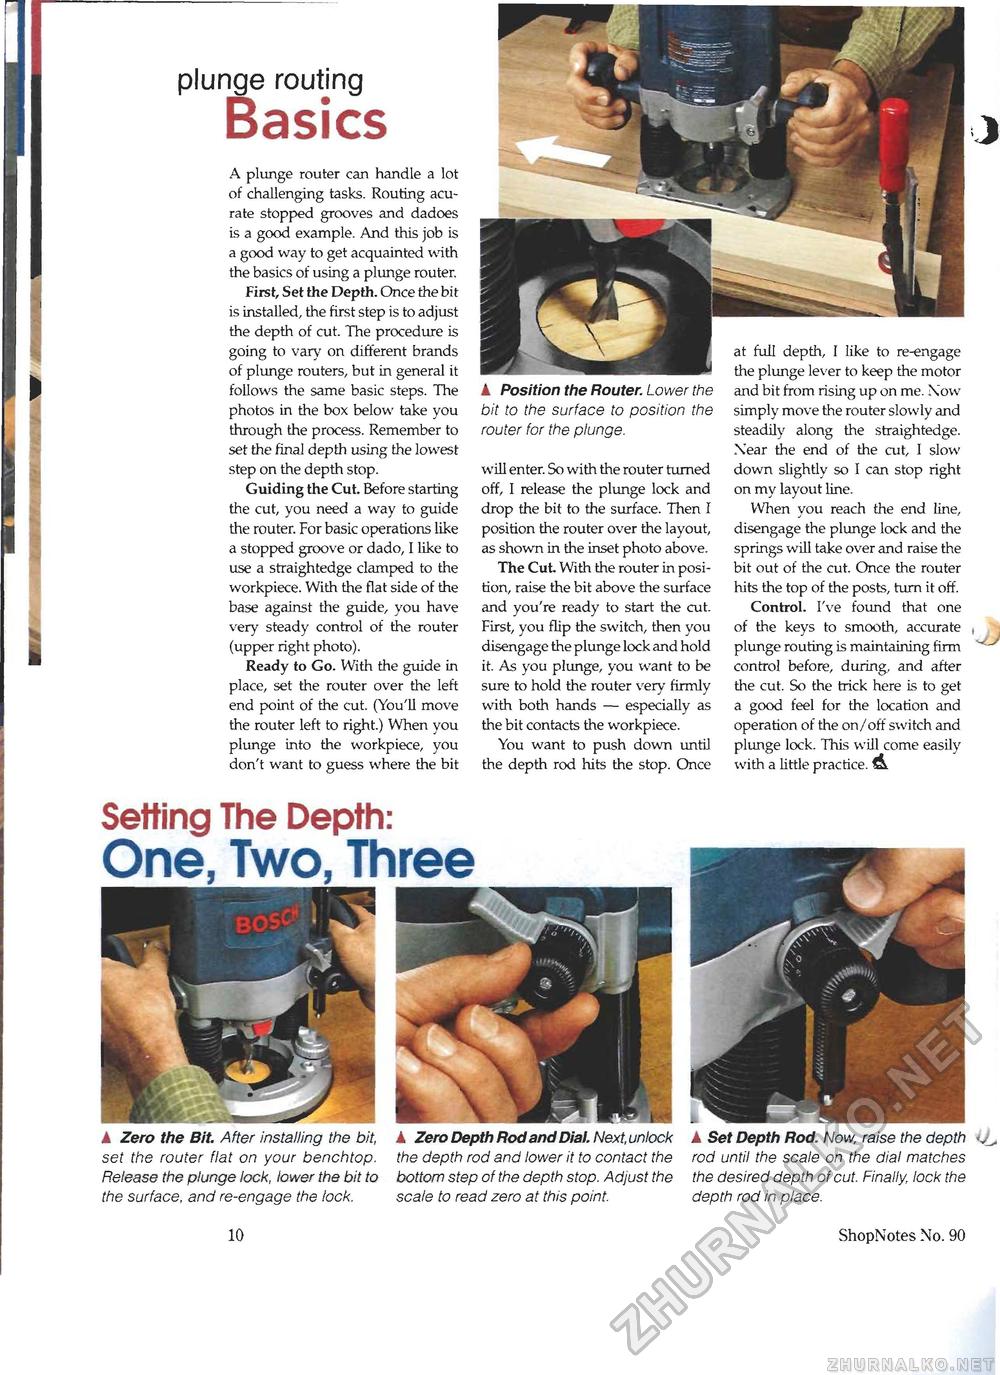
plunge routing BasicsA plunge router can handle a lot of challenging tasks. Routing acu-rate stopped grooves and dadoes is a good example. And this job is a good way to get acquainted with the basics of using a plunge router. First, Set the Depth. Once the bit is installed, the first step is to adjust the depth of cut. The procedure is going to van,' on different brands of plunge routers, but in general it follows the same basic steps. The photos in the box below take you through the process. Remember to set the final depth using the lowest step on the depth stop. Guiding the Cut. Before starting the cut, you need a way to guide the router. For basic operations like a stopped groove or dado, I like to use a straightedge clamped to the workpiece. With the flat side of the base against the guide, you have very steady control of the router (upper right photo). Ready to Go. With the guide in place, set the router over the left end point of the cut. (You'll move the router left to right.) When you plunge into the workpiece, you don't want to guess where the bit A Position the Router. Lower the bit to the surface to position the router for the plunge. will enter. So with the router turned off, I release the plunge lock and drop the bit to the surface. Then I position the router over the layout, as shown in the inset photo above. The Cut. With the router in position, raise the bit above the surface and you're ready to start the cut. First, you flip the switch, then you disengage the plunge lock and hold it. As you plunge, you want to be sure to hold the router very firmly with both hands — especially as the bit contacts the workpiece. You want to push down until the depth rod hits the stop. Once and bit from rising up on me. Now simply move the router slowly and steadily along the straightedge. Xear the end of the cut, I slow down slightly so I can stop right on my layout line. When you reach the end line, disengage the plunge lock and the springs will take over and raise the bit out of the cut. Once the router hits the top of the posts, turn it off. Control. I've found that one of the keys to smooth, accurate , - j plunge routing is maintaining firm control before, during, and after the cut. So the trick here is to get a good feel for the location and operation of the on/off switch and plunge lock. This will come easily with a little practice. A Set Depth Rod. Now, raise the depth rod until the scale on the dial matches the desired depth of cut. Finally, lock the depth rod in place. Setting The Depth: One, Two, ThreeA Zero the Bit. After installing the bit, set the router flat on your benchtop. Release the plunge lock, lower the bit to the surface, and re-engage the lock. A Zero Depth Rod and Dial. Next, unlock the depth rod and lower it to contact the bottom step of the depth stop. Adjust the scale to read zero at this point. 10 ShopNotes No. 90 |


