90 - Get the Most out of a Plunge Router, страница 39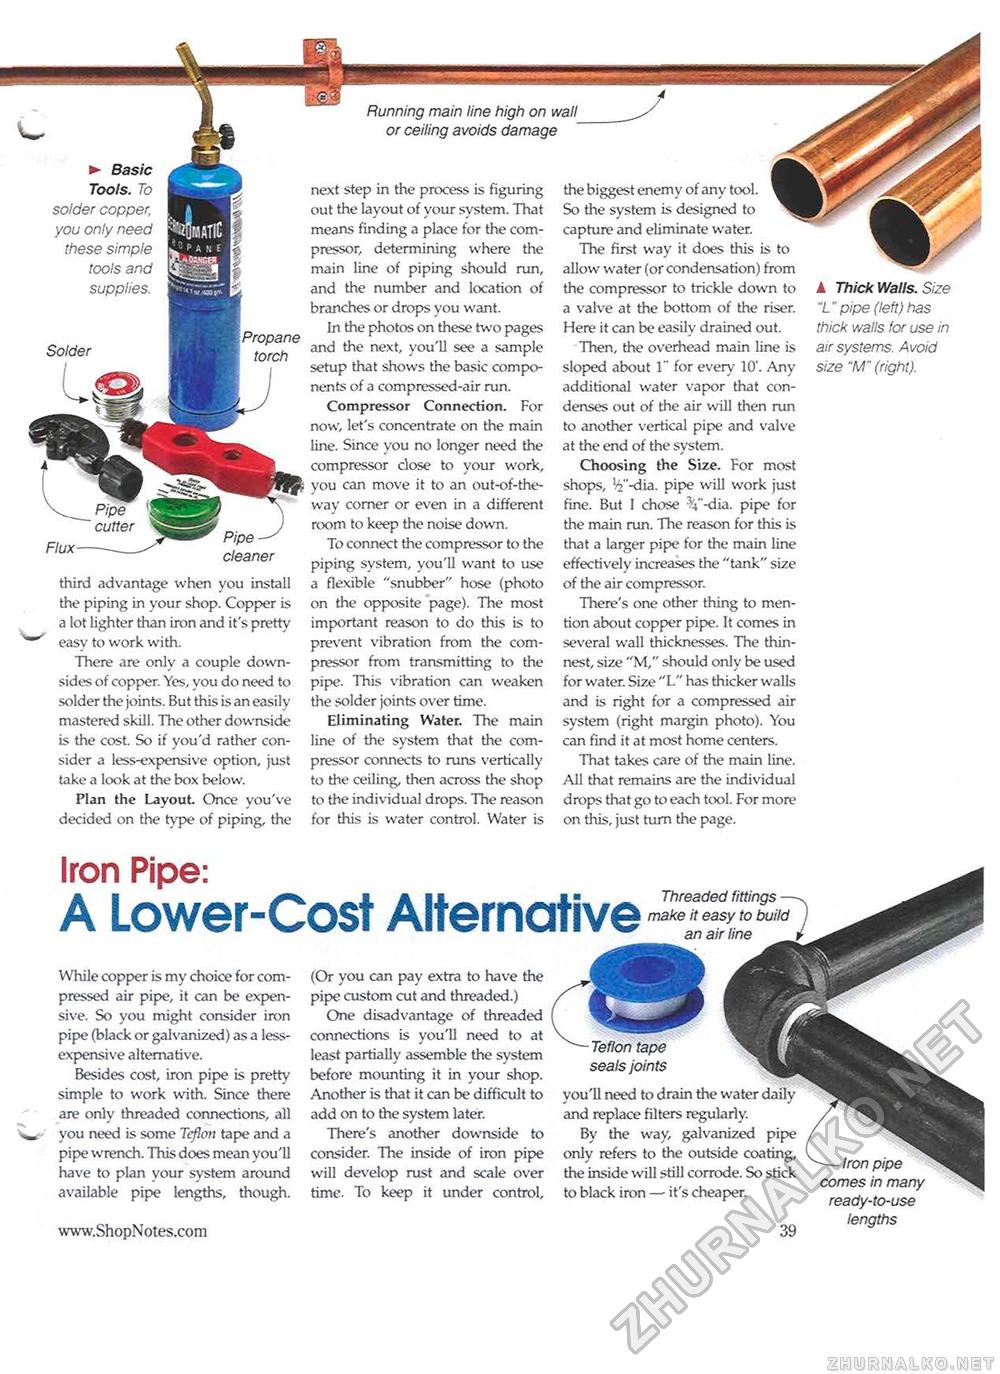
Pipe ■ cleaner third advantage when you install the piping in your shop. Copper is a lot lighter than iron and it's pretty easy to work with. There are only a couple downsides of copper. Yes, you do need to solder the joints. But this is an easily mastered skill. The other downside is the cost. So if you'd rather consider a less-expensive option, just take a look at the box below. Plan the Layout Once you've decided on the type of piping, the Running main line high on wall or ceiling avoids damage next step in the process is figuring out the layout of your system. That means finding a place for the compressor, determining where the main line of piping should run, and the number and location of branches or drops you want. In the photos on these two pages and the next, you'll see a sample setup that shows the basic components of a compressed-air run. Compressor Connection. For now, let's concentrate on the main line. Since you no longer need the compressor close to your work, you can move it to an out-of-the-way corner or even in a different room to keep the noise down. To connect the compressor to the piping system, you'll want to use a flexible "snubber" hose (photo on the opposite page). The most important reason to do this is to prevent vibration from the compressor from transmitting to the pipe. This vibration can weaken the solder joints over time. Eliminating Water. The main line of the system that the compressor connects to runs vertically to the ceiling, then across the shop to the individual drops. The reason for this is water control. Water is the biggest enemy of any tool. So the system is designed to capture and eliminate water. The first way it does this is to allow water (or condensation) from the compressor to trickle down to a valve at the bottom of the riser. Here it can be easily drained out. Then, the overhead main line is sloped about 1" for every 10'. Any additional water vapor that condenses out of the air will then run to another vertical pipe and valve at the end of the system. Choosing the Size. For most shops, '■V'-dia. pipe will work just fine. But I chose %"-dia. pipe for the main run. The reason for this is that a larger pipe for the main line effectively increases the "tank" size of the air compressor. There's one other thing to mention about copper pipe. It comes in several wall thicknesses. The thinnest, size "M," should only be used for water. Size "L" has thicker walls and is right for a compressed air system (right margin photo). You can find it at most home centers. That takes care of the main line. All that remains are the individual drops that go to each tool. For more on this, just turn the page. Iron Pipe: A Lower-Cost Alternative Threaded fittings make it easy to build an air line While copper is my choice for compressed air pipe, it can be expensive. So you might consider iron pipe (black or galvanized) as a less-expensive alternative. Besides cost, iron pipe is pretty simple to work with. Since there are only threaded connections, all you need is some Teflon tape and a pipe wrench. This does mean you'll have to plan your system around available pipe lengths, though. (Or you can pay extra to have the pipe custom cut and threaded.) One disadvantage of threaded connections is you'll need to at least partially assemble the system before mounting it in your shop. Another is that it can be difficult to add on to the system later. There's another downside to consider. The inside of iron pipe will develop rust and scale over time. To keep it under control. A Thick Walls. Size "L" pipe (left) has thick walls for use in air systems. Avoid size "M" (right). -Teflon tape seals joints you'll need to drain the water daily and replace filters regularly. By the way, galvanized pipe only refers to the outside coating, the inside will still corrode. So stick to black iron — it's cheaper. 39 comes m many ready-to-use lengths |


