95, страница 33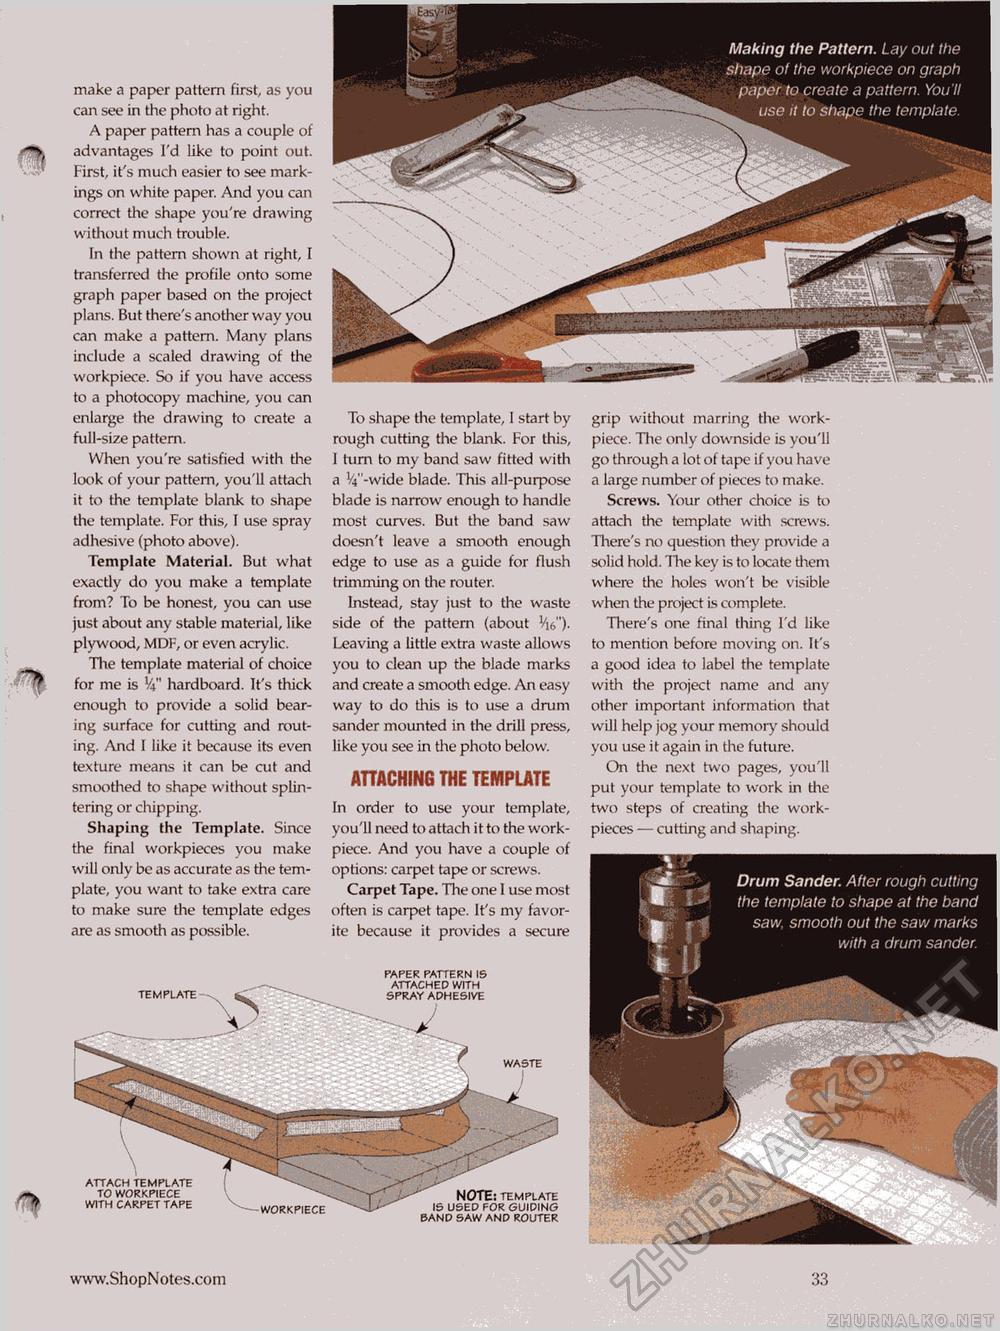
Making the Pattern. Lay out the shape of the workpiece on graph paper to create a pattern. You'll ^ use it to shape the template. WASTE make a paper pattern first, as you can see in the photo at right. A paper pattern has a couple of advantages I'd like to point out. First, it's much easier to see markings on white paper. And you can correct the shape you're drawing without much trouble. In the pattern shown at right, I transferred the profile onto some graph paper based on the project plans. But there's another way you can make a pattern. Many plans include a scaled drawing of the workpiece. So if you have access to a photocopy machine, you can enlarge the drawing to create a full-size pattern. When you're satisfied with the look of your pattern, you'll attach it to the template blank to shape the template. For this, I use spray adhesive (photo above). Template Material. But what exactly do you make a template from? To be honest, you can use just about any stable material, like plywood, MDF, or even acrylic. The template material of choice for me is V4" hardboard. It's thick enough to provide a solid bearing surface for cutting and routing. And I like it because its even texture means it can be cut and smoothed to shape without splintering or chipping. Shaping the Template. Since the final workpieces you make will only be as accurate as the template, you want to take extra care to make sure the template edges are as smooth as possible. TEMPLATE NOTE: TEMPLATE IS USED FOR GUIDING BAND SAW AND ROUTER grip without marring the work-piece. The only downside is you'll go through a lot of tape if you have a large number of pieces to make. Screws. Your other choice is to attach the template with screws. There's no question they provide a solid hold. The key is to locate them where the holes won't be visible when the project is complete. There's one final thing I'd like to mention before moving on. It's a good idea to label the template with the project name and any other important information that will help jog your memory should you use it again in the future. On the next two pages, you'll put your template to work in the two steps of creating the work-pieces — cutting and shaping. ATTACH TEMPLATE TO WORKPIECE WITH CARPET TAPE To shape the template, 1 start by rough cutting the blank. For this, I turn to my band saw fitted with a ^"-wide blade. This all-purpose blade is narrow enough to handle most curves. But the band saw doesn't leave a smooth enough edge to use as a guide for flush trimming on the router. Instead, stay just to the waste side of the pattern (about V^"). Leaving a little extra waste allows you to clean up the blade marks and create a smooth edge. An easy way to do this is to use a drum sander mounted in the drill press, like you see in the photo below. ATTACHING THE TEMPLATE In order to use your template, you'll need to attach it to the work-piece. And you have a couple of options: carpet tape or screws. Carpet Tape. The one 1 use most often is carpet tape. It's my favorite because it provides a secure PAPER PATTERN IS ATTACHED WITH SPRAY ADHESIVE 33 |


