Woodworker's Journal 101-Projects-for-Woodworkers, страница 113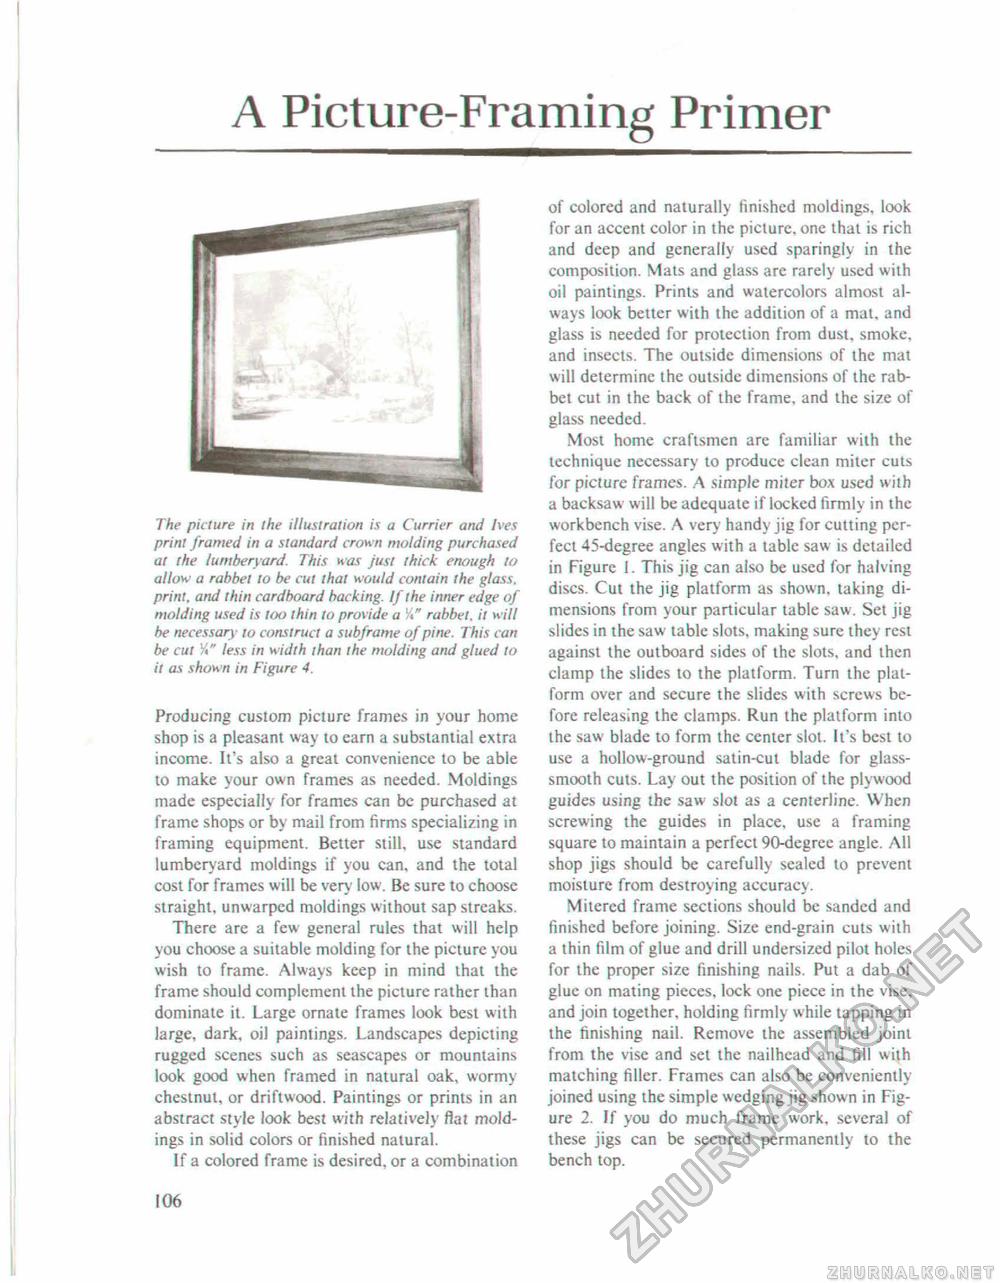
A Picture-Framing PrimerThe picture in the illustration is a Currier and Ives print framed in a standard crown molding purchased at the lumberyard. This was just thick enough to allow a rabbet to be cut that would contain the glass, print, and thin cardboard backing. If the inner edge of molding used is too thin to provide a '/<" rabbet, it will he necessary to construct a subframe of pine. This can be cut Vi" less in width than the molding and glued to it as shown in Figure 4. Producing custom picture frames in your home shop is a pleasant way to earn a substantial extra income. It's also a great convenience to be able to make your own frames as needed. Moldings made especially for frames can be purchased at frame shops or by mail from firms specializing in framing equipment. Better still, use standard lumberyard moldings if you can. and the total cost for frames will be very low. Be sure to choose straight, unwarped moldings without sap streaks. There are a few general rules that will help you choose a suitable molding for the picture you wish to frame. Always keep in mind that the frame should complement the picture rather than dominate it. Large ornate frames look best with large, dark, oil paintings. Landscapes depicting rugged scenes such as seascapes or mountains look good when framed in natural oak, wormy chestnut, or driftwood. Paintings or prints in an abstract style look best with relatively fiat moldings in solid colors or finished natural. If a colored frame is desired, or a combination of colored and naturally finished moldings, look for an accent color in the picture, one that is rich and deep and generally used sparingly in the composition. Mats and glass arc rarely used with oil paintings. Prints and watercolors almost always look better with the addition of a mat, and glass is needed for protection from dust, smoke, and insects. The outside dimensions of the mat will determine the outside dimensions of the rabbet cut in the back of the frame, and the size of glass needed. Most home craftsmen are familiar with the technique necessary to produce clean miter cuts for picture frames. A simple miter box used with a backsaw will be adequate if locked firmly in the workbench vise. A very handy jig for cutting perfect 45-degree angles with a table saw is detailed in Figure 1. This jig can also be used for halving discs. Cut the jig platform as shown, taking dimensions from your particular table saw. Set jig slides in the saw table slots, making sure they rest against the outboard sides of the slots, and then clamp the slides to the platform. Turn the platform over and secure the slides with screws before releasing the clamps. Run the platform into the saw blade to form the center slot. It's best to use a hollow-ground satin-cut blade for glass-smooth cuts. Lay out the position of the plywood guides using the saw slot as a centerline. When screwing the guides in place, use a framing square to maintain a perfect 90-degree angle. AH shop jigs should be carefully sealed to prevent moisture from destroying accuracy. Mitcred frame sections should be sanded and finished before joining. Size end-grain cuts with a thin film of glue and drill undersized pilot holes for the proper size finishing nails. Put a dab of glue on mating pieces, lock one piece in the vise, and join together, holding firmly while tapping in the finishing nail. Remove ihe assembled joint from the vise and set the nailhcad and fill with matching filler. Frames can also be conveniently joined using the simple wedging jig shown in Figure 2. If you do much frame work, several of these jigs can be secured permanently to the bench top. 106 |


