Woodworker's Journal 101-Projects-for-Woodworkers, страница 111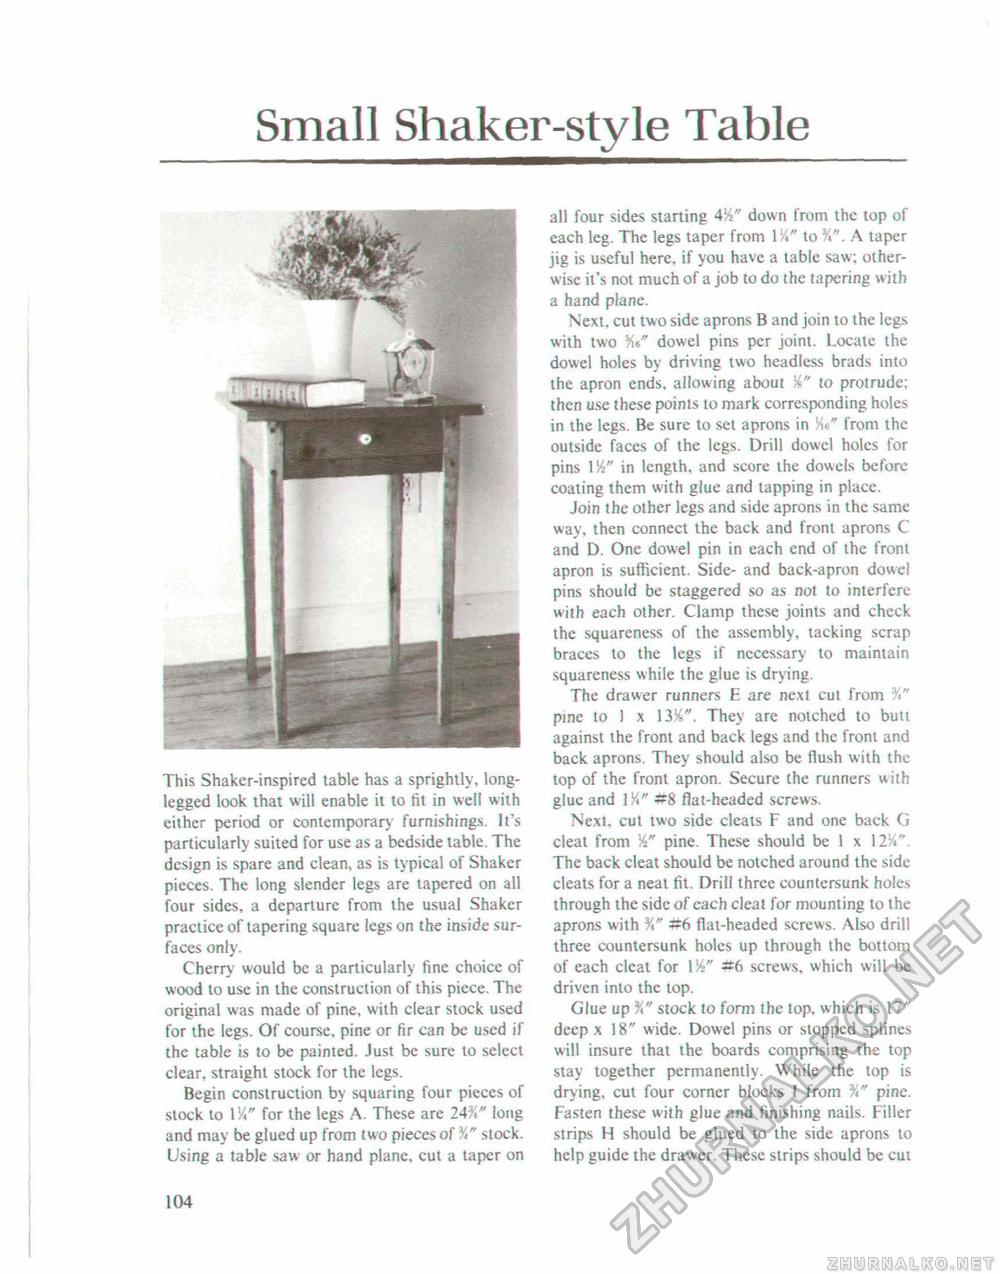
Small Shaker-style TableThis Shaker-inspired table has a sprightly, long-legged look that will enable it to fit in well with either period or contemporary furnishings. It's particularly suited for use as a bedside table. The design is spare and clean, as is typical of Shaker pieces. The long slender legs are tapered on all four sides, a departure from the usual Shaker practice of tapering square legs on the inside surfaces only. Cherry would be a particularly fine choice of wood to use in the construction of this piece. The original was made of pine, with clear stock used for the legs. Of course, pine or fir can be used if the table is to be painted. Just be sure to select clear, straight stock for the legs. Begin construction by squaring four pieces of stock to W*" for the legs A. These are 24%" long and may be glued up from two pieces of stock. Using a table saw or hand plane, cut a taper on all four sides starting down from the top of each leg. The legs taper from l1/." to A taper jig is useful here, if you have a table saw; otherwise it's not much of a job to do the tapering with a hand plane. Next, cut two side aprons B and join to the legs with two dowel pins per joint. Locate the dowel holes by driving two headless brads into the apron ends, allowing about W to protrude; then use these points to mark corresponding holes in the legs. Be sure to set aprons in Me" from the outside faces of the legs. Drill dowel holes for pins 114" in length, and score the dowels before coating them with glue and tapping in place. Join the other legs and side aprons in the same way, then connect the back and front aprons C and D. One dowel pin in each end of the front apron is sufficient. Side- and back-apron dowel pins should be staggered so as not to interfere with each other. Clamp these joints and check the squareness of the assembly, tacking scrap braces to the legs if necessary to maintain squareness while the glue is drying. The drawer runners E are next cut from V pine lo 1 x 13%". They are notched to butt against the front and back legs and the front and back aprons. They should also be flush with the top of the front apron. Secure the runners with glue and 1Y*" flat-headed screws. Next, cut two side cleats F and one back G cleat from pine. These should be 1 x 12V. The back cleat should be notched around the side cleats for a neat fit. Drill three countersunk holes through the side of each cleat for mounting to the aprons with %" #6 flat-headed screws. Also drill three countersunk holes up through the bottom of each cleat for l'/4" #6 screws, which will be driven into the top. Glue up stock to form the top, which is 17" deep x 18" wide. Dowel pins or stopped splines will insure that the boards comprising the top stay together permanently. While the top is drying, cut four corner blocks 1 from %" pine. Fasten these with glue and finishing nails. Filler strips H should be glued to the side aprons lo help guide the drawer. These strips should be cut 104 |


