Woodworker's Journal 101-Projects-for-Woodworkers, страница 215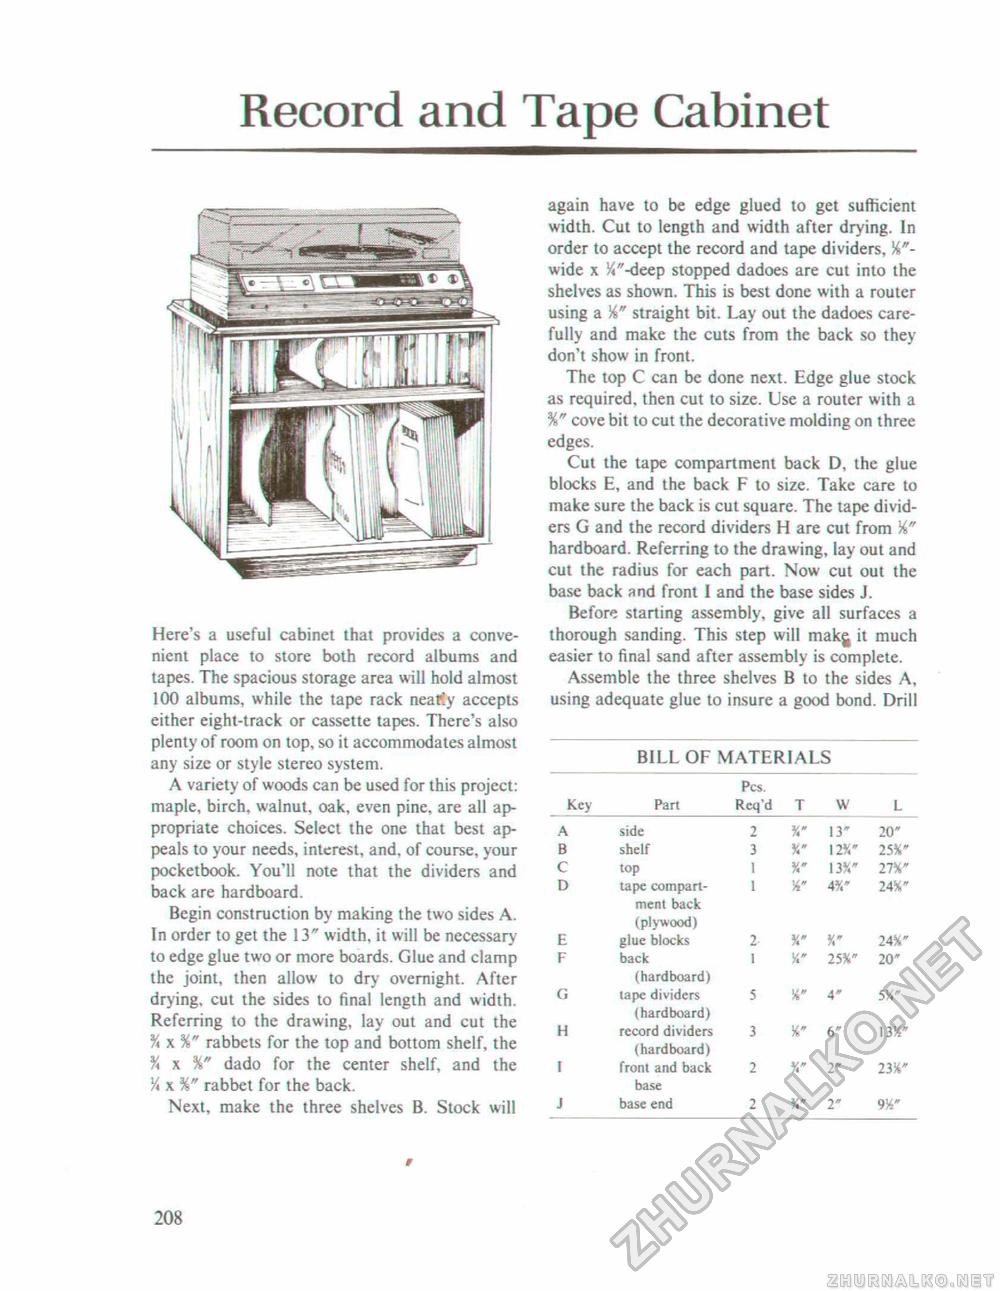
Record and Tape Cabinet Here's a useful cabinet that provides a convenient place to store both record albums and tapes. The spacious storage area will hold almost 100 albums, while the tape rack neatly accepts either eight-track or cassette tapes. There's also plenty of room on top, so it accommodates almost any size or style stereo system. A variety of woods can be used for this project: maple, birch, walnut, oak, even pine, are all appropriate choices. Select the one that best appeals to your needs, interest, and. of course, your pocketbook. You'll note that the dividers and back are hardboard. Begin construction by making the two sides A. In order to get the 13" width, it will be necessary7 to edge glue two or more boards. Glue and clamp the joint, then allow to dry overnight. After drying, cut the sides to final length and width. Referring to the drawing, lay out and cut the % x rabbets for the top and bottom shelf, the % x %" dado for the center shelf, and the Y* x rabbet for the back. Next, make the three shelves B. Stock will again have to be edge glued to get sufficient width. Cut to length and width after drying. In order to accept the record and tape dividers, wide x V*"-deep stopped dadoes are cut into the shelves as shown. This is best done with a router using a Yt," straight bit. Lay out the dadoes carefully and make the cuts from the back so they don't show in front. The top C can be done next. Edge glue stock as required, then cut to size. Use a router with a %" cove bit to cut the decorative molding on three edges. Cut the tape compartment back D, the glue blocks E, and the back F to size. Take care to make sure the back is cut square. The tape dividers G and the record dividers H are cut from hardboard. Referring to the drawing, lay out and cut the radius for each part. Now cut out the base back and front 1 and the base sides J. Before starting assembly, give all surfaces a thorough sanding. This step will makj it much easier to final sand after assembly is complete. Assemble the three shelves B to the sides A, using adequate glue to insure a good bond. Drill BILL OF MATERIALS BILL OF MATERIALS
208 |


