Woodworker's Journal 101-Projects-for-Woodworkers, страница 75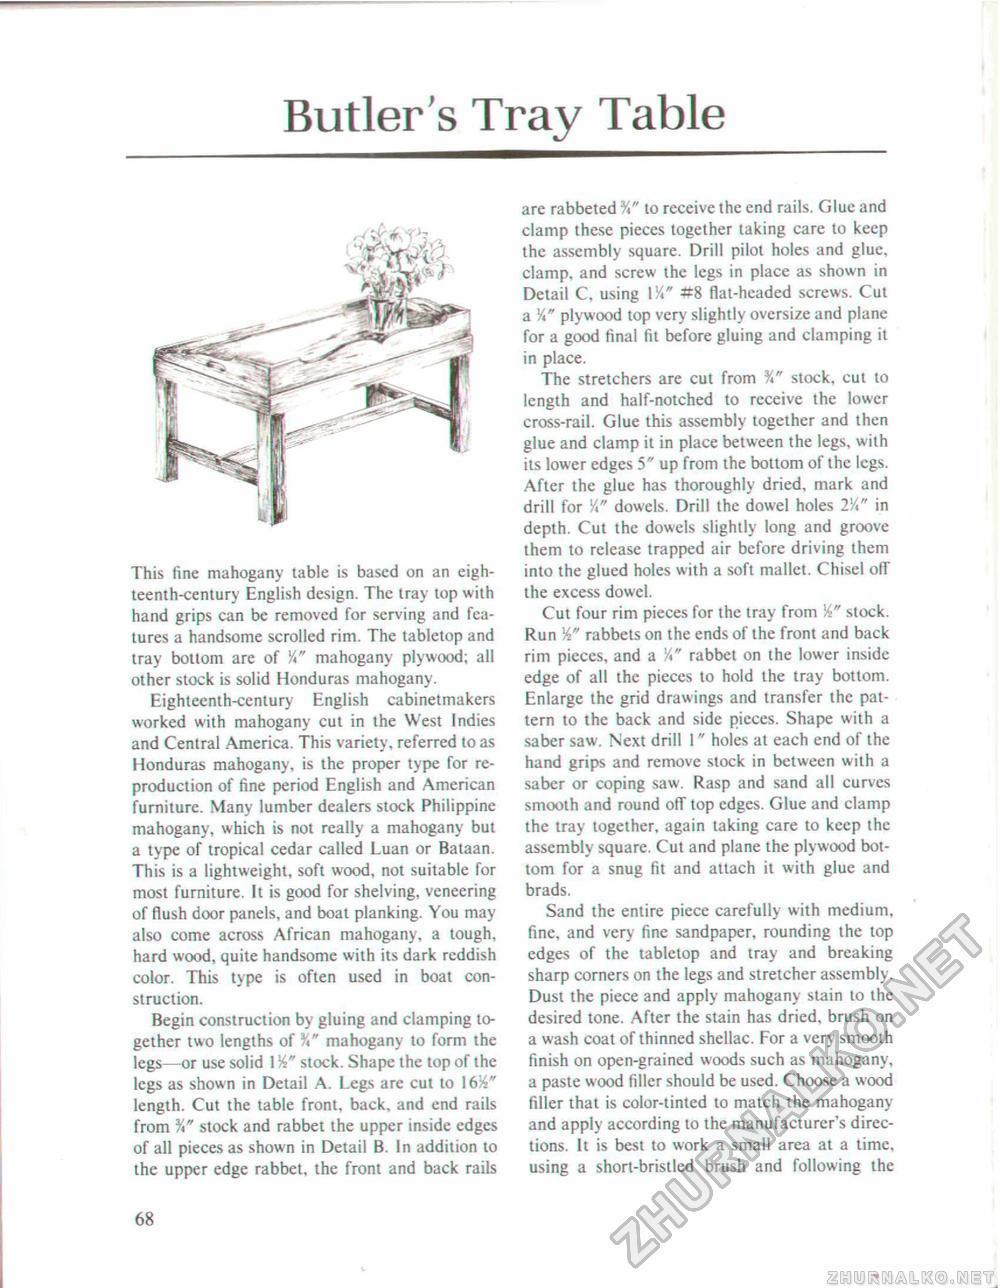
Butler's Tray TableThis fine mahogany table is based on an eighteenth-century English design. The tray top with hand grips can be removed for serving and features a handsome scrolled rim. The tabletop and tray bottom are of Y*" mahogany plywood; all other stock is solid Honduras mahogany. Eightecnth-century English cabinetmakers worked with mahogany cut in the West Indies and Central America. This variety, referred to as Honduras mahogany, is the proper type for reproduction of fine period English and American furniture. Many lumber dealers stock Philippine mahogany, which is not really a mahogany but a type of tropical cedar called Luan or Bataan. This is a lightweight, soft wood, not suitable for most furniture. It is good for shelving, veneering of flush door panels, and boat planking. You may also come across African mahogany, a tough, hard wood, quite handsome with its dark reddish color. This type is often used in boat construction. Begin construction by gluing and clamping together two lengths of Y*" mahogany to form the legs—or use solid J Yi" stock. Shape the top of the legs as shown in Detail A. Legs are cut to \6%" length. Cut the table front, back, and end rails from stock and rabbet the upper inside edges of all pieces as shown in Detail B. In addition to the upper edge rabbet, the front and back rails are rabbeted %" to receive the end rails. Glue and clamp these pieces together taking care to keep the assembly square. Drill pilot holes and glue, clamp, and screw the legs in place as shown in Detail C. using I Yi" #8 flat-headed screws. Cut a Yt" plywood top very slightly oversize and plane for a good final fit before gluing and clamping it in place. The stretchers are cut from ¥*" stock, cut to length and half-notched to receive the lower cross-rail. Glue this assembly together and then glue and clamp it in place between the legs, with its lower edges 5" up from the bottom of the legs. After the glue has thoroughly dried, mark and drill for Y" dowels. Drill the dowel holes 2Yi" in depth. Cut the dowels slightly long and groove them to release trapped air before driving them into the glued holes with a soft mallet. Chisel off the excess dowel. Cut four rim pieces for the tray from stock. Run rabbets on the ends of the front and back rim pieces, and a Yi" rabbet on the lower inside edge of all the pieces to hold the tray bottom. Enlarge the grid drawings and transfer the pattern to the back and side pieces. Shape with a saber saw. Next drill I" holes at each end of the hand grips and remove stock in between with a saber or coping saw. Rasp and sand all curves smooth and round off top edges. Glue and clamp the tray together, again taking care to keep the assembly square. Cut and plane the plywood bottom for a snug fit and attach it with glue and brads. Sand the entire piece carefully with medium, fine, and very fine sandpaper, rounding the top edges of the tabletop and tray and breaking sharp corners on the legs and stretcher assembly. Dust the piece and apply mahogany stain lo the desired tone. After the stain has dried, brush on a wash coat of thinned shellac. For a very smooth finish on open-grained woods such as mahogany, a paste w ood filler should be used. Choose a wood filler that is color-tinted to match the mahogany and apply according to the manufacturer's directions. It is best to work a small area at a time, using a short-brislled brush and following the 68 |


